Difficulty: INTERMEDIATE-ADVANCED
Time: 5-7 HOURS
Distance: 7.5 MILES
Elevation Gain: 2000 FEET
Foot Traffic: LOW
Challenges: Muddy and uneven footing, Overgrown, Some Narrow Sections
Sights: Windward Side, Honolulu, Kalihi Saddle
What to Bring: Water, Food, Long Pants
This hike is a lesser known ridge near Hononlulu that offers phenomal views if you catch it on the right day. You begin on the shaded Kapalama Trail where you can take in you beautiful surroundings of plants and trees. You will then get to the unmaintained portion of the hike as you make your way to the crown shaped summit. You will deal with mud and an overgrown trail on your way, but those magnificent views at the top will be worth every step.
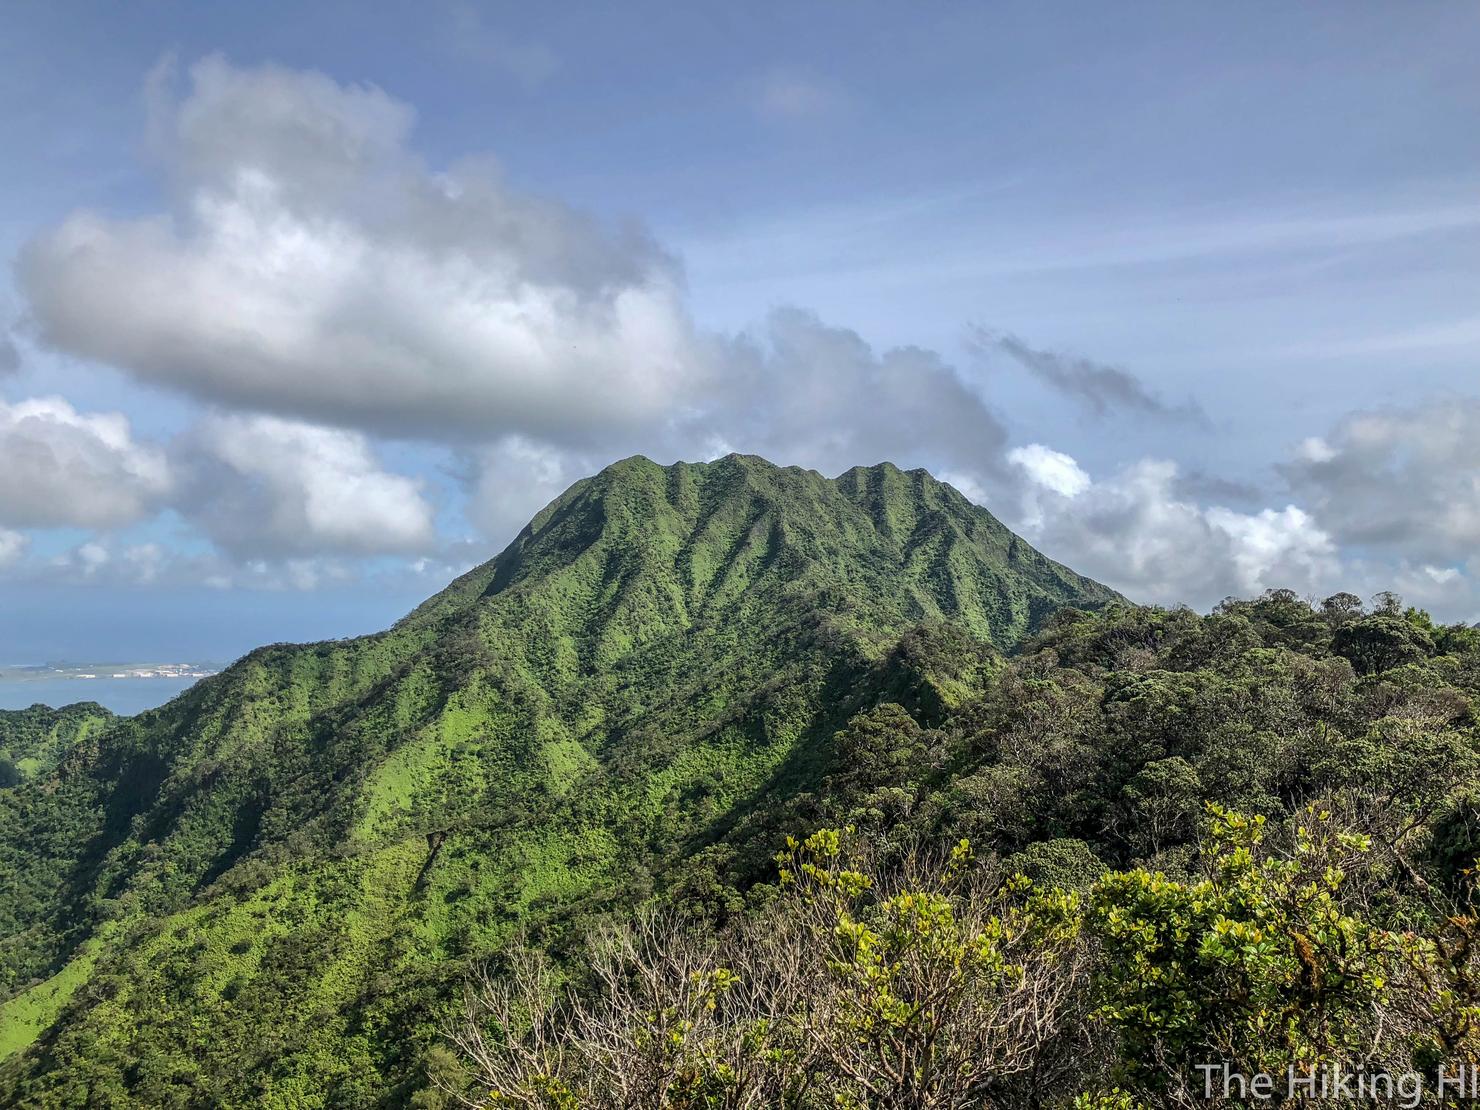
The crown of the Ko'olau Range-- or at least that's what I call it. At near 2800 feet, Pu'u Lanihuli is not the highest peak of the Ko'olaus (that award goes to Konahuinui 1), but it is certainly one of the most recognizable. It's closely spaced, jagged points along one constant elevation give it a crown-like appearance (hence my nickname) that is very satisfying to stare at from my Honolulu apartment. I've fantasized about making it to this summit for awhile, but due to weather or lack of motivation, I still had not yet attempted it. Based on my research, I knew there were a few ways to reach this summit. You could either hike past the popular Pali Puka and up the steep and sketchy Ko'olau Summit Trail to reach it, or you could take the lengthier, but safer route from the Kapalama Trail. As I was hiking alone, I chose the latter of the option.
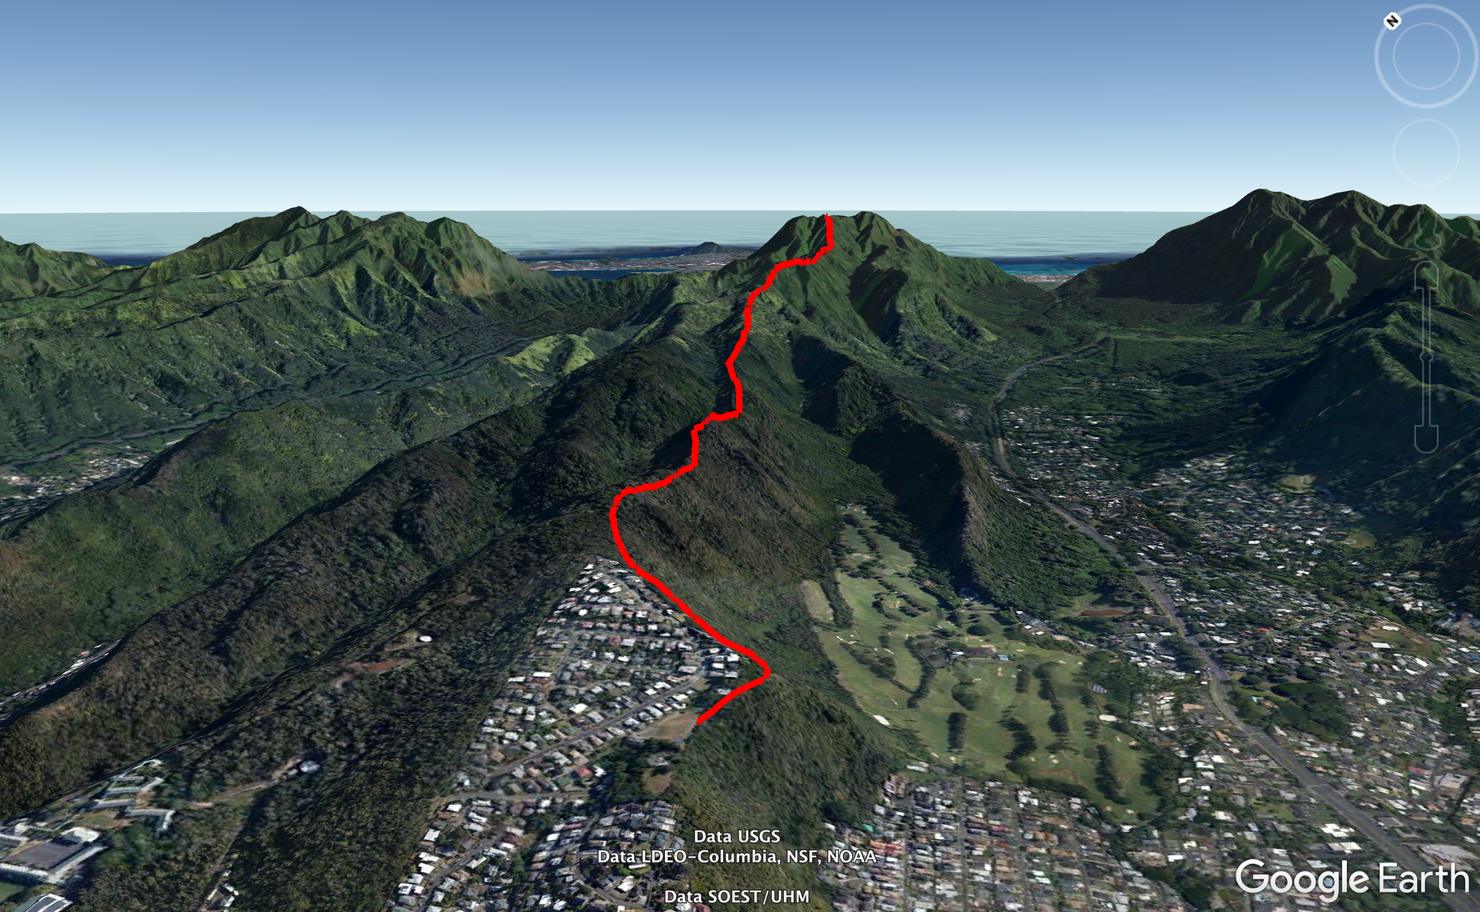
The hike, like so many near Honolulu, begins in a neighborhood where you follow the long gradual ascent of the ridge all the way to the summit.
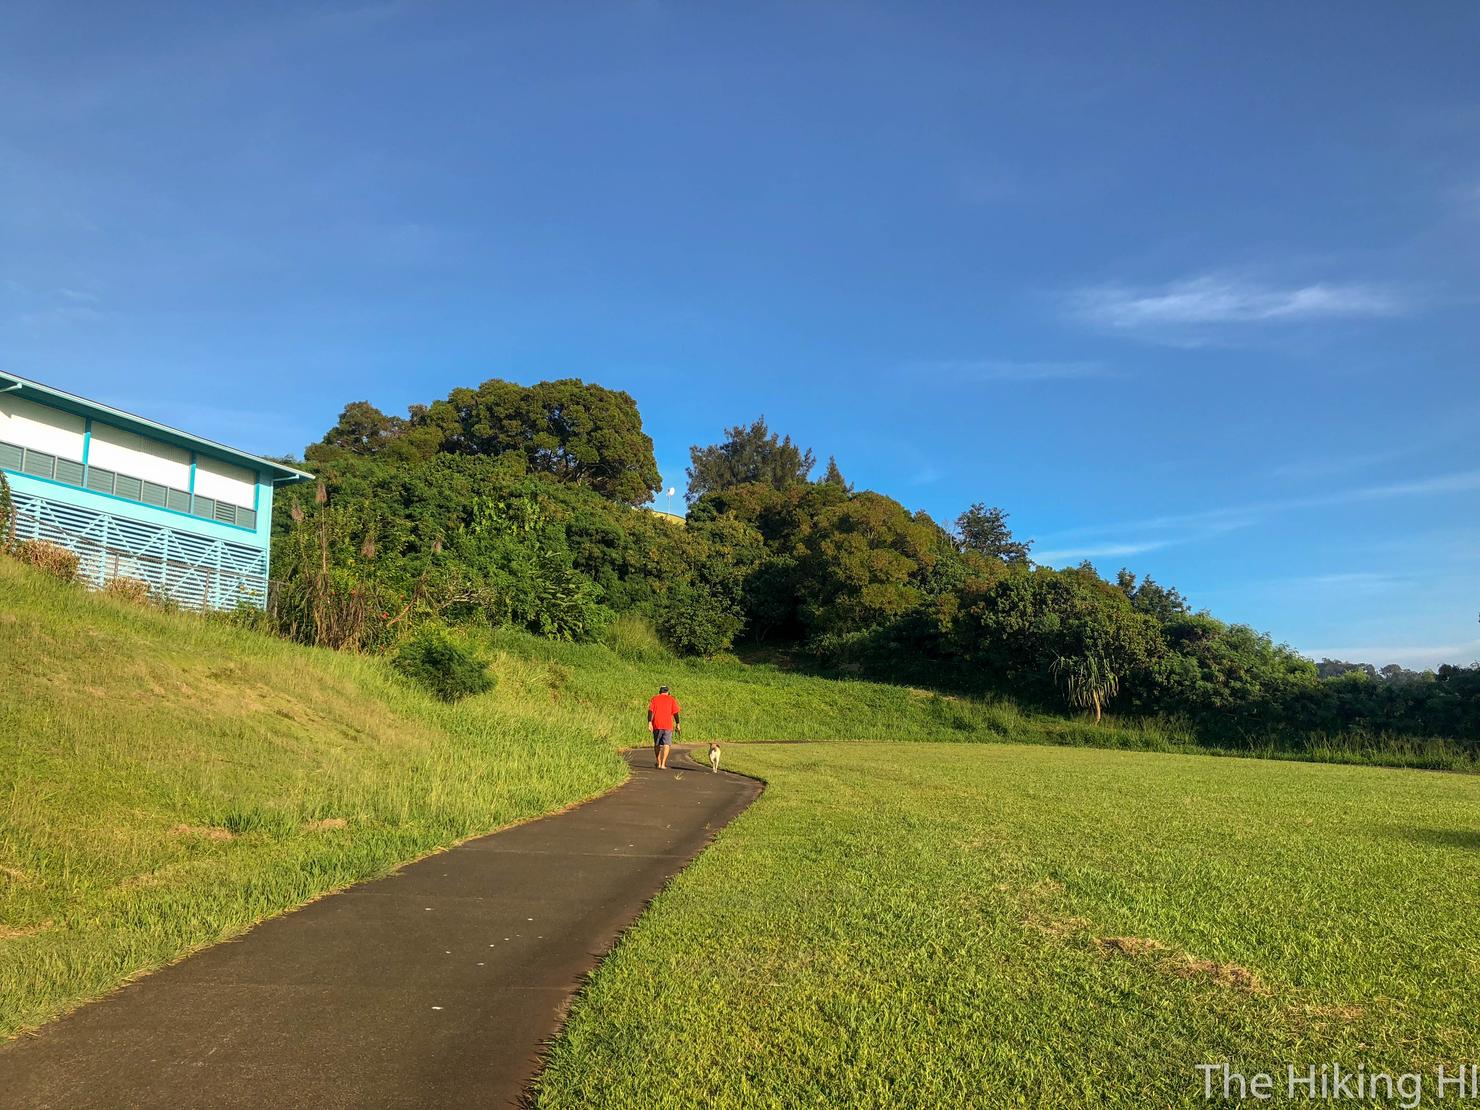
The trailhead is located at the back of Na Pueo Park. This park was the first part of the hike that surprised me. It's basically wedged behind a couple of houses in the neighborhood. I actually drove by the entrance to to the park because I couldn't believe there was anything there. There are a few parking spots in the park, but there is plenty of street parking on Alewa Drive. The trail entrance is located in those trees at the top of the picture.
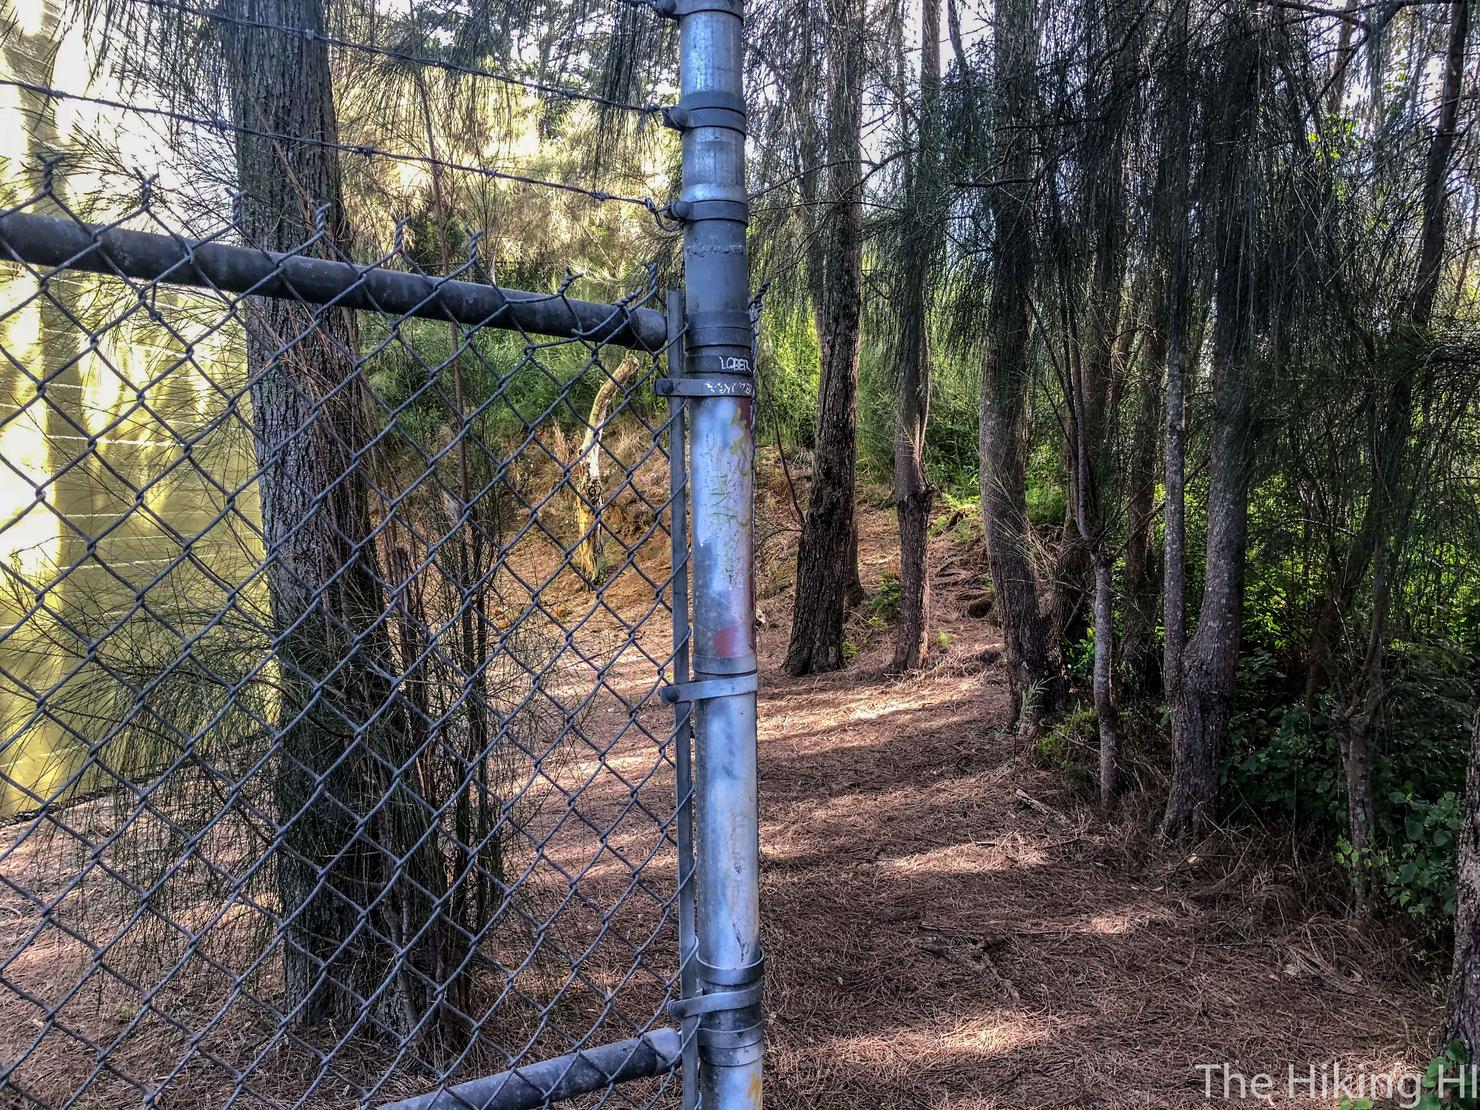
Just walk up the hill and past this fence. You will see a natural path that leads downhill to the right.
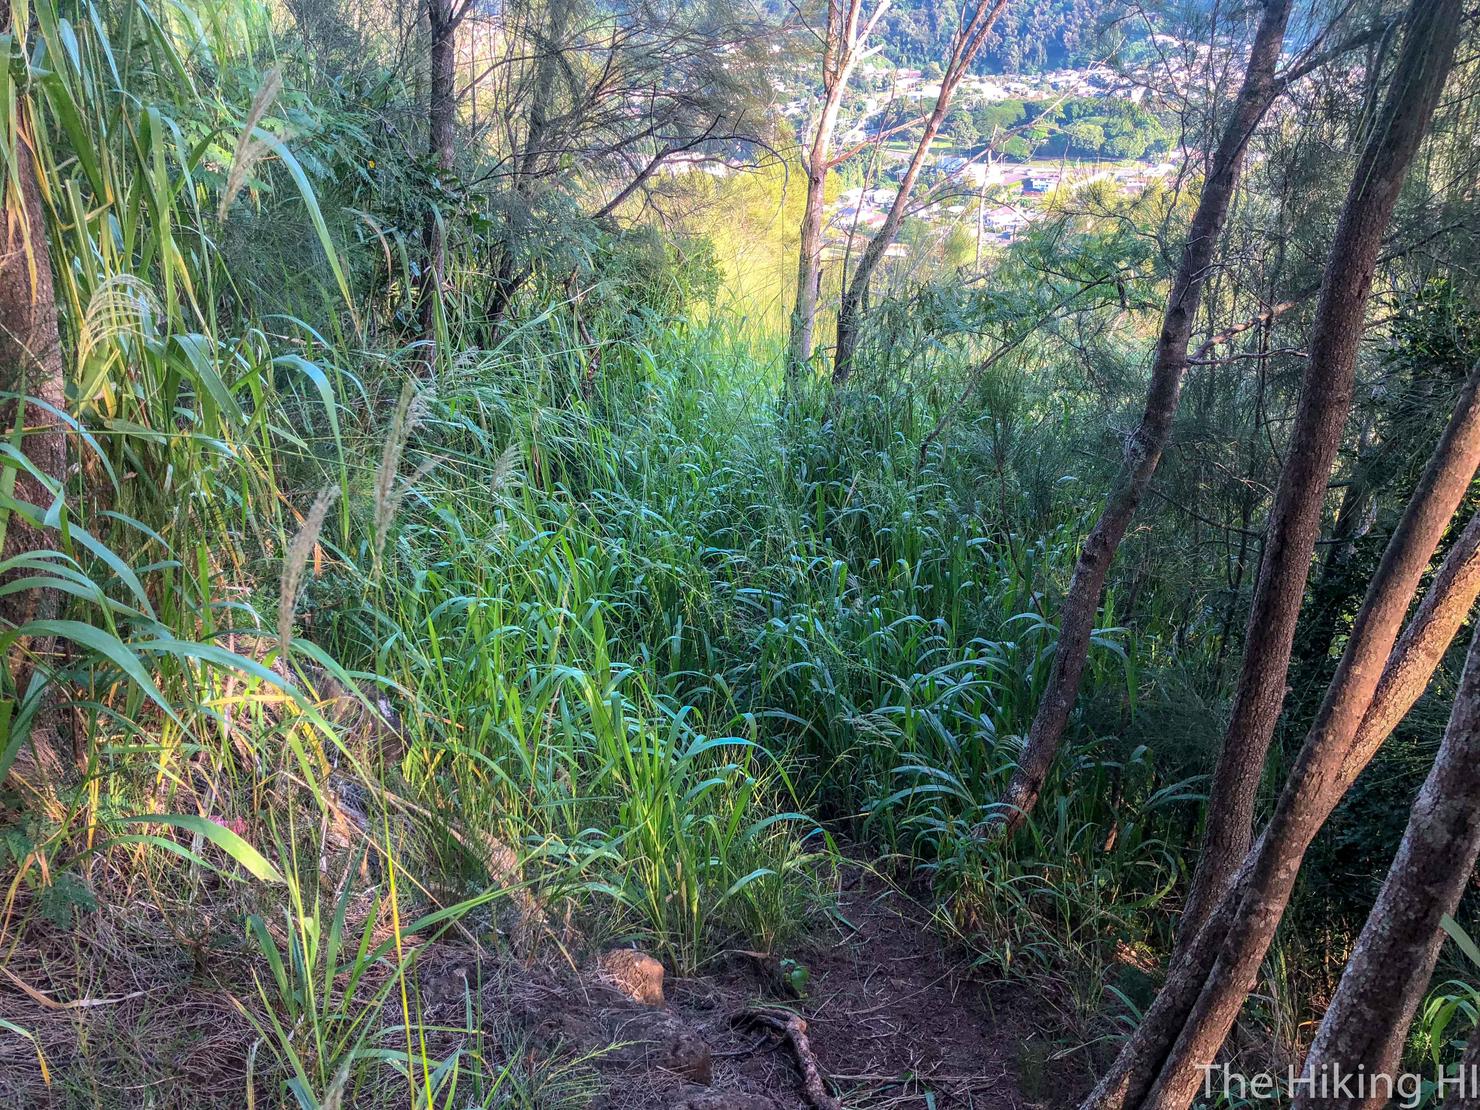
Which leads to another natural path that take you to the left through this tall grass.
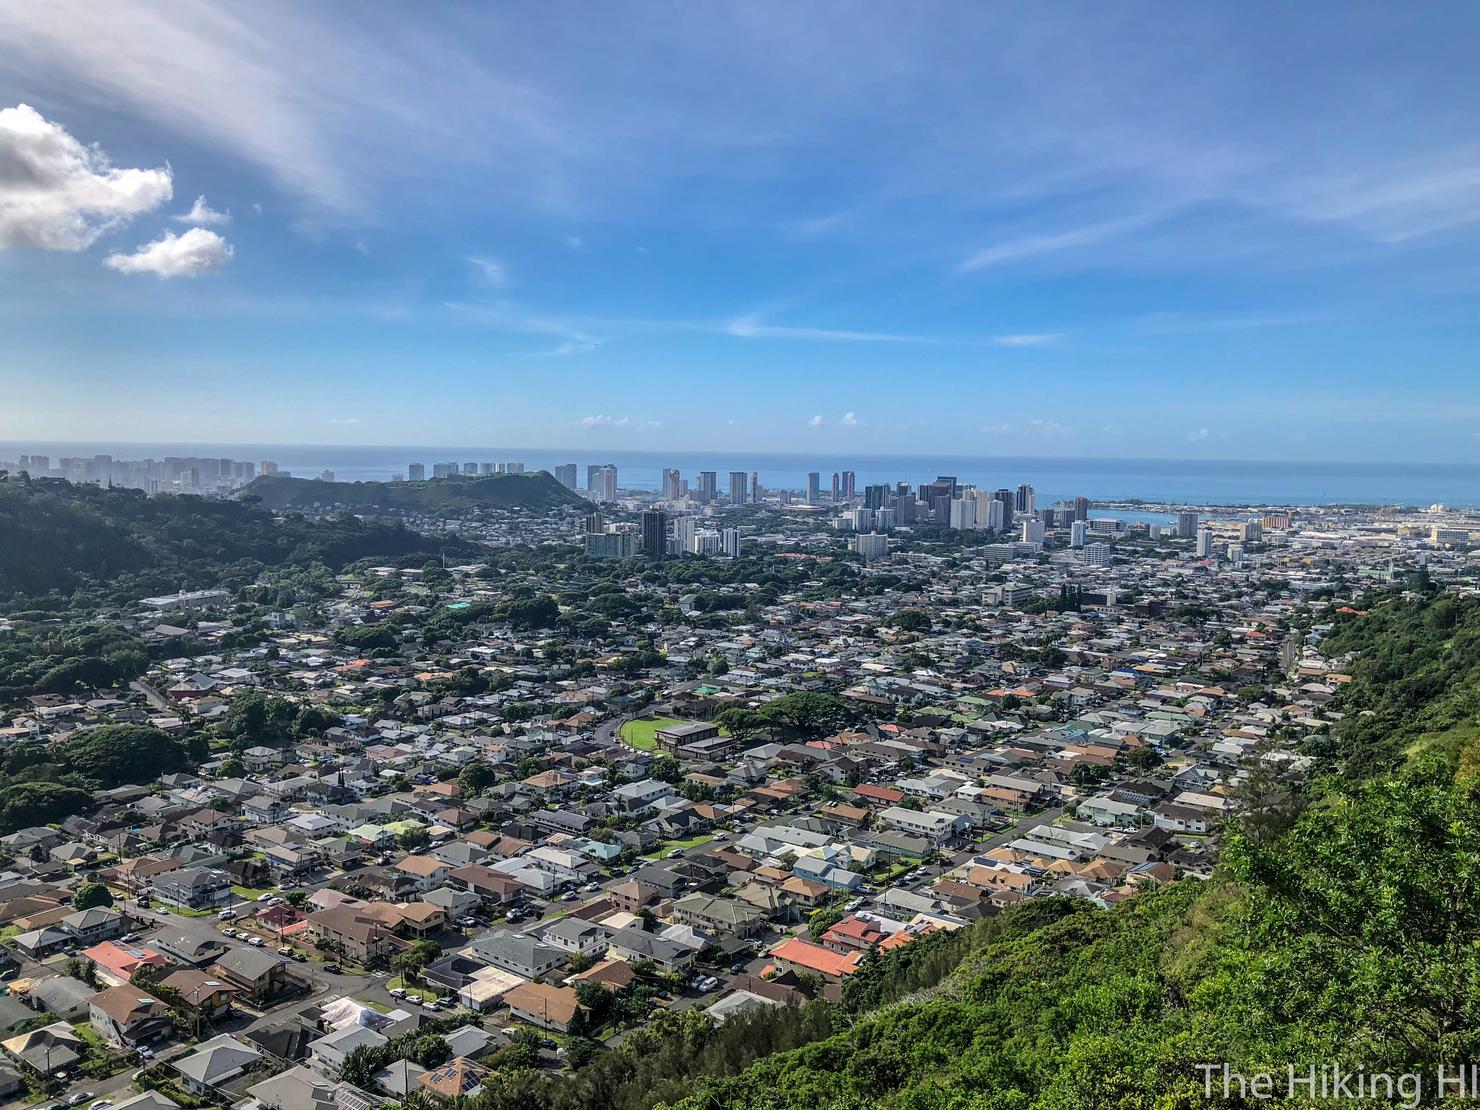
You are now on the Kapalama Trail! This view of Honolulu is pretty amazing. It is probably one of the best vantage points you will get of this part of the city.
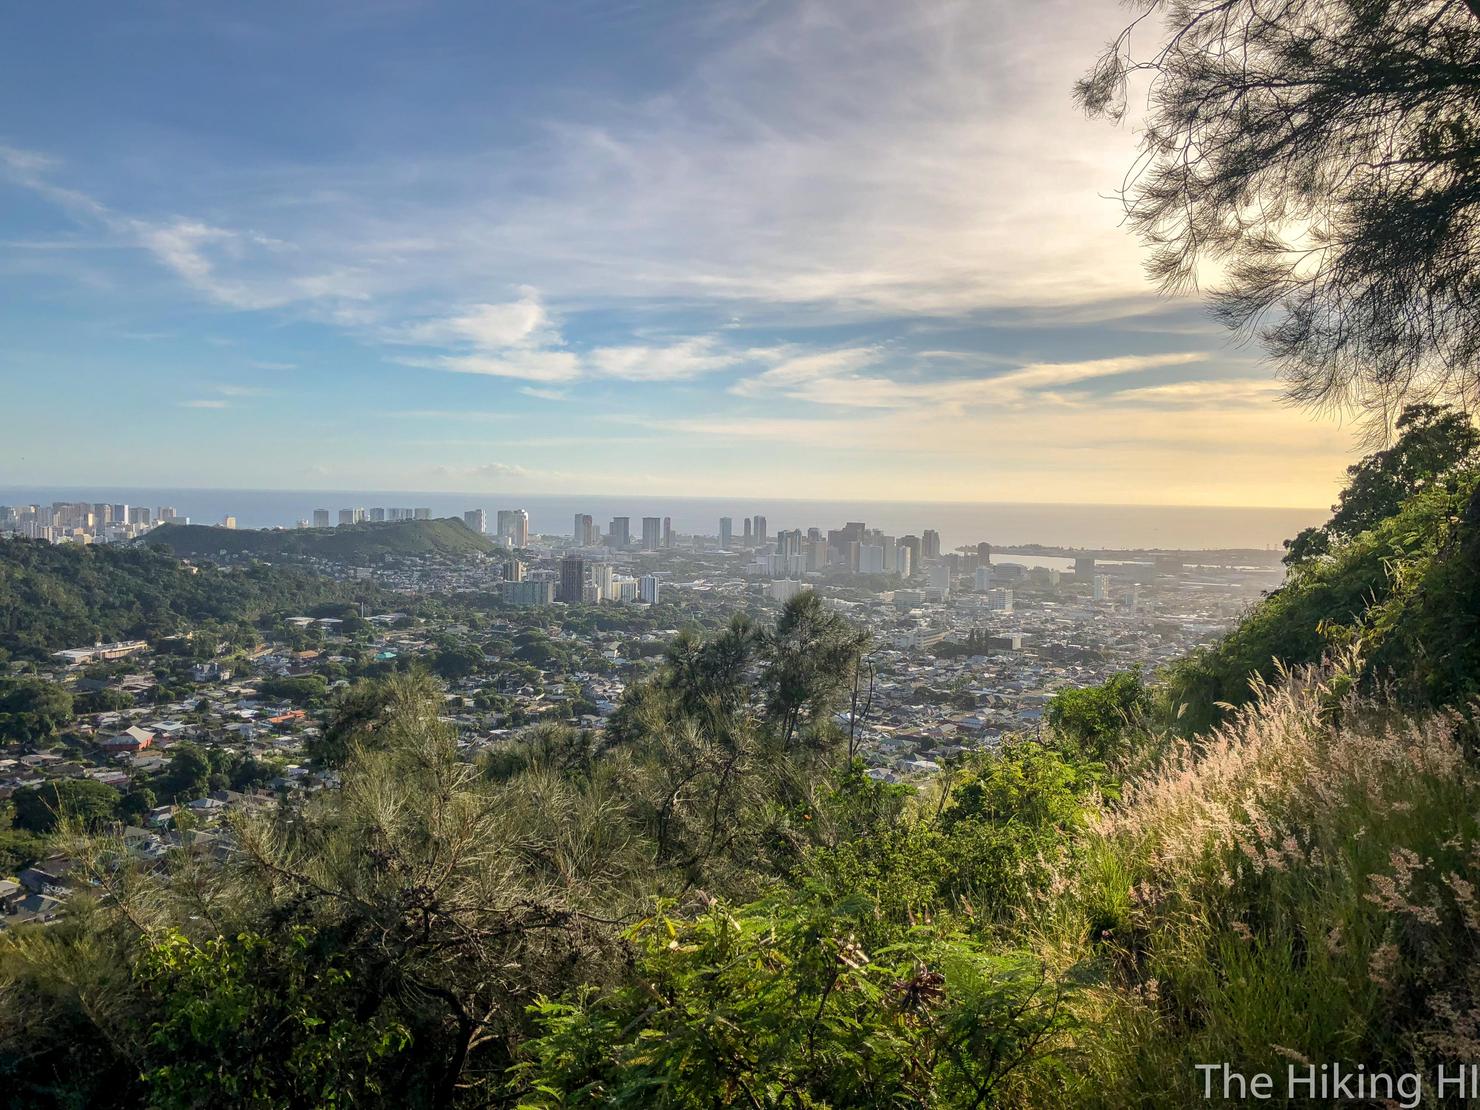
And it gets even better near sunset! I'll have to make a note to come back here for a little photo shoot. It was just stunning.
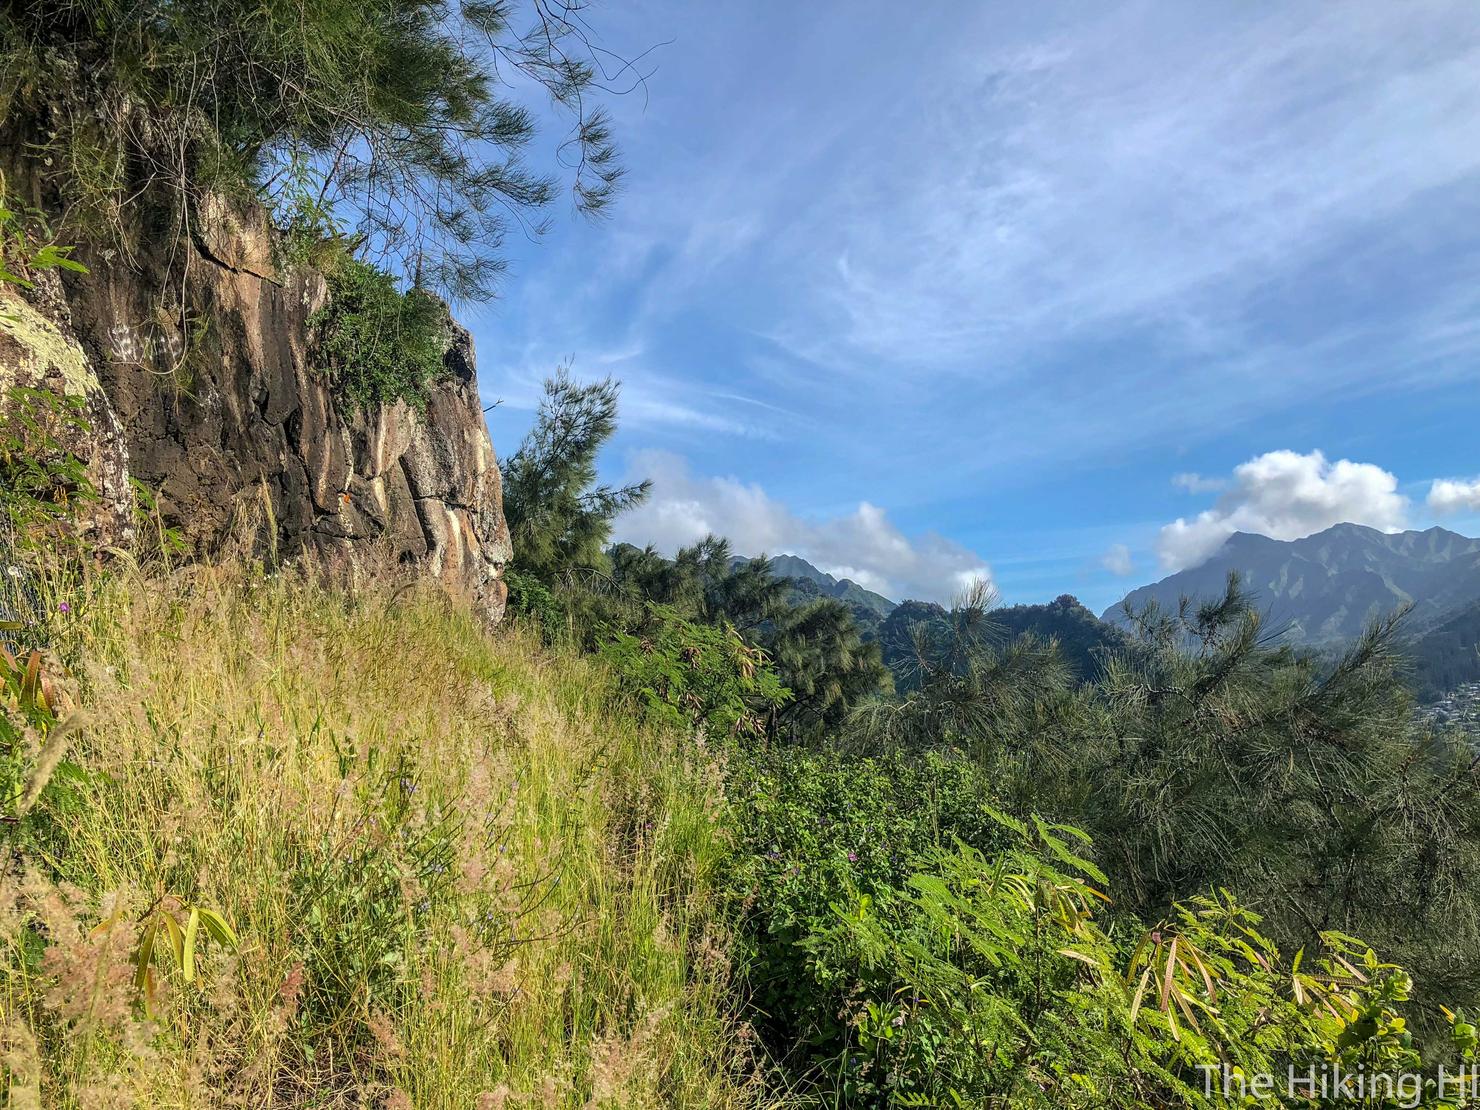
You will continue along the open trail for a short bit, heading mauka (towards the mountains).
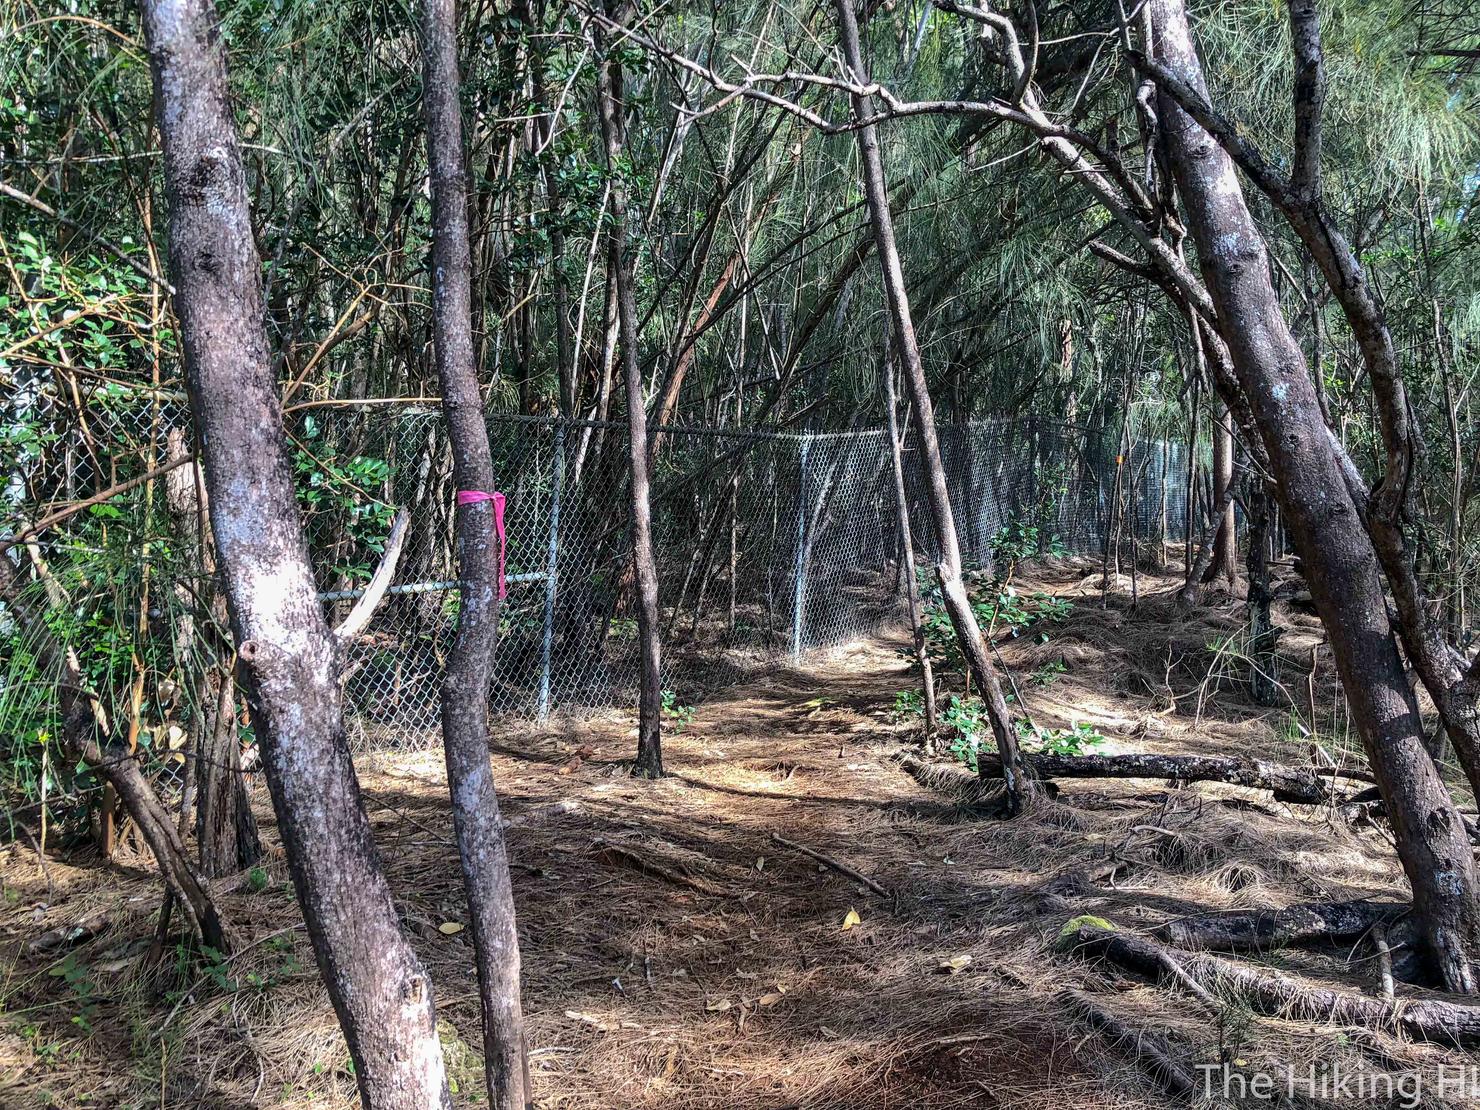
Before heading into the trees. The trail is well marked with pink ribbons and easy to follow.
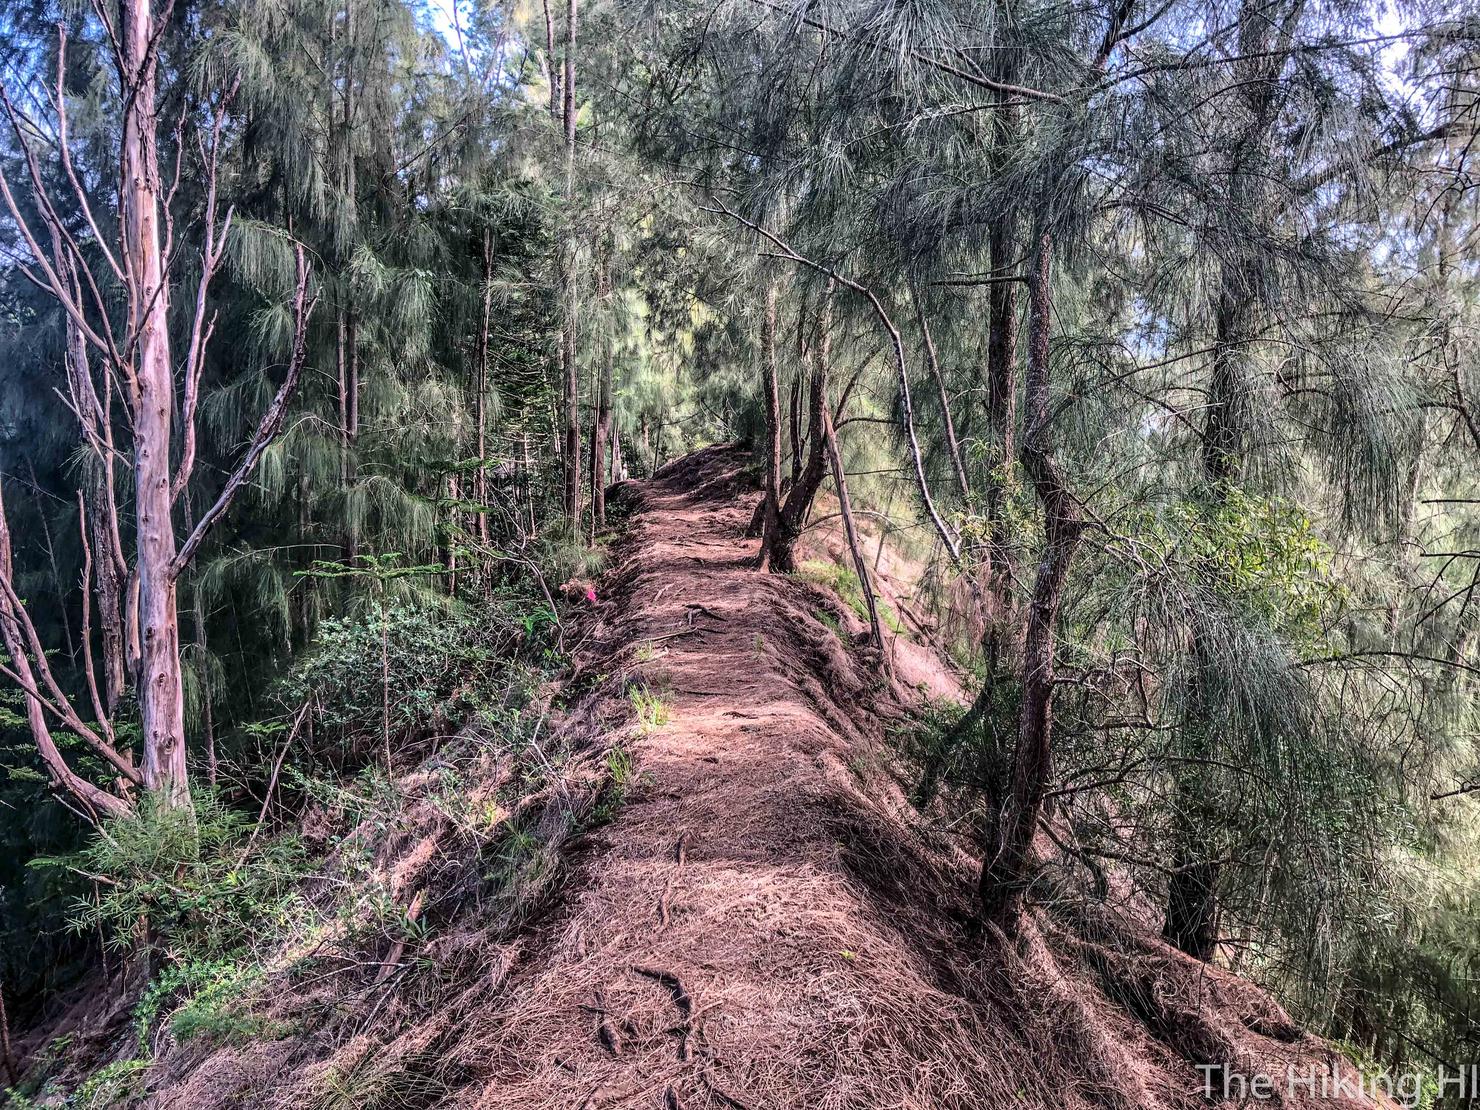
And really there is only one way to go anyway. What struck me about this portion of the hike was just how interesting the surroundings were to look at. Here we had this narrow(ish) ridge composed of pine needles.
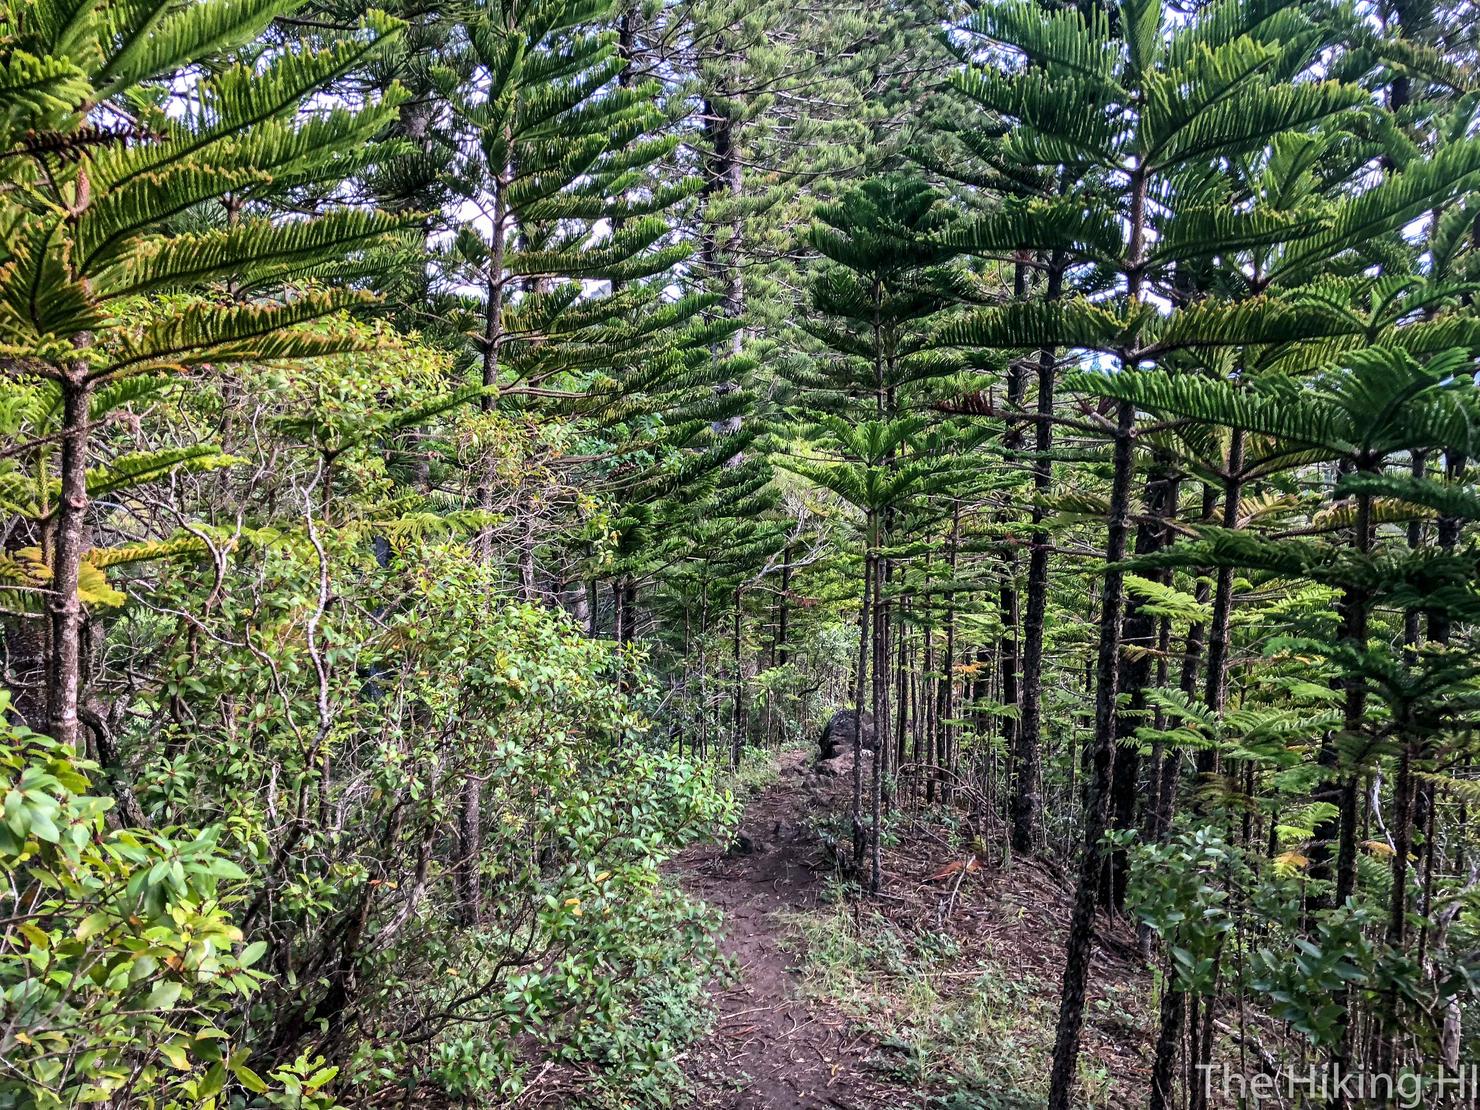
And then you would see these trees, with their vivid green leaves.
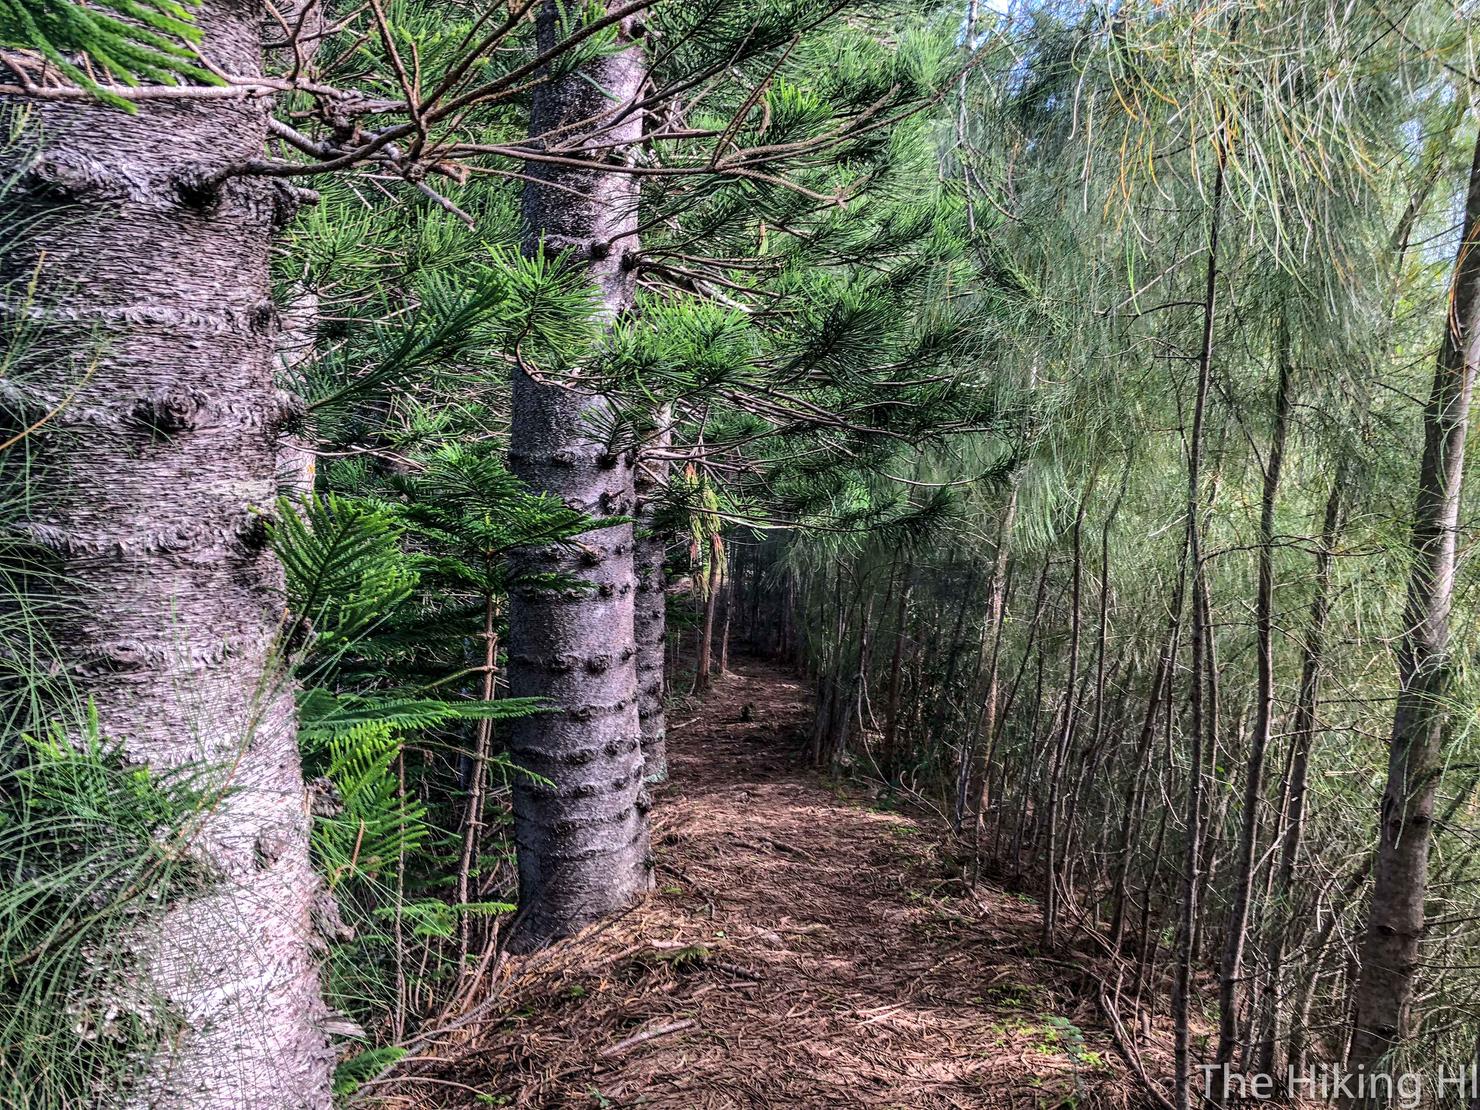
And then the impressive Cooke Pines.
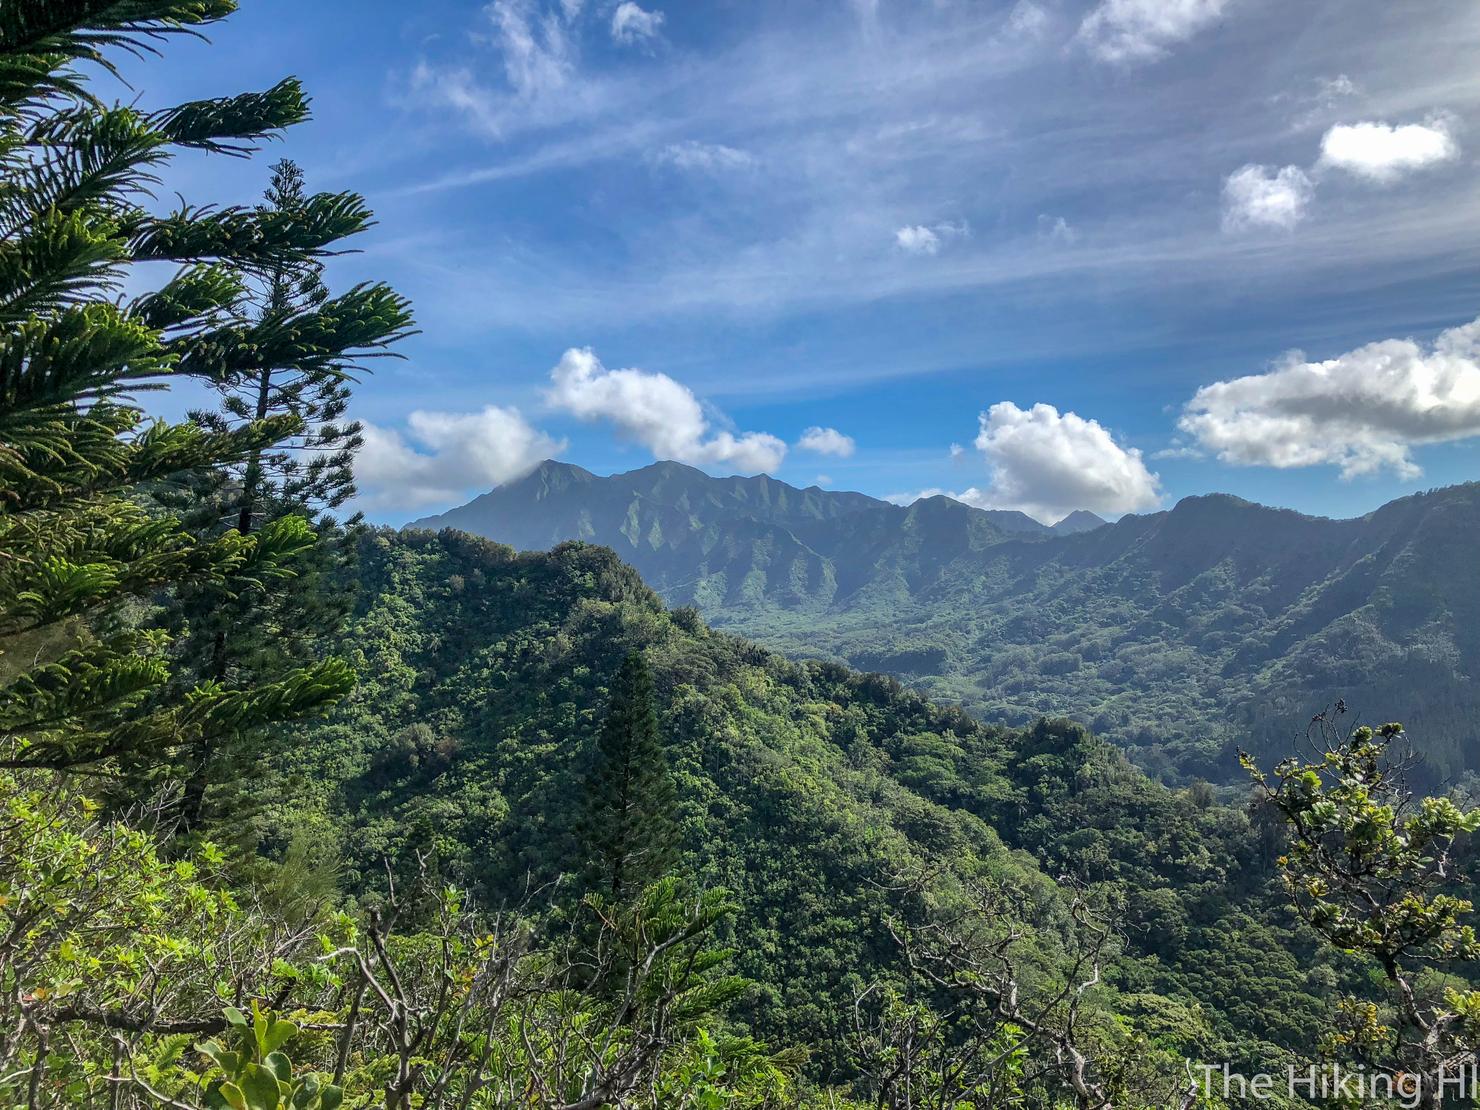
All of that coupled with some views of the neighbor ridges. I tell you, you don't need to make it to Lanihuli to get a good bang for your buck on this trail. Kapalama is an amazing hike by itself.
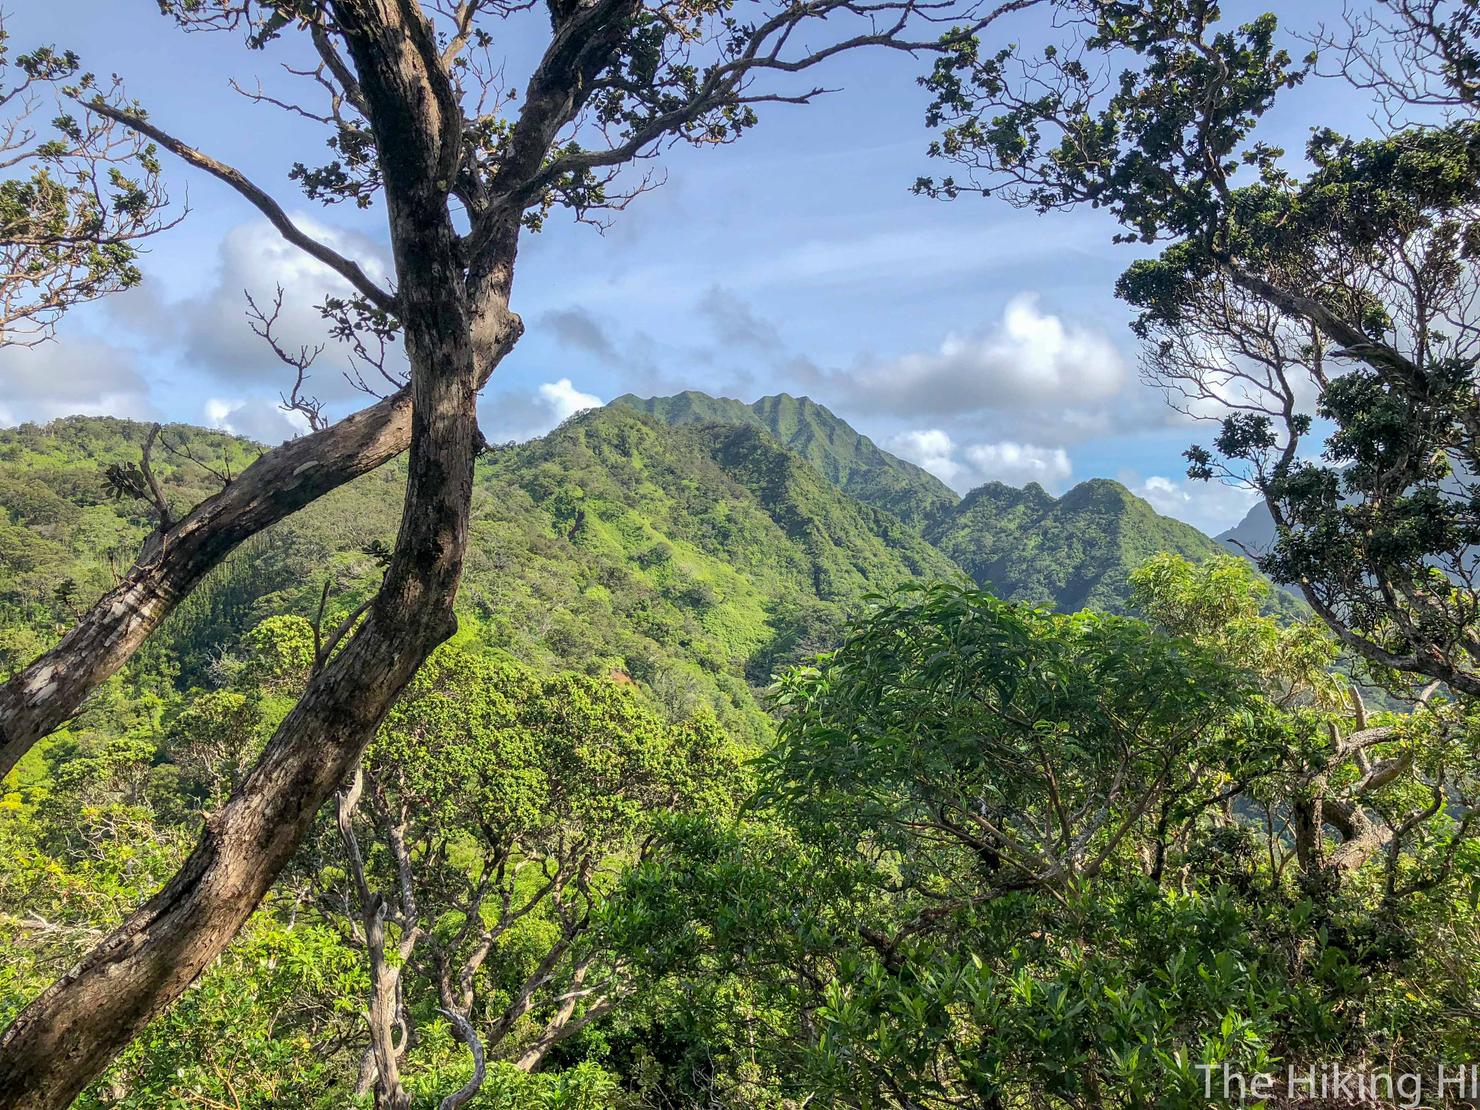
But make it to Lanihuli I must! There it is, peaking over the near ridge. We still have a ways to go...
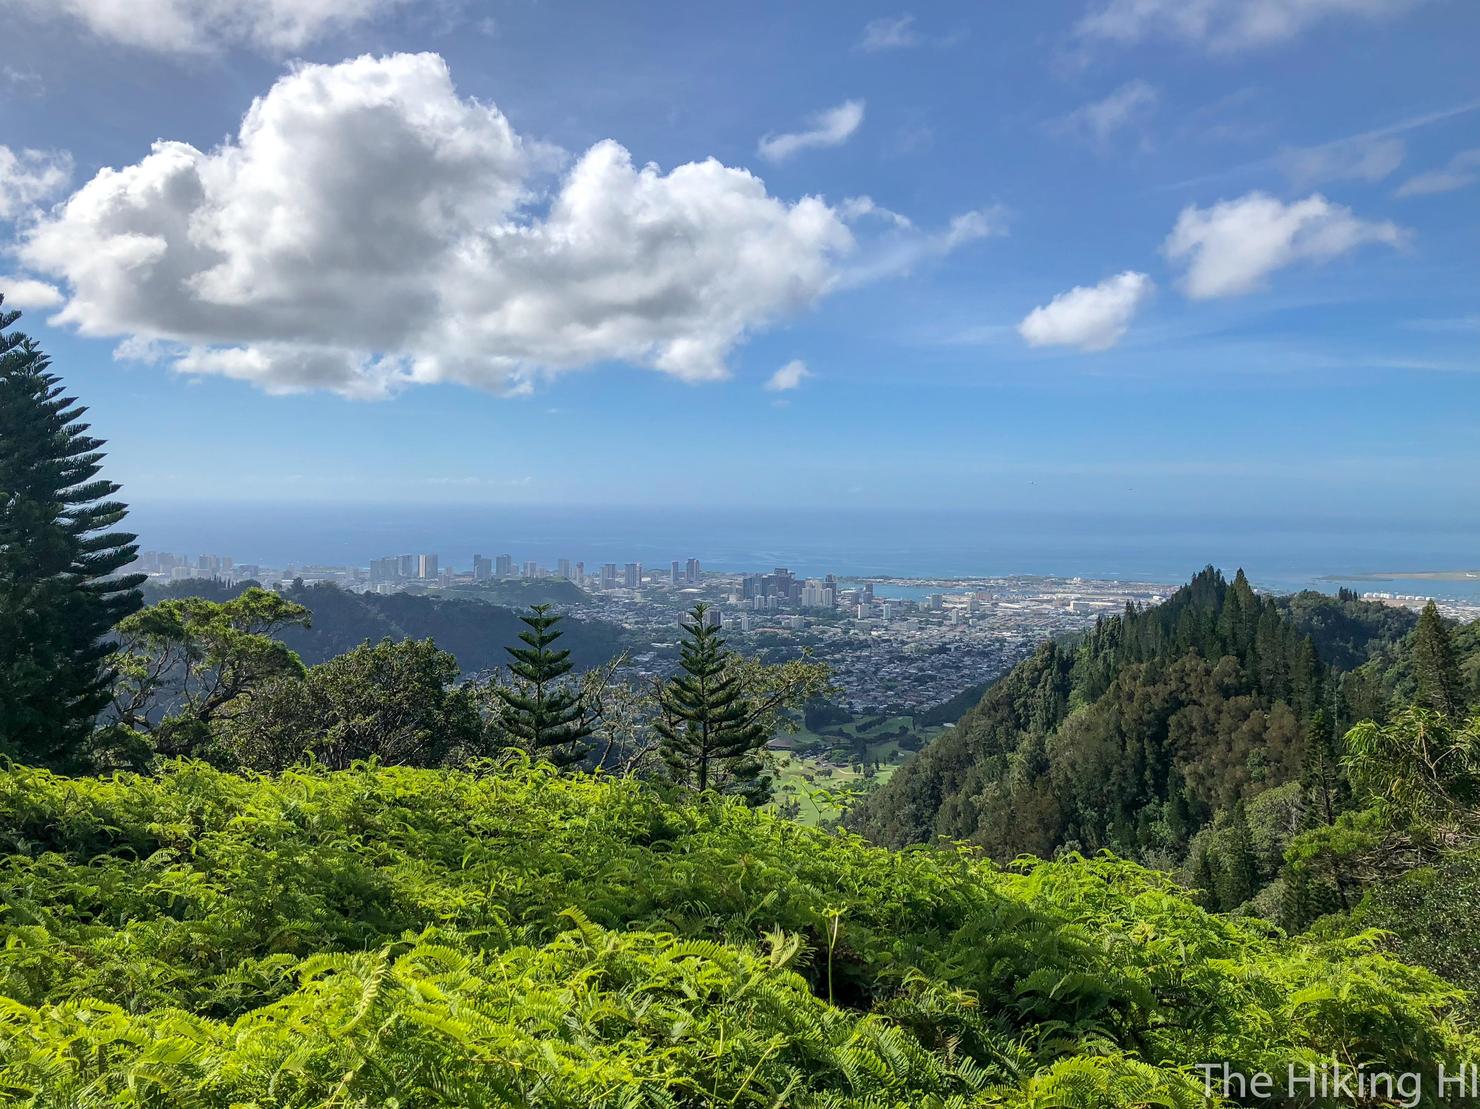
So turn around and take in the views if you need a break.
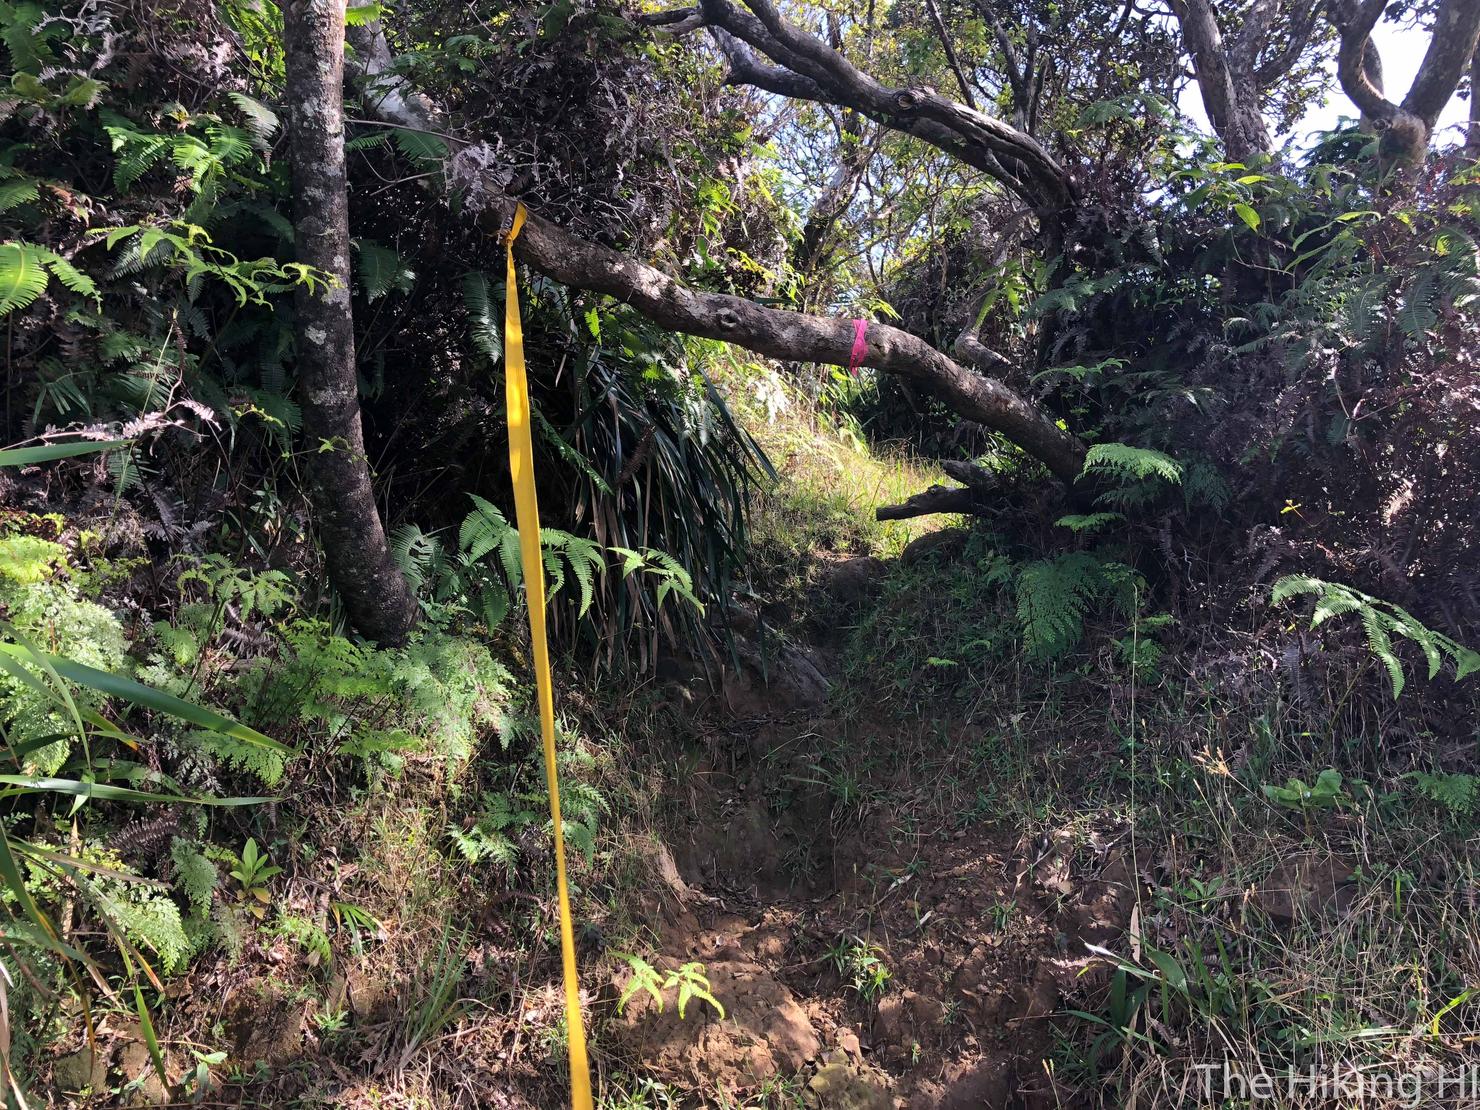
The hike never got crazy difficult--at least for the first two thirds of the ascent. I was definitely breathing heavy and there were some parts that had ropes to assist, but the trail was fairly open and comparable to most ridge hikes in the area.
That is until you reach this clearing which gives you a superb view of Lanihuli. After this section, the hike ramps up. It gets overgrown, muddy, and the footing is very uneven. Not to mention there is still a decent amount of elevation gain.
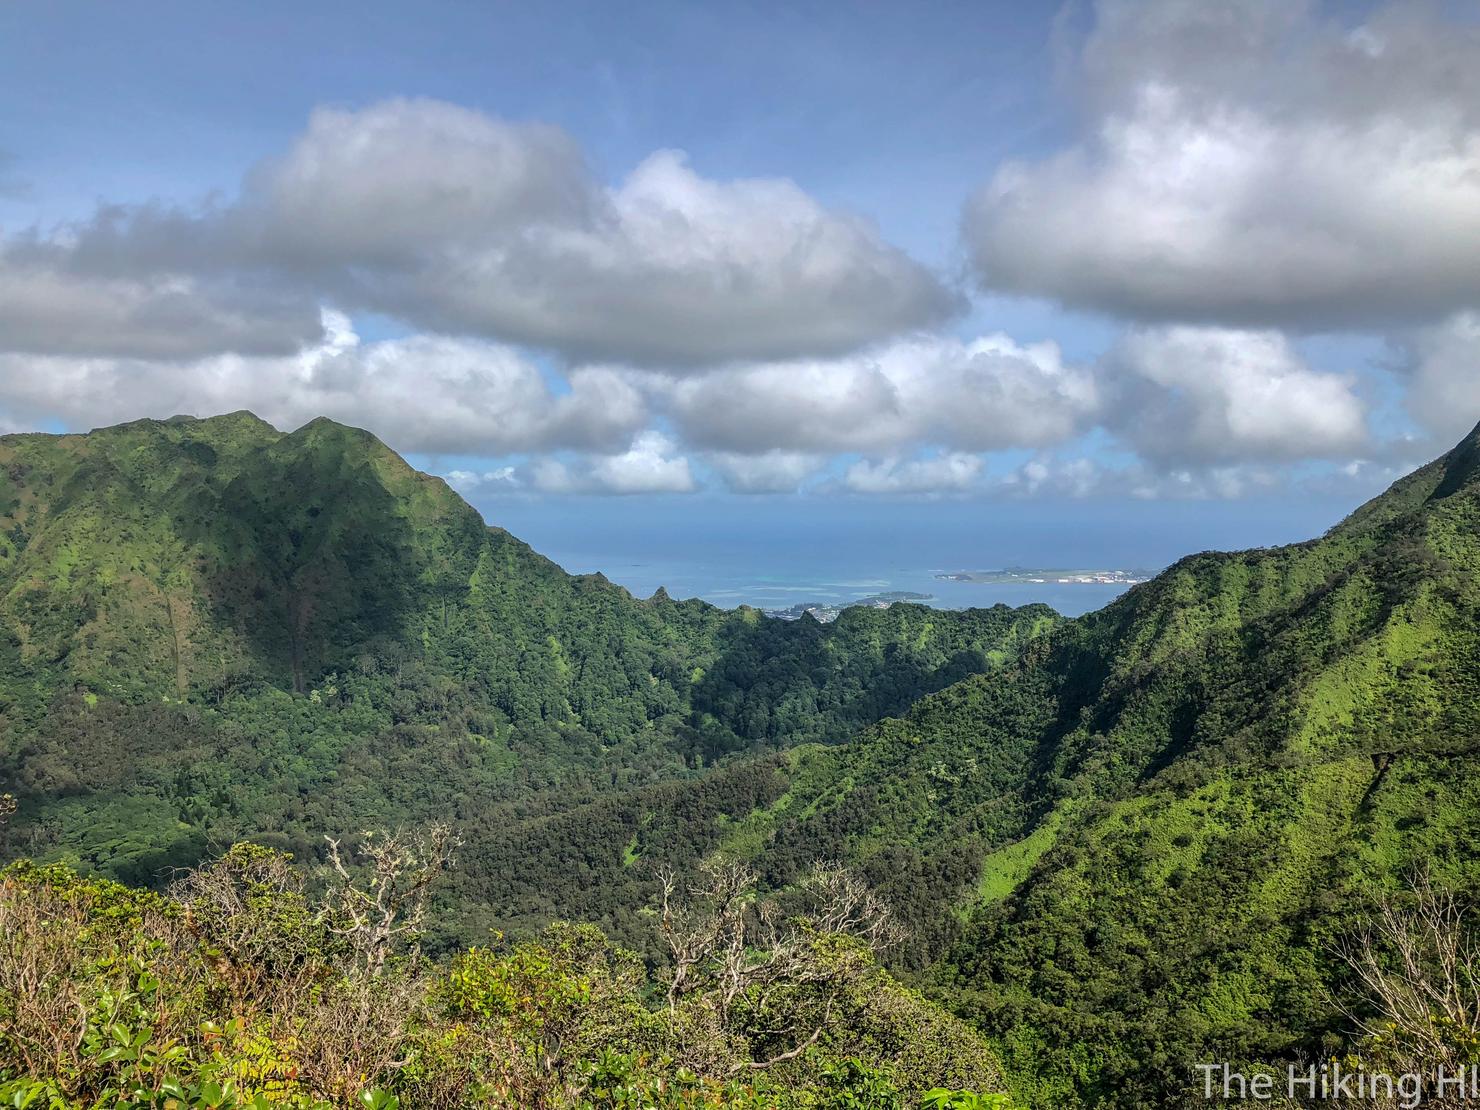
So it's a great spot to take a quick break and soak in some views. To the left of Lanihuli is the Kalihi Saddle, arguably the most treacherous part of the KST.
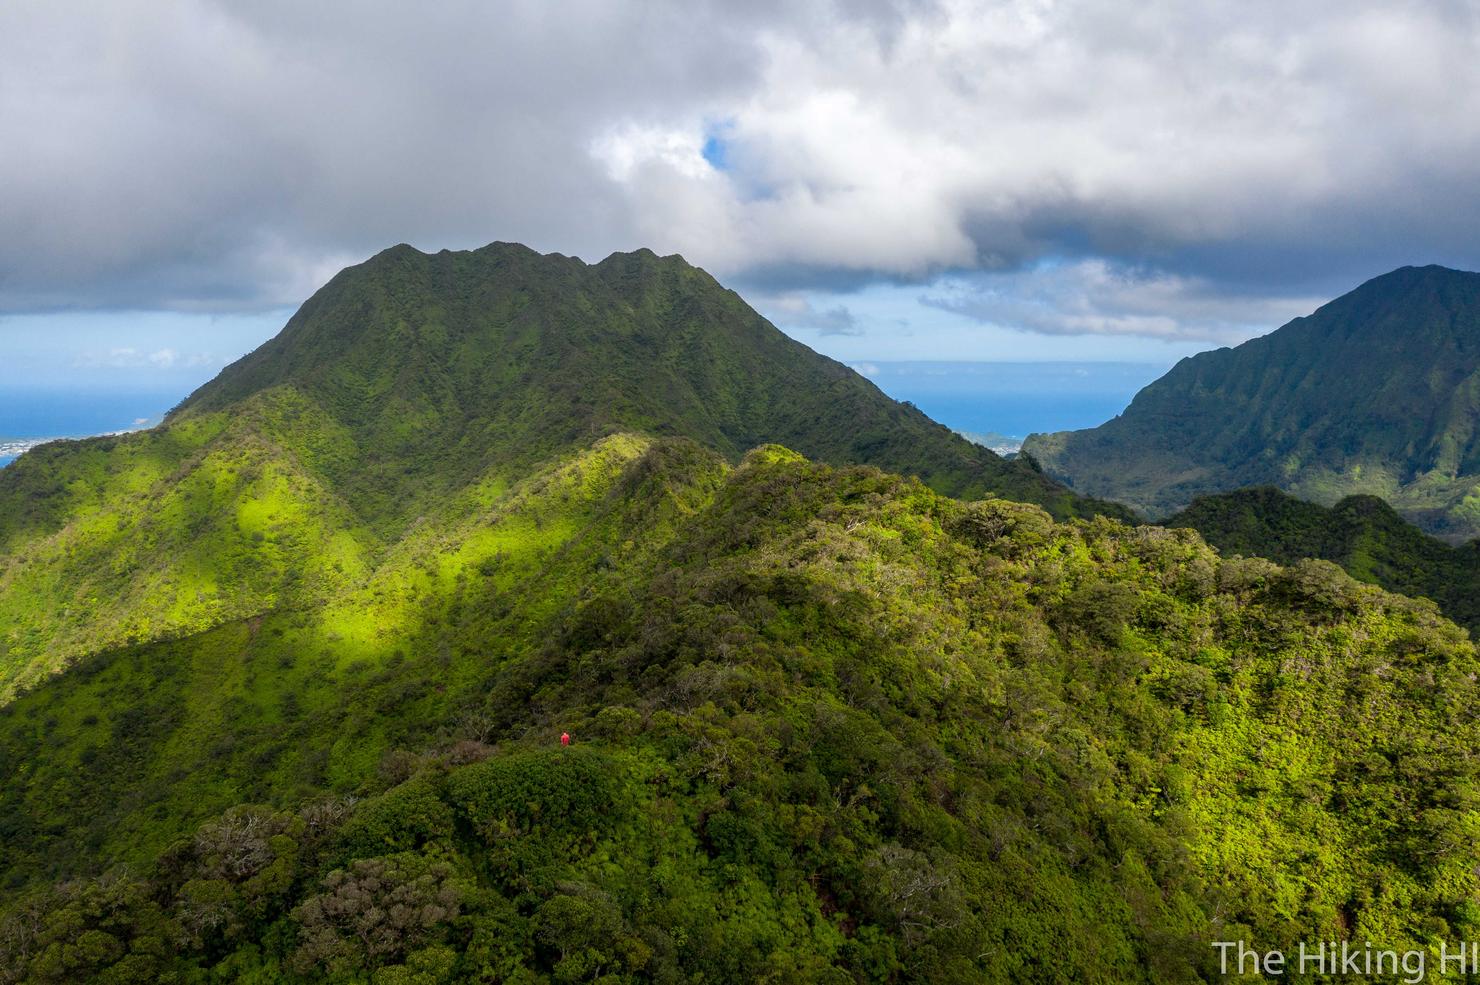
It's also a fun little spot to fly the drone. Can you see me and my pink shirt? This is standard drone photoshoot attire.
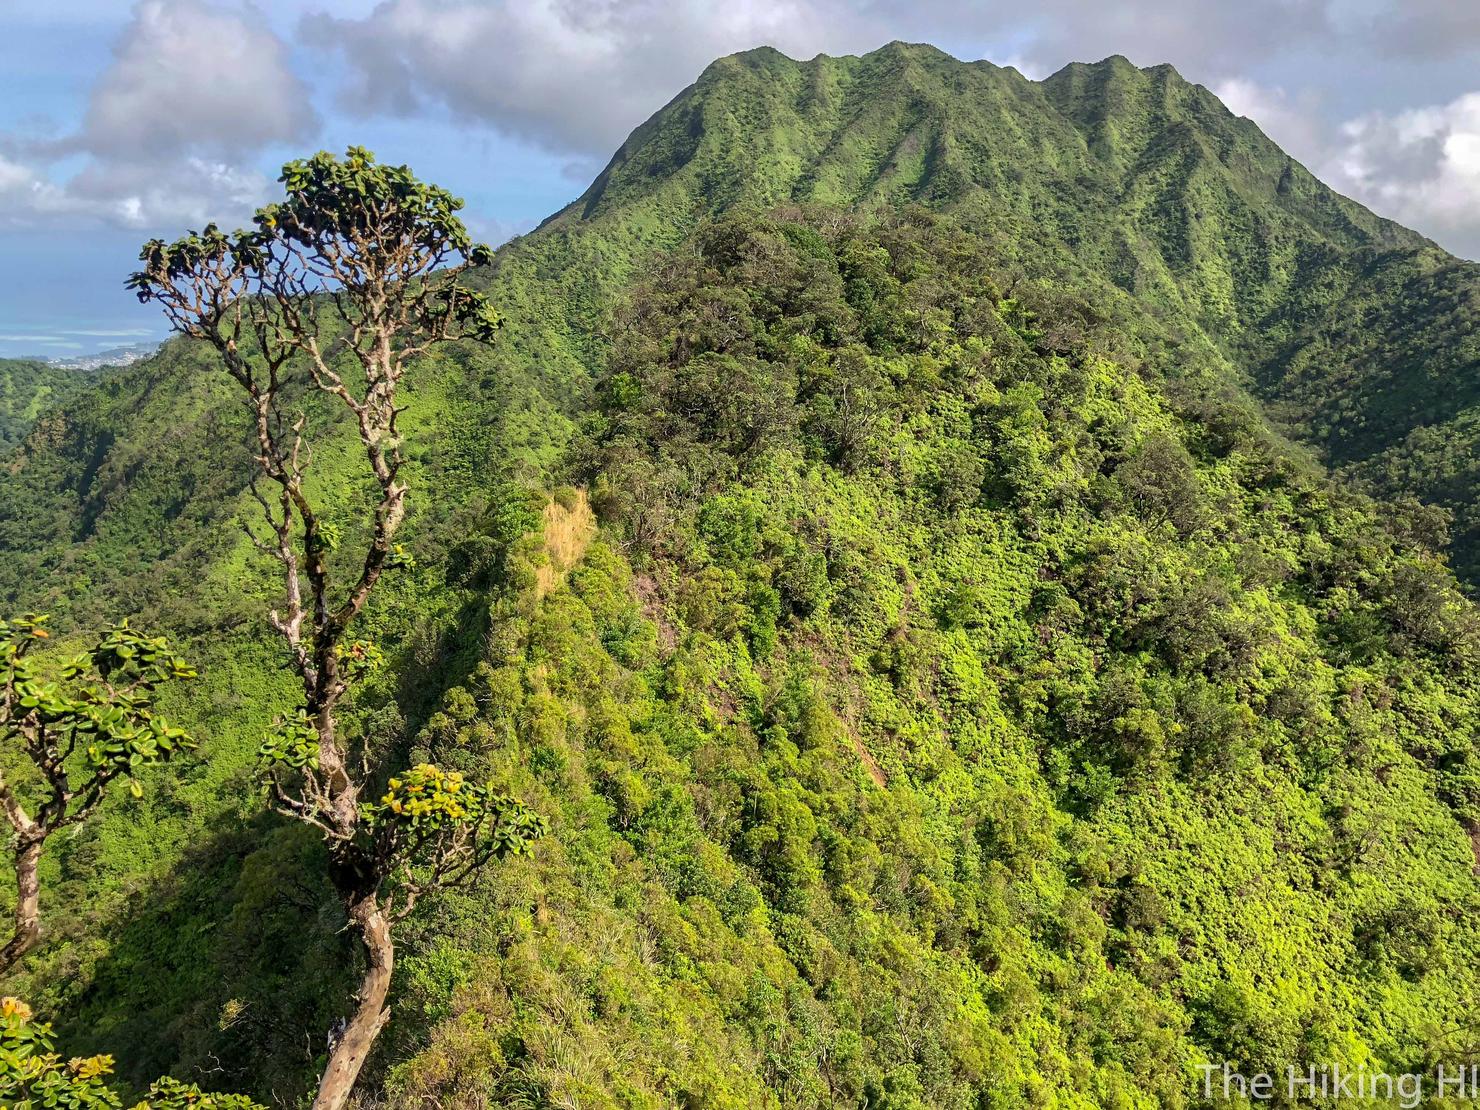
It's time to hike onward! As I began to make my way to the summit, I noticed something unfortunate... the clouds. They were closing in. I began to pick up my pace, hoping to beat them as they inched closer to the summit.
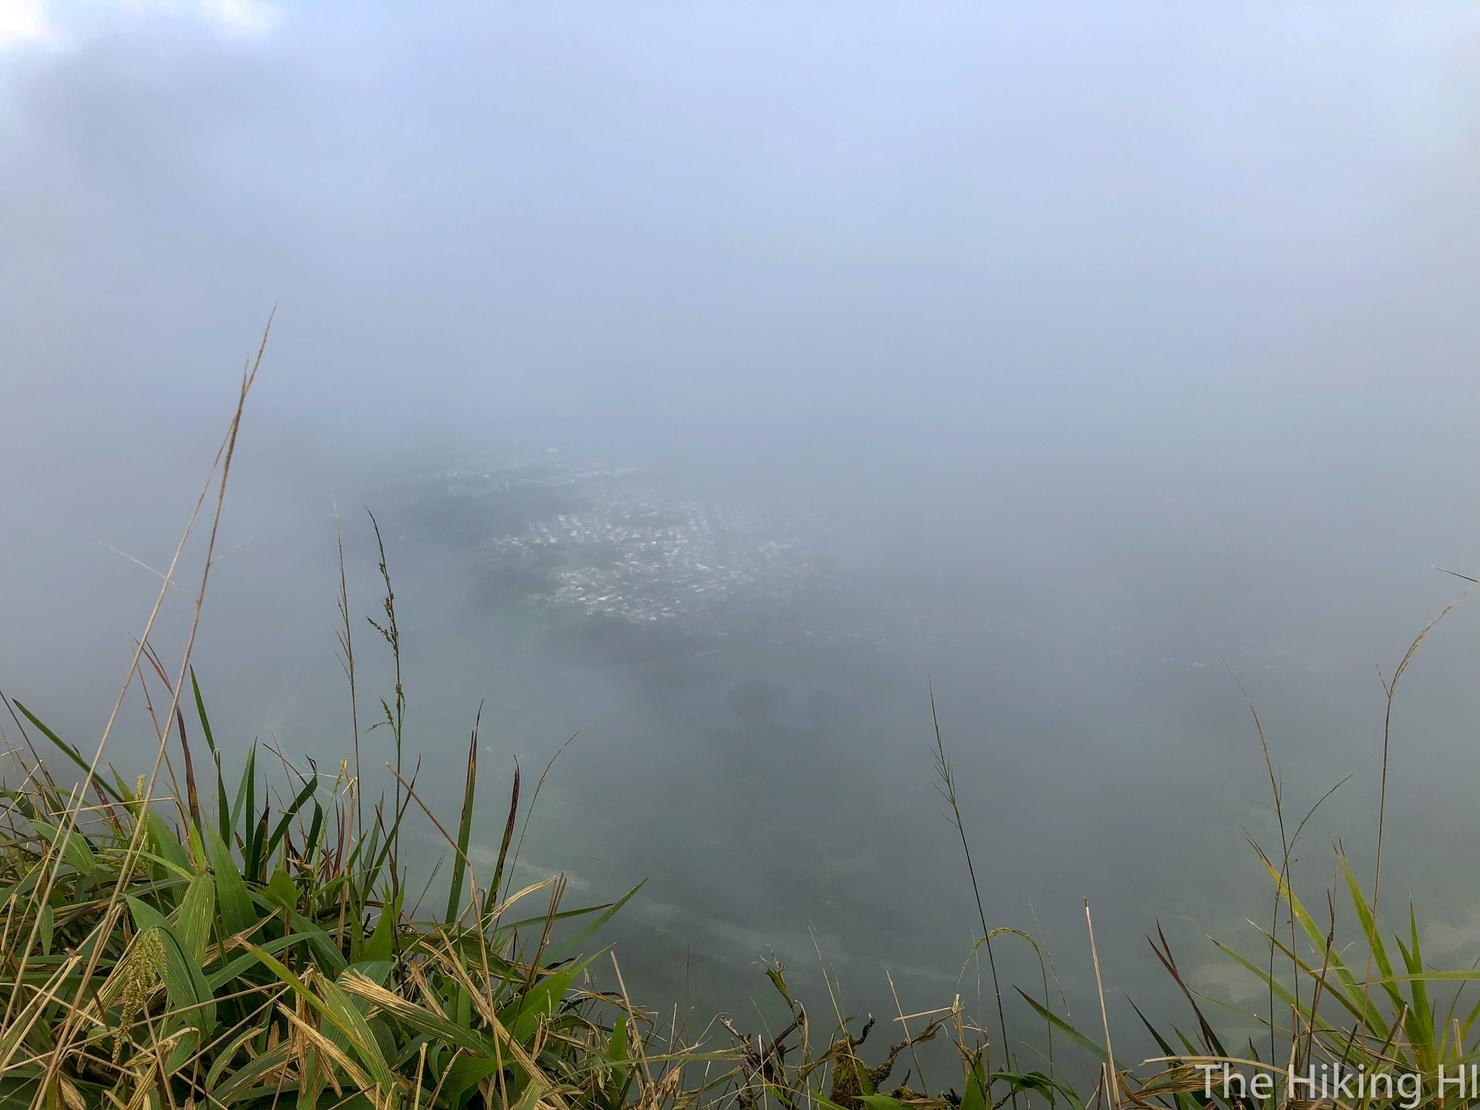
And... I lost. All that mud and bushwacking, and I missed the views. It made me slightly sad, because just an hour ago, the summit was completely clear.
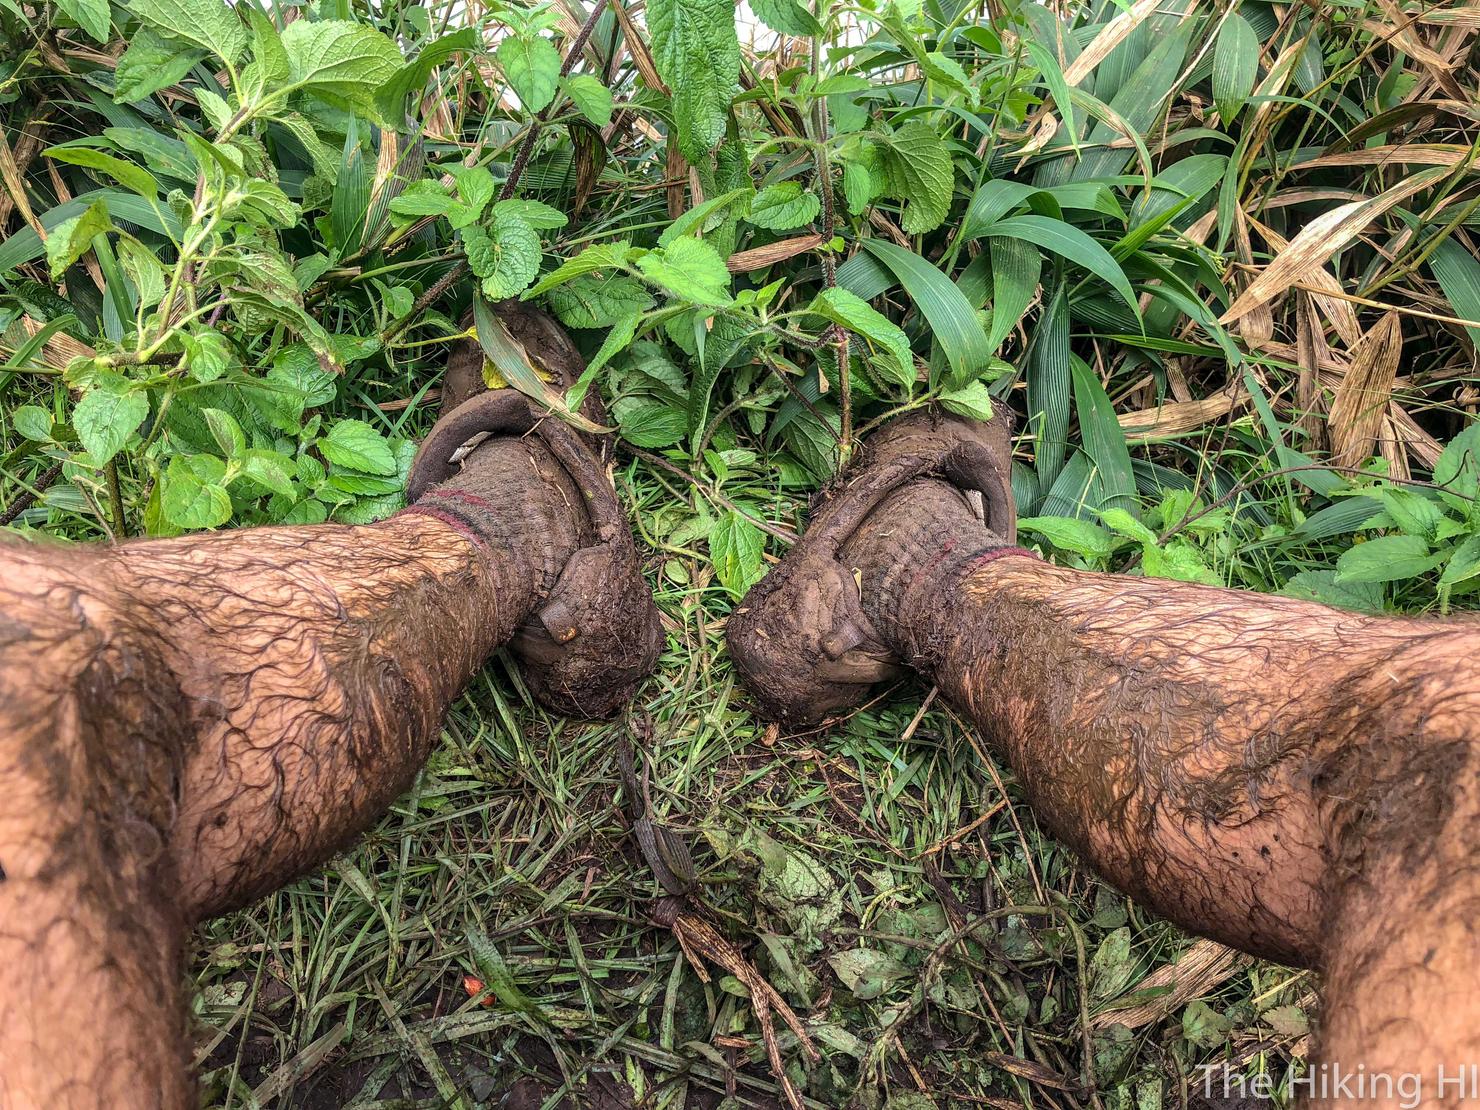
Also, I got just a "bit" muddy as I raced to the summit.
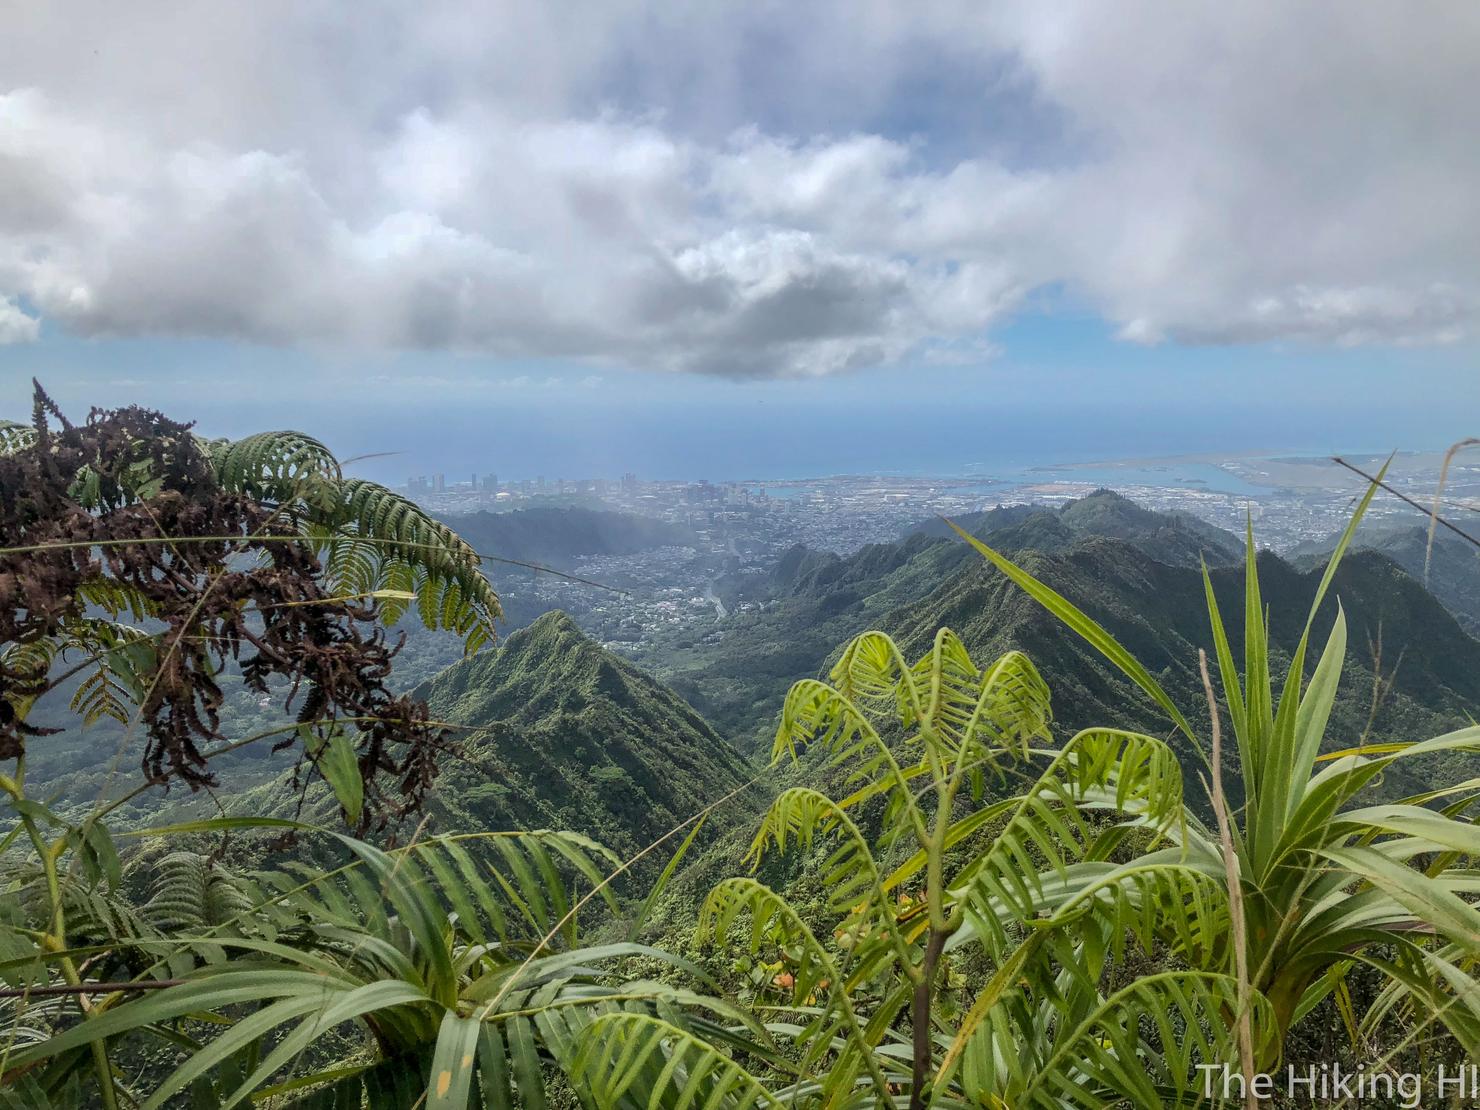
Unfortunately even waiting for a half an hour, the windward views never came. But being up on that summit was more than enough for me. The leeward side was still clear so I could get a nice look at what I'd just accomplished.
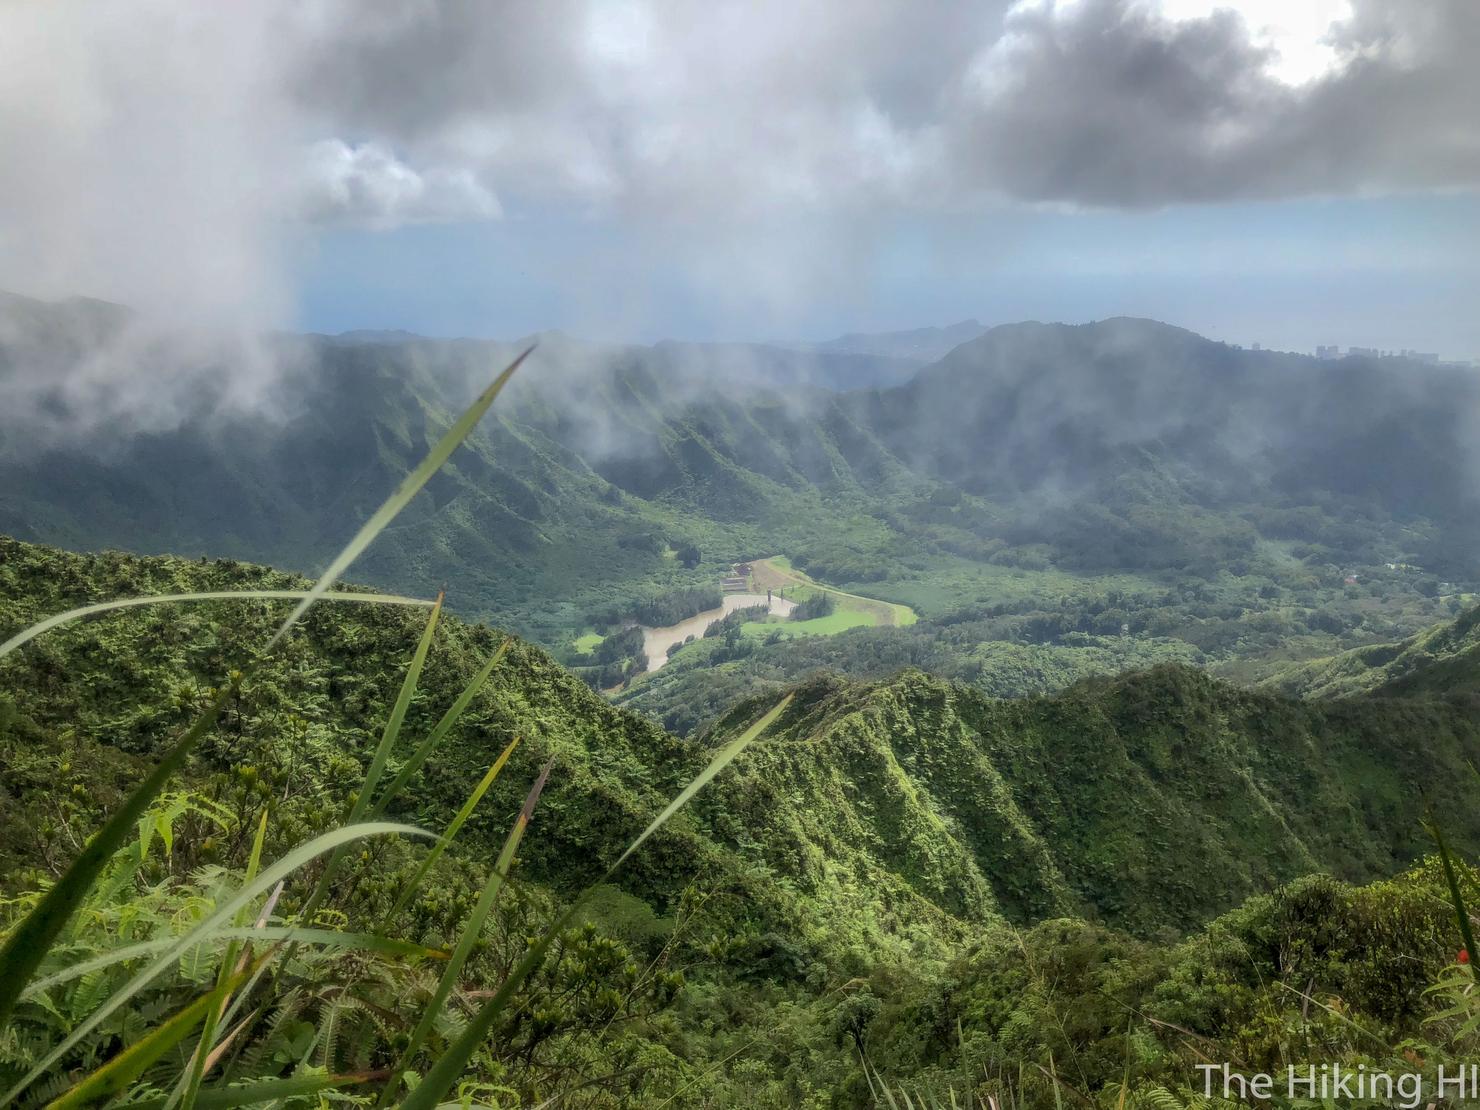
And even a good little view of the Nuuanu Reservoir, which leads to the popular Lulumahu Falls.

But even if I couldn't get the views with my own eyes, there were other ways to accomplish that-- technology! I flew the drone around to capture a few more pictures. I love this shot of the Kalihi Saddle and the Likelike Highway.
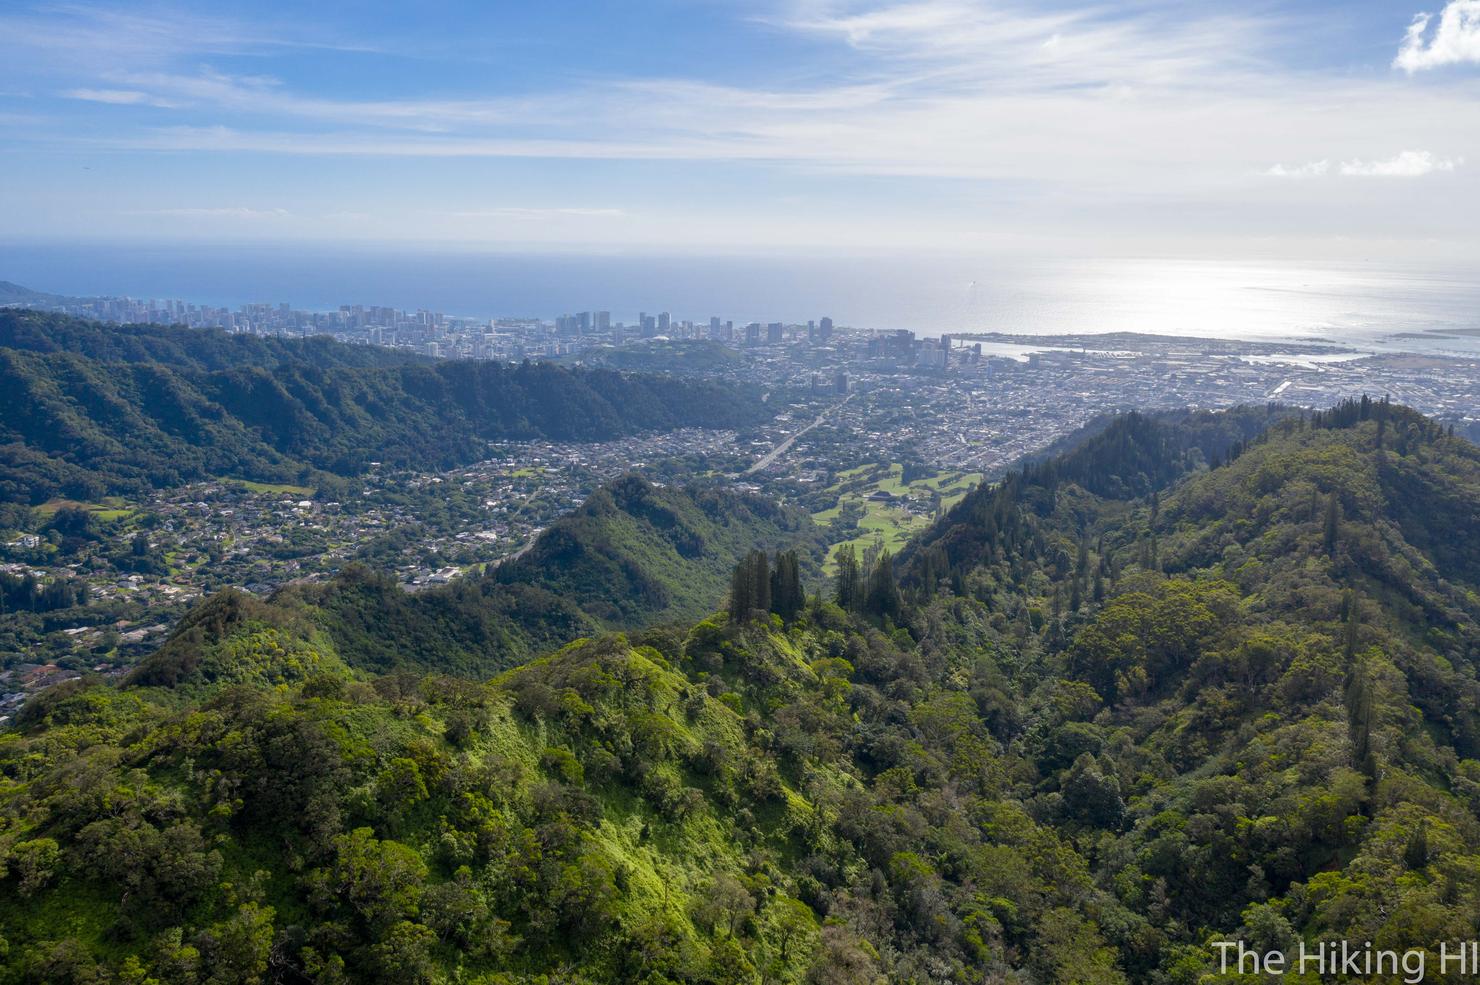
And one last shot of it all put together. Time to head home and plan my next hike!
- Extreme Hiking Hawaii's post about the other route to this summit
