Difficulty: INTERMEDIATE-ADVANCED
Time: 4-5 HOURS
Distance: 4.5-5 MILES
Elevation Gain: 2000 FEET
Foot Traffic: LOW
Challenges: Steep scrambles with loose dirt, Narrow ridges with steep dropoffs, Rock scrambling, Overgrown
Sights: The Mokes, K-Bay, Three Peaks, Koko Head, Diamond Head, Honolulu
What to Bring: Good Amount of Water, Snack, Sunscreen, Long Sleeves/Pants, Shoes with good grip
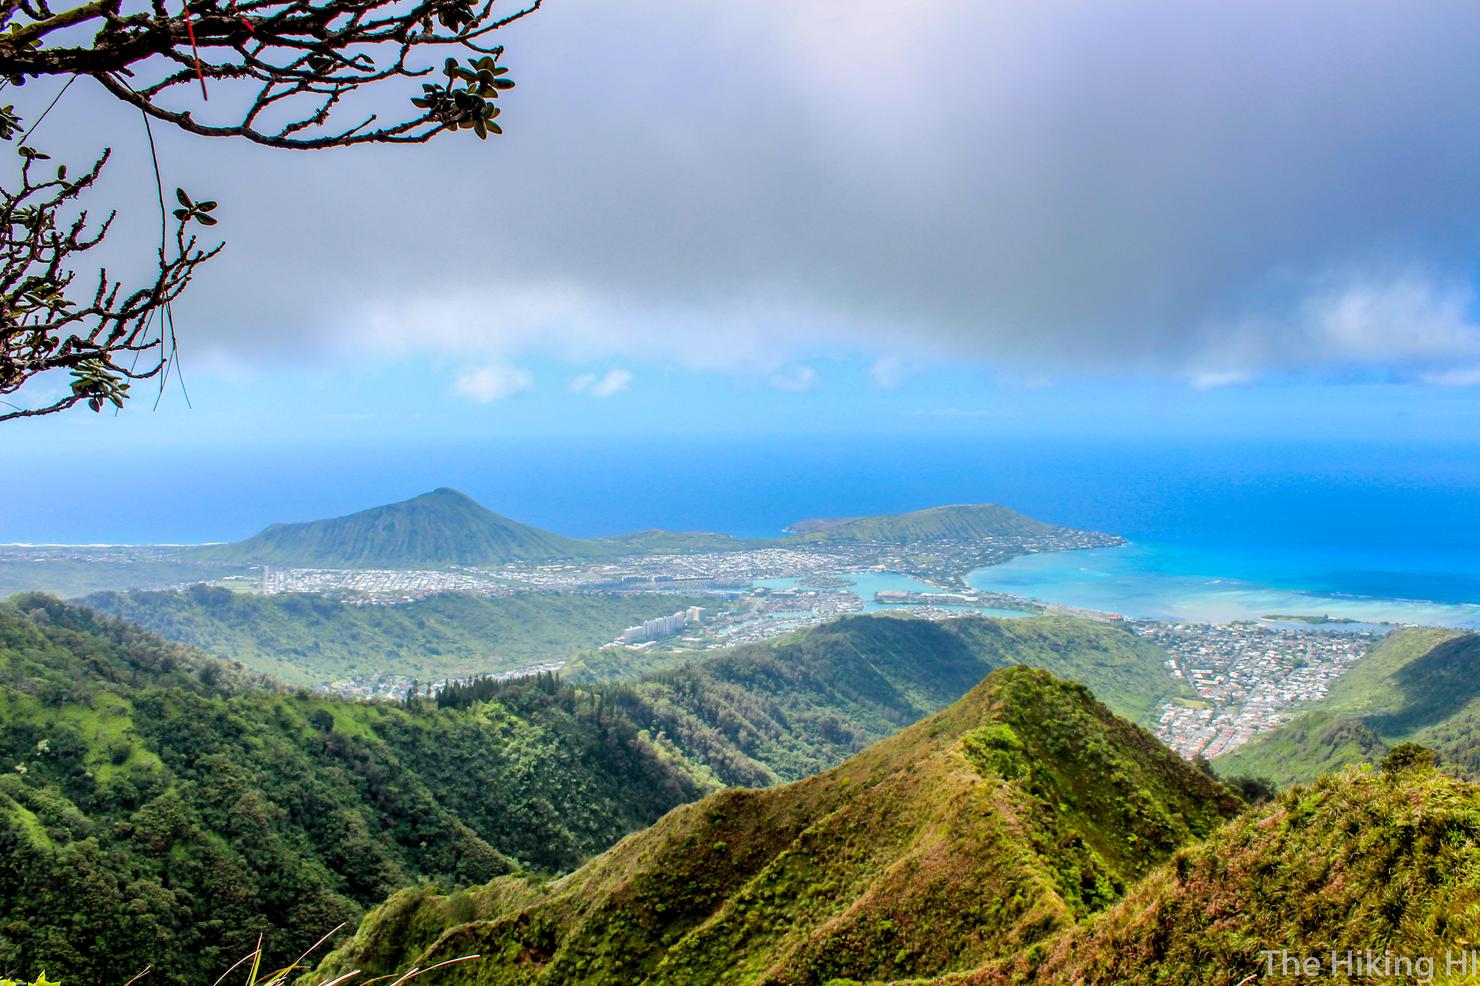
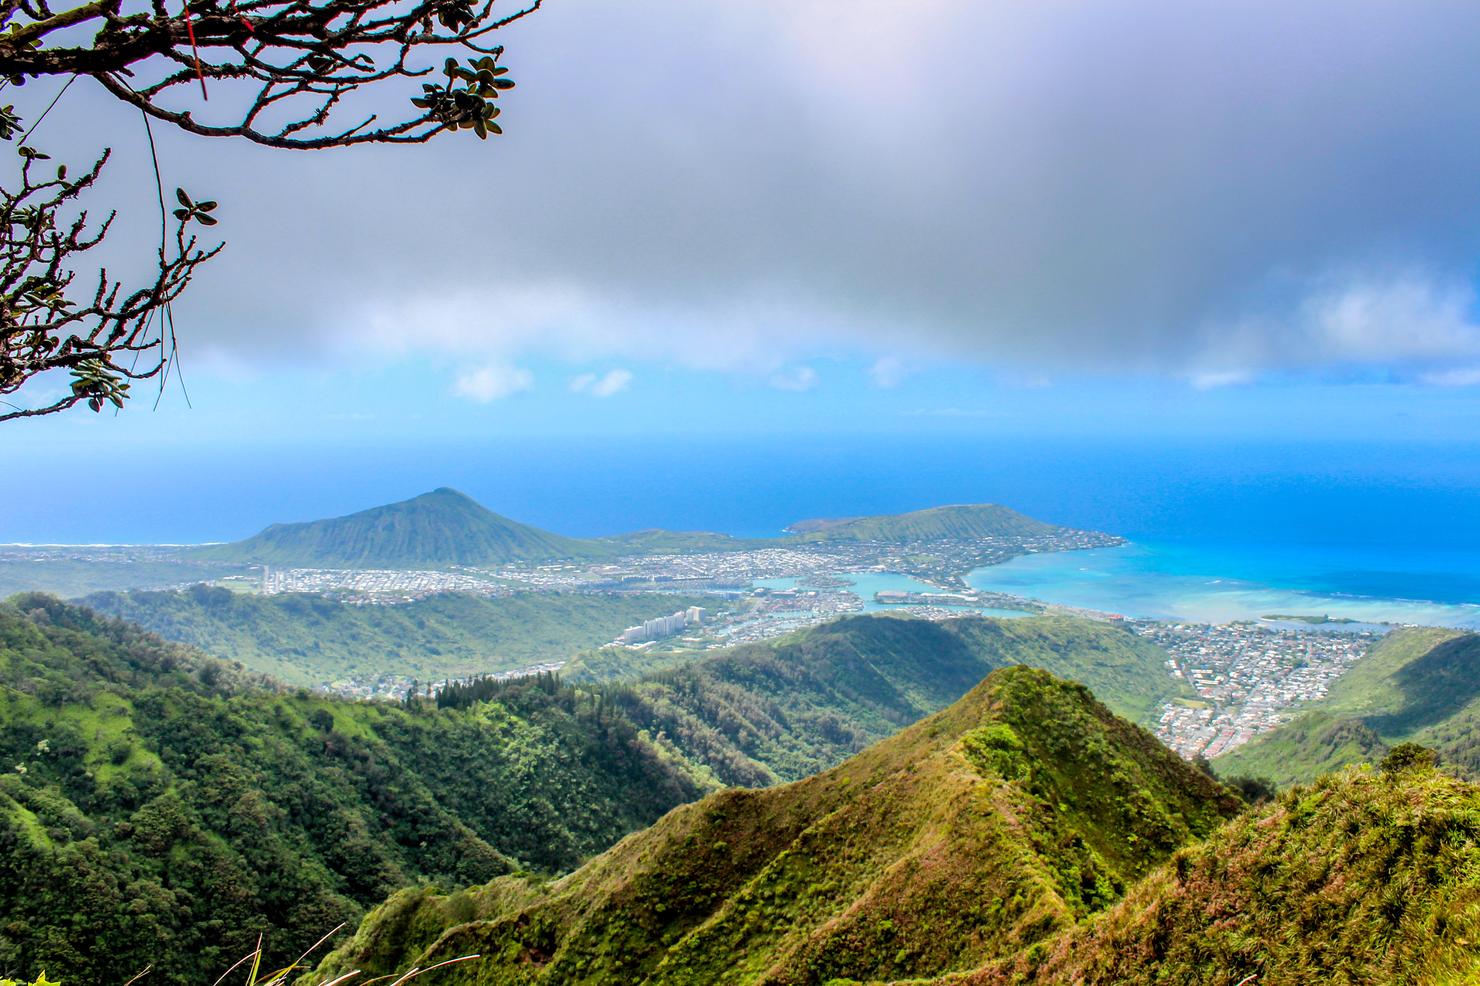
This challenging ridge hike takes you to one of the prominent peaks of the Ko'olau Mountain Range, Pu'u O Kona. It begins on the popular and well maintained Kuli'ou'ou Ridge Trail where you follow a series of switchbacks through the forest to gain elevation and reach the ridge. You then climb several man-made stairs to reach the summit of the trail. From here, the hike gets more advanced as you will be venturing to unsanctioned territory with narrow ridge hiking, rock scrambling, and overgrown trails. However, the risk is worth the reward because once you reach Pu'u O Kona you will be able to experience some amazing views of the island. If you catch the peak when it's not cloudy, you can see downtown Honolulu, Diamond Head, Koko Head, and many windward landmarks such as Three Peaks and the Mokes. After taking your fill of the views, you will head back down the western ridge of Kuli'ou'ou before descending back into the trees to get back to where you started.
This hike will always have a special place in my heart. The first time I did this hike was with my friend Peter, shortly after I moved to the island. Neither of us had much experience with ridge hiking of any sort, let alone Hawaii ridge hiking, it was just a hike that looked doable. Once we had passed Kuli'ou'ou Summit and were on our first descent along a narrow ridge, we realized why Hawaii ridge hiking is no joke. Climbing up and down those ridges, with huge dropoffs on either side and the beautiful Pacific Ocean in the background was unlike anything we had ever experienced. We were both hooked. It was only fitting that a year later I returned to this hike to relive those feelings another time.
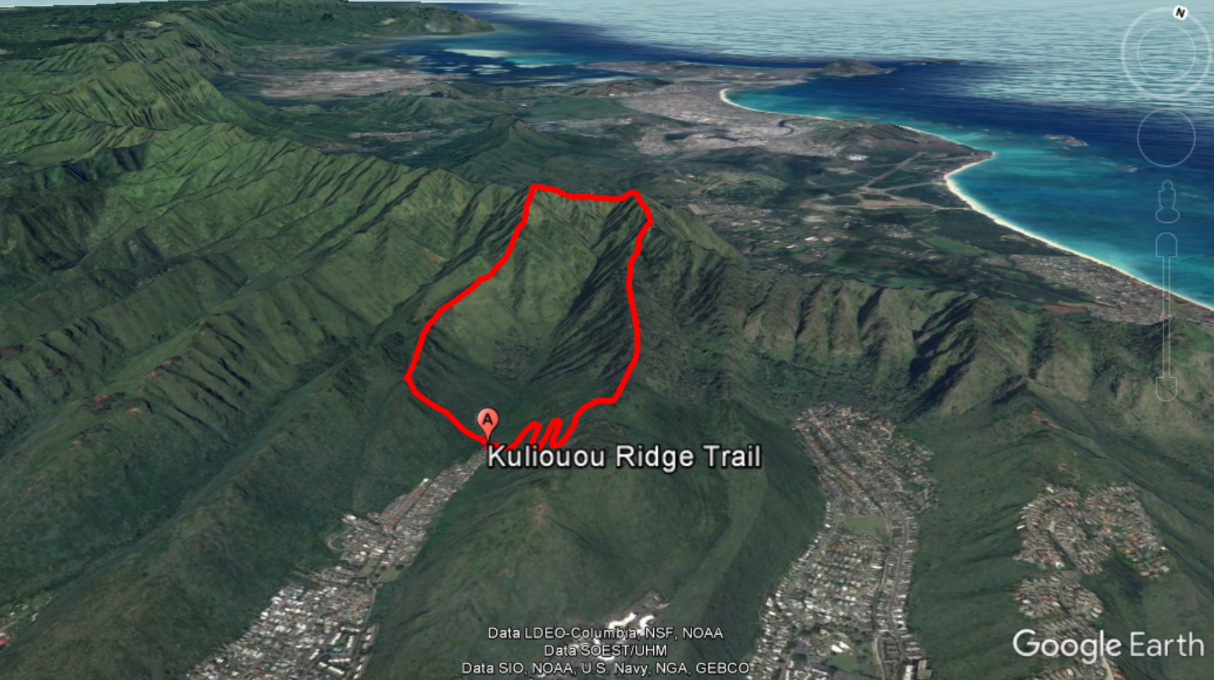
Here's a rough sketch of the hike. It begins on the main Kuliouou Ridge Trail (the path to the right) along many switchbacks before you reach the ridge. That is by no means the exact number of switchbacks, I was just showing a visual representation that on your return trip on the west ridge, there are no switchbacks. You simply go straight down the ridge. The top left corner of the red trail is our destination-- Pu'u O Kona.
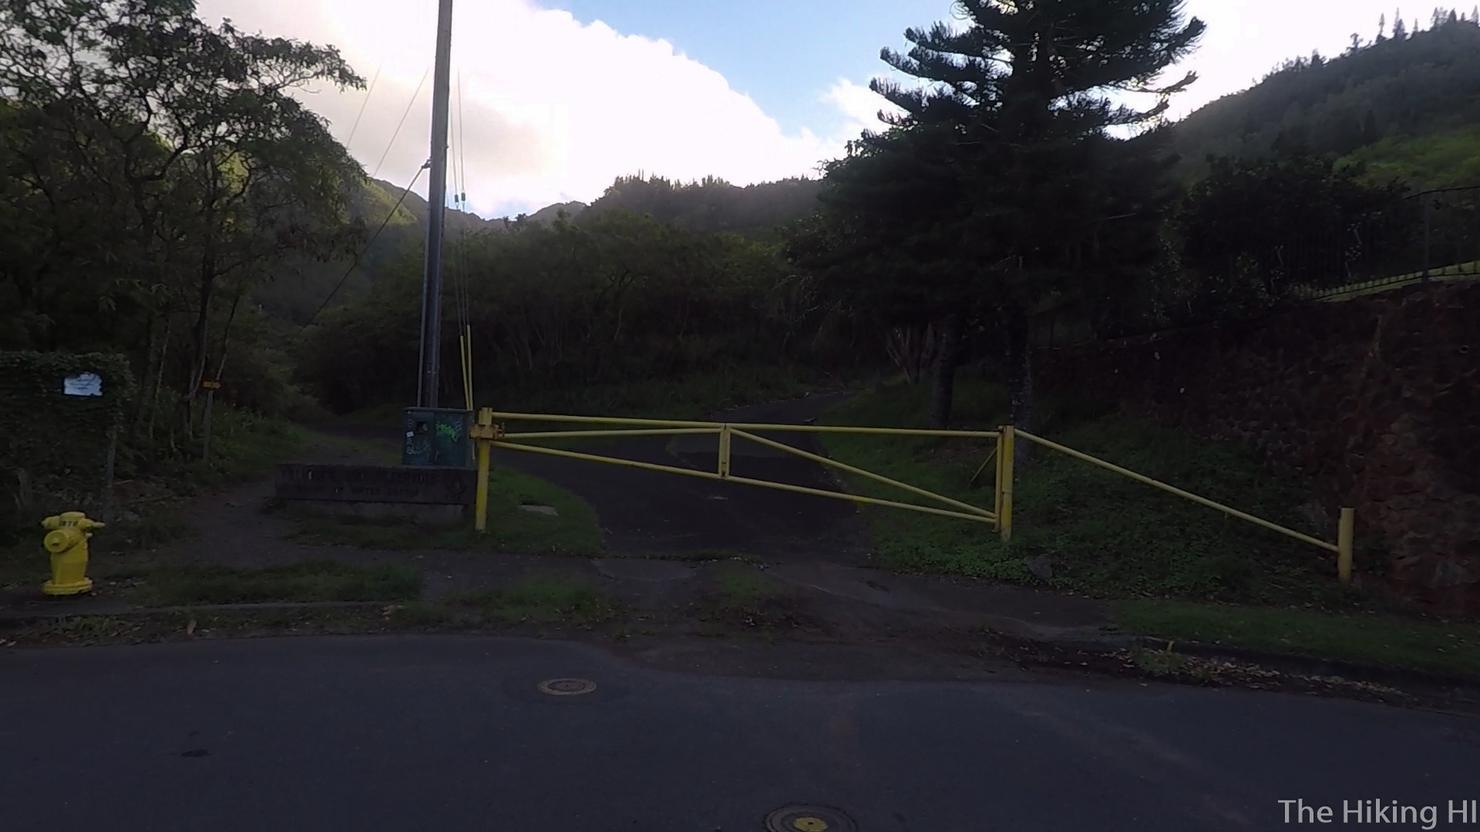
The hike starts at the end of Kalaau Road. You can park anywhere along that road, just not in the Cul-de-sac at the end. Go past this gate and head straight along the road to reach the trailhead.
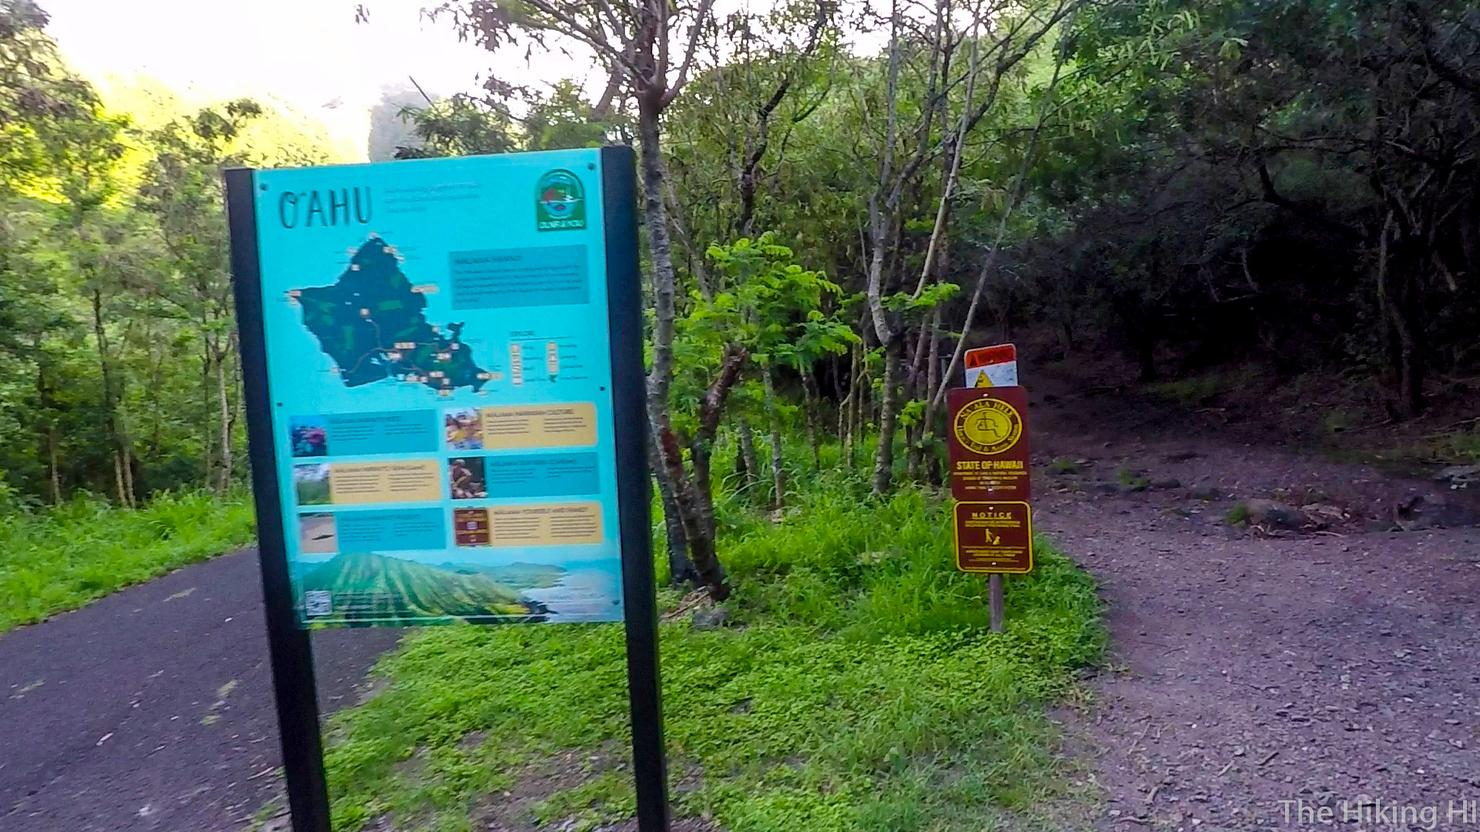
For the most part, the Kuli'ou'ou portion of this trail is well marked. This is the only portion that I feel isn't clear. As you can see there is a road to the left and a path that leads into the woods on the right. Head RIGHT to reach Kuli'ou'ou ridge trail. The left path is the one we will take back from the western ridge during our return trip.
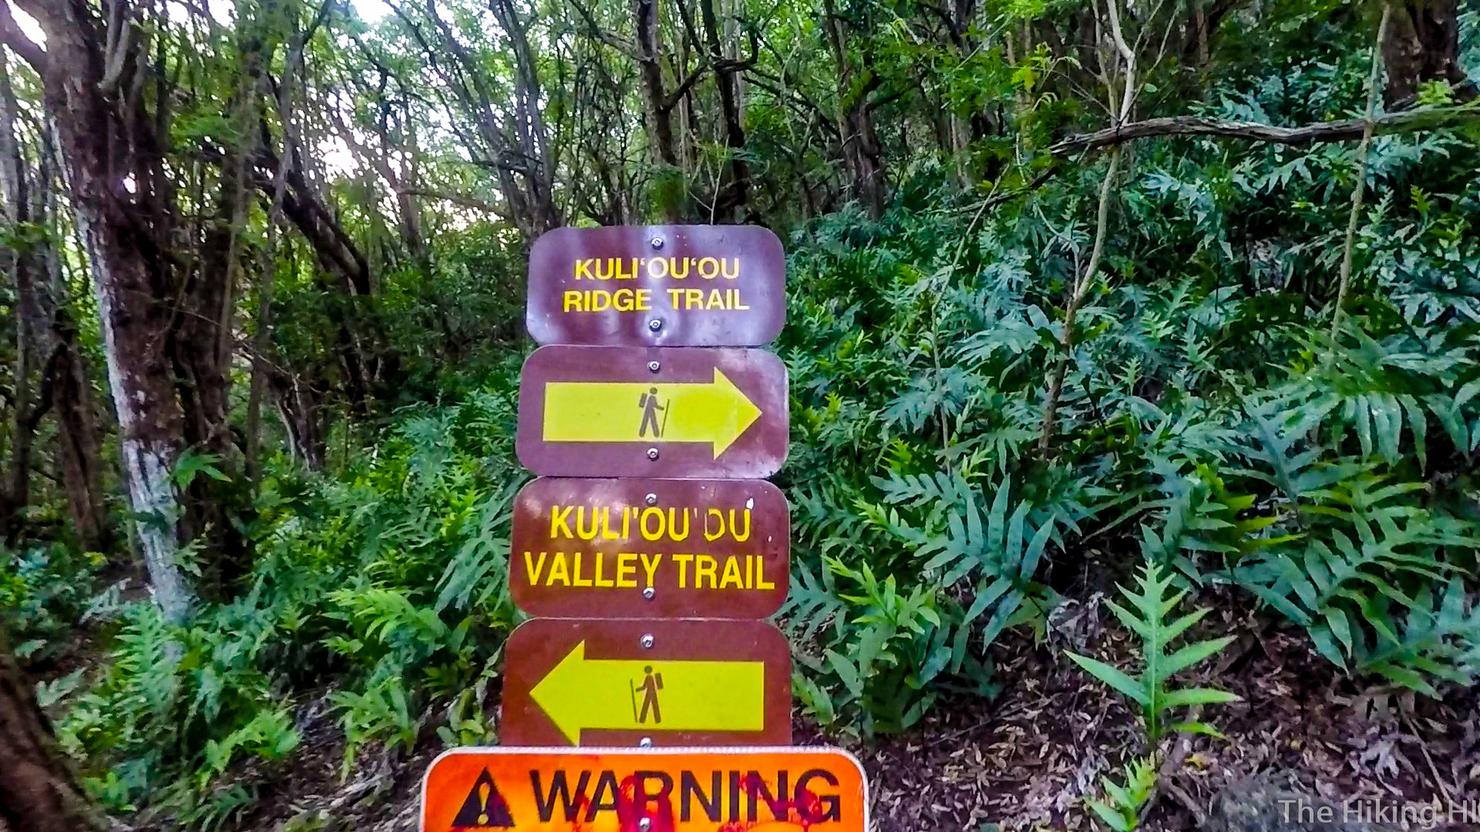
After walking in the woods a short way, you will reach this fork. The Ridge Trail is the one we are taking. I've never done the valley trail, it just doesn't have the same appeal. Maybe some day...
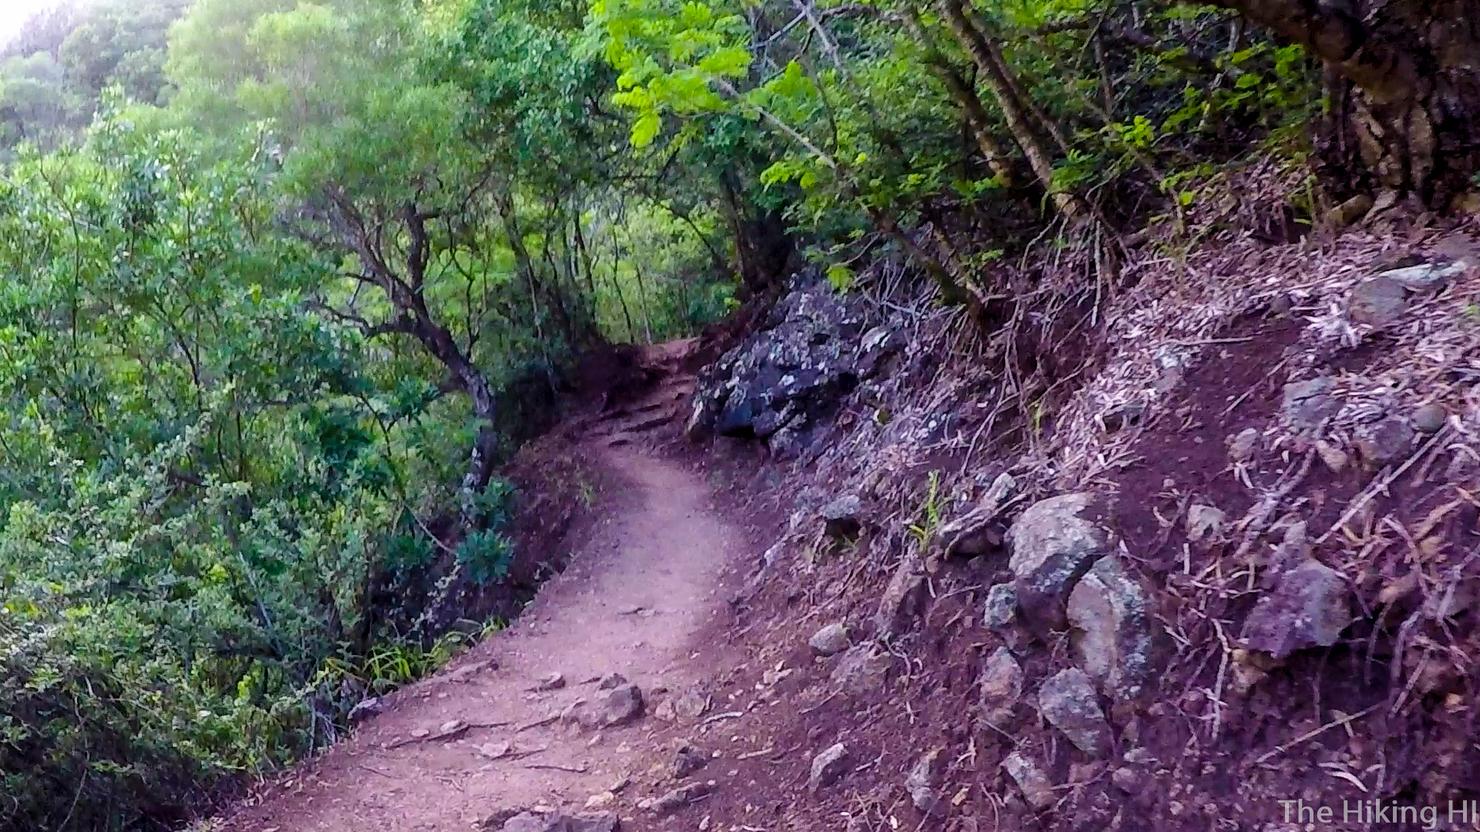
The hike starts gaining elevation quick, but with enough switchbacks to make it tolerable.

And early on, there's a couple points where you can see some of the valley and Hawaii Kai.
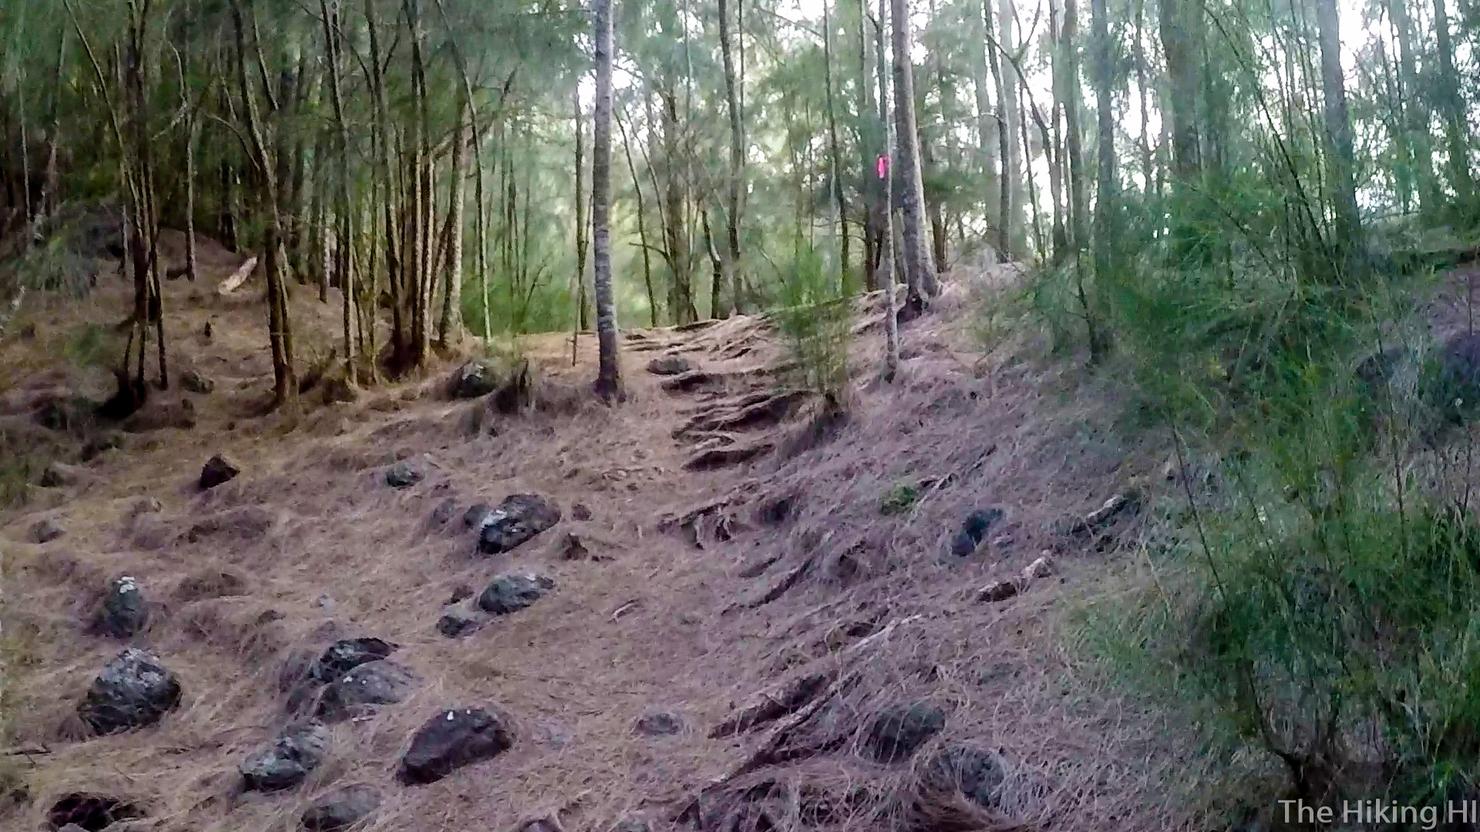
But soon the lookout points go away as you dive deeper into the trees. The terrain will change from dirt to pine needles, which serves as the first mental checkpoint that progress is being made. Just keep moving. This trail is well marked with many pink ribbons guiding your way.
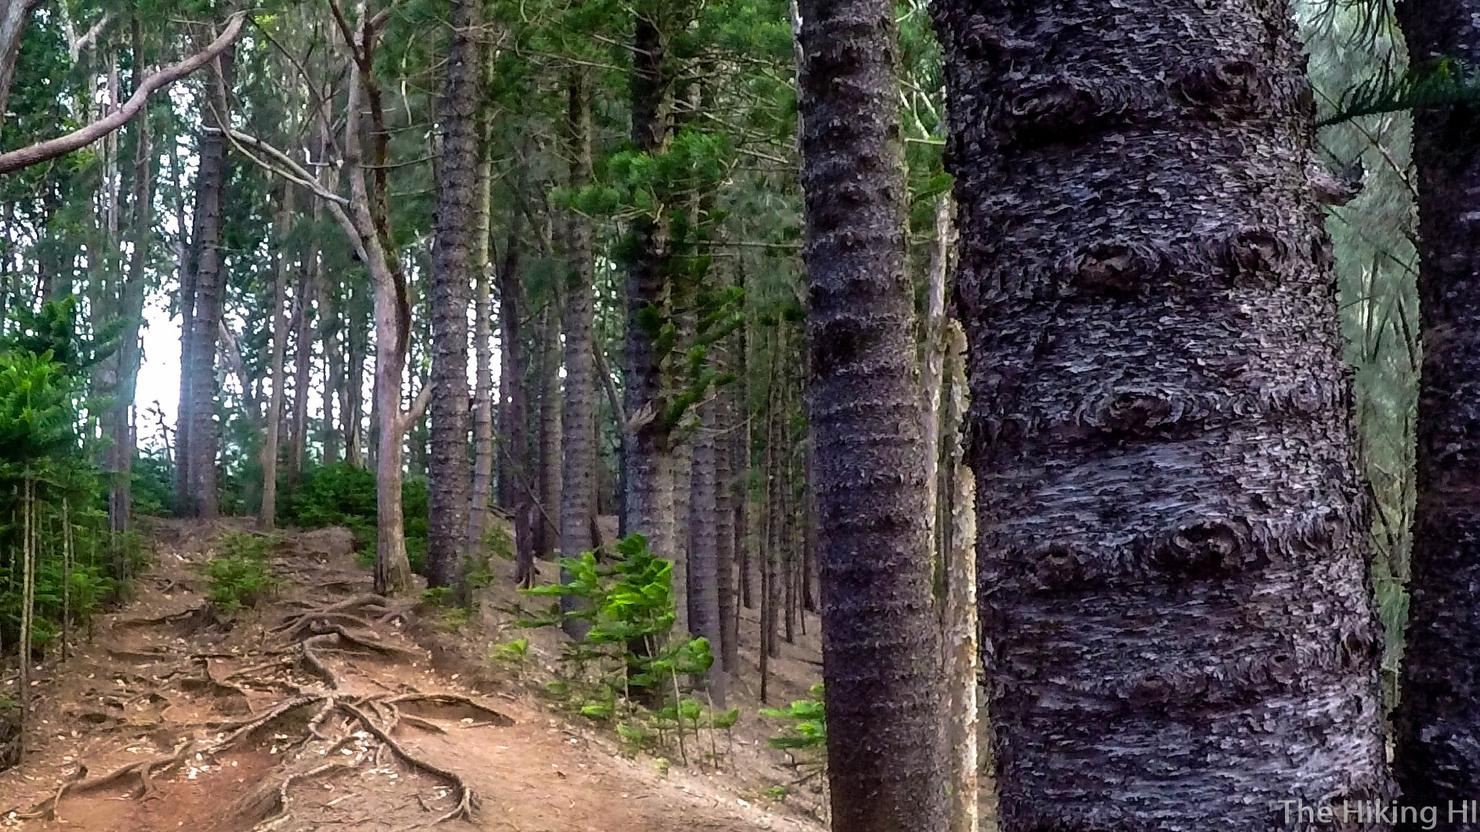
I don't know what type of trees these are, but I love them. Something about the way the notches symmetrically line the trunk is so nice to look at. While this part of the hike may not have expansive views, it really was pleasant to walk through on a crisp morning like mine.

After a short while you will reach this picnic area, covered in traditional Hawaii Art. It's a good spot for a quick break because this hike is about to get a bit steeper...
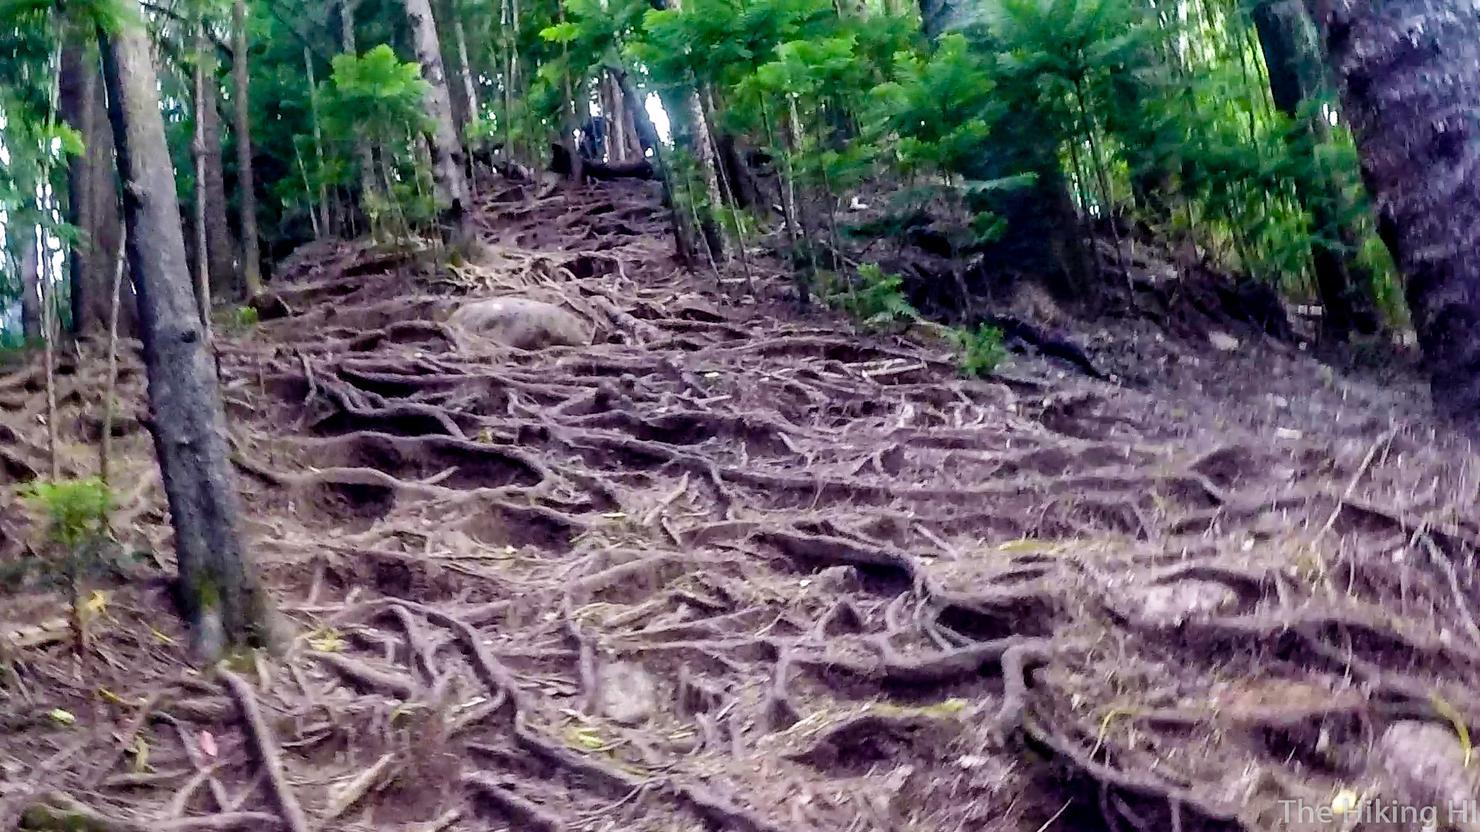
I think this is the trickiest part of Kuliouou Ridge. It's quite steep and the footing is tough because it's all tree roots. If it's wet, it is even harder. Watch your footing and take your time. Walking sticks are encourage for those who need them
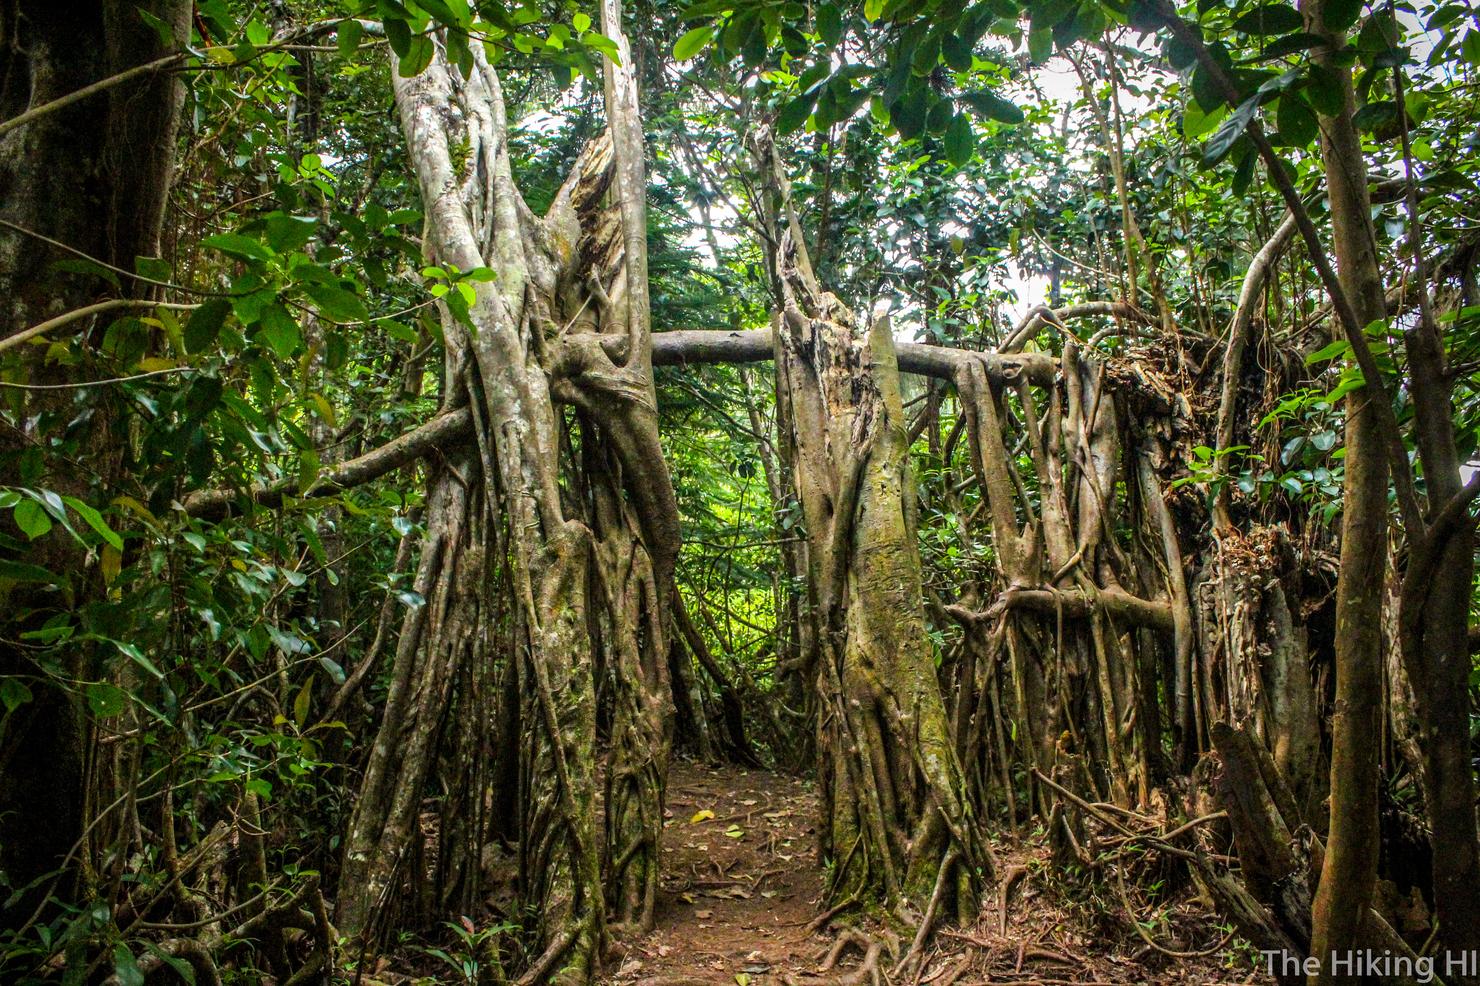
Once you make it up that slope, you will reach this downed tree, which makes for some good photo ops. To me it looks like a gate... a gate to the unknown. Well, not really. But it is a gate to the next segment of the hike...
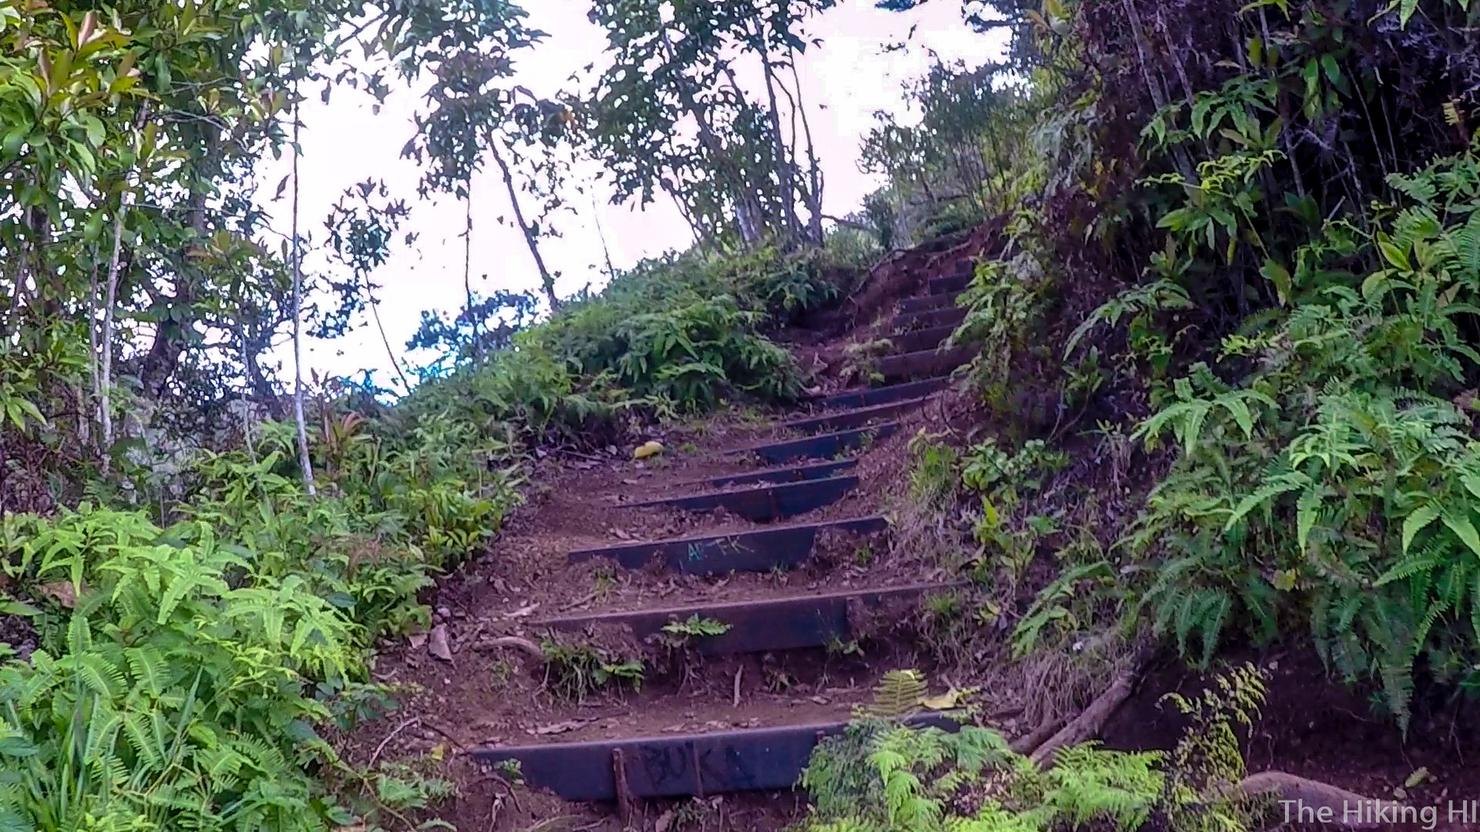
Which is stairs! And lots of them! These aren't Koko Head Cratertough, but they will definitely make you sweat. These stairs do come with a reward...
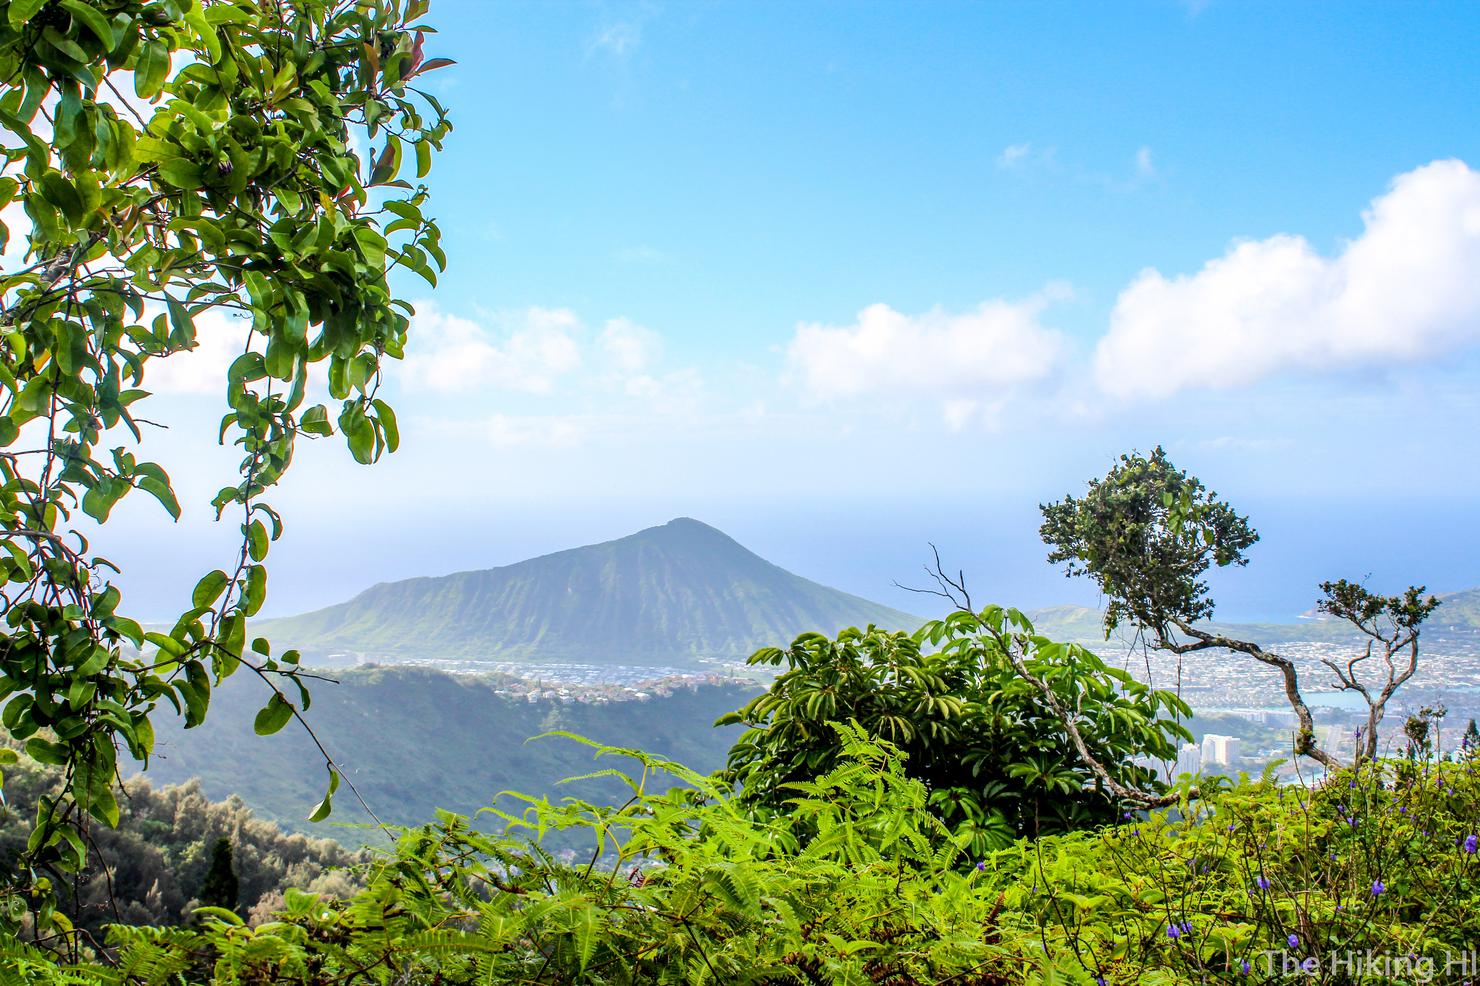
And that reward is incredible views! Since you are finally above the treeline, all the wonders of the Leeward side start to come into view. This is the back side of Koko Head Crater.
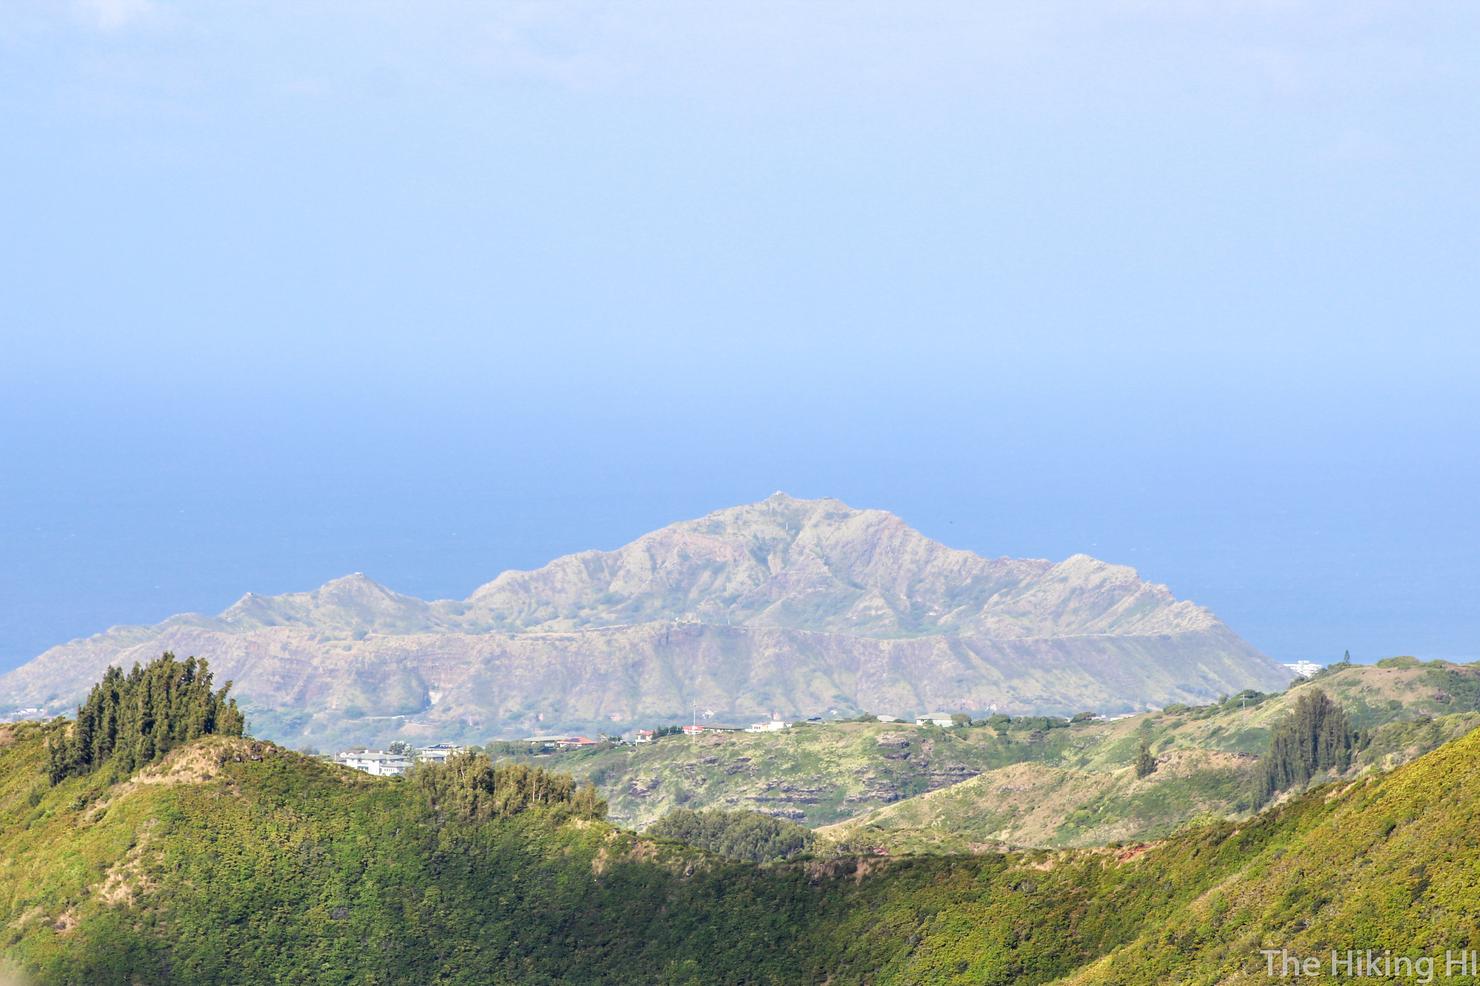
And here you have the oh so popular Diamond Head.
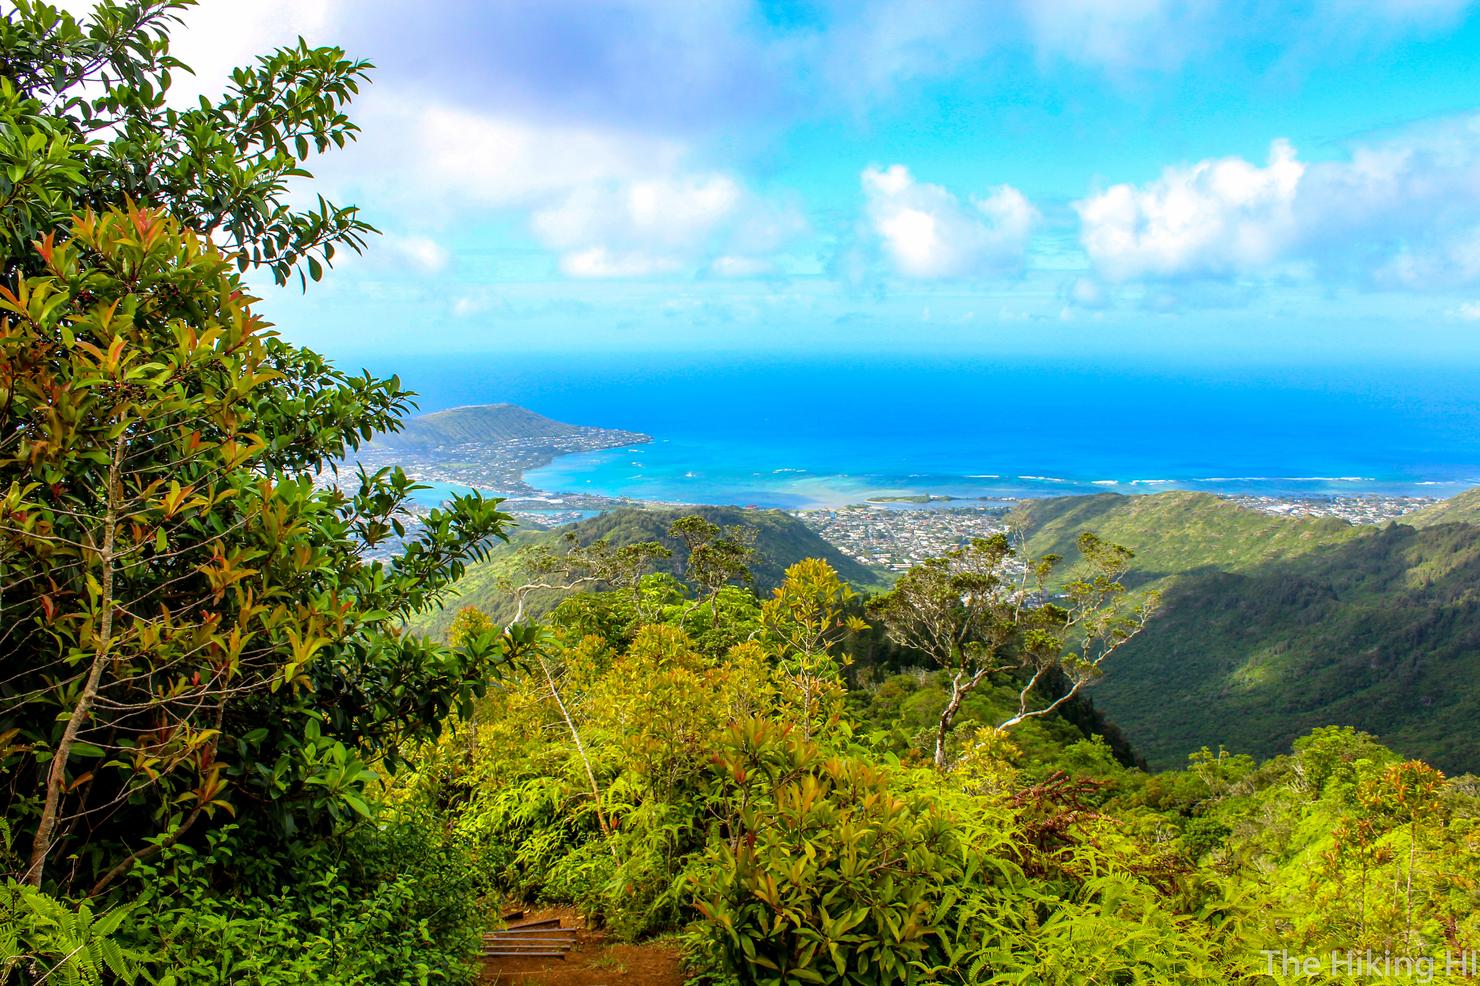
And a photo of what we've accomplished so far. I love how you can see the stairs, parallel ridges, and coastline, all in one shot.
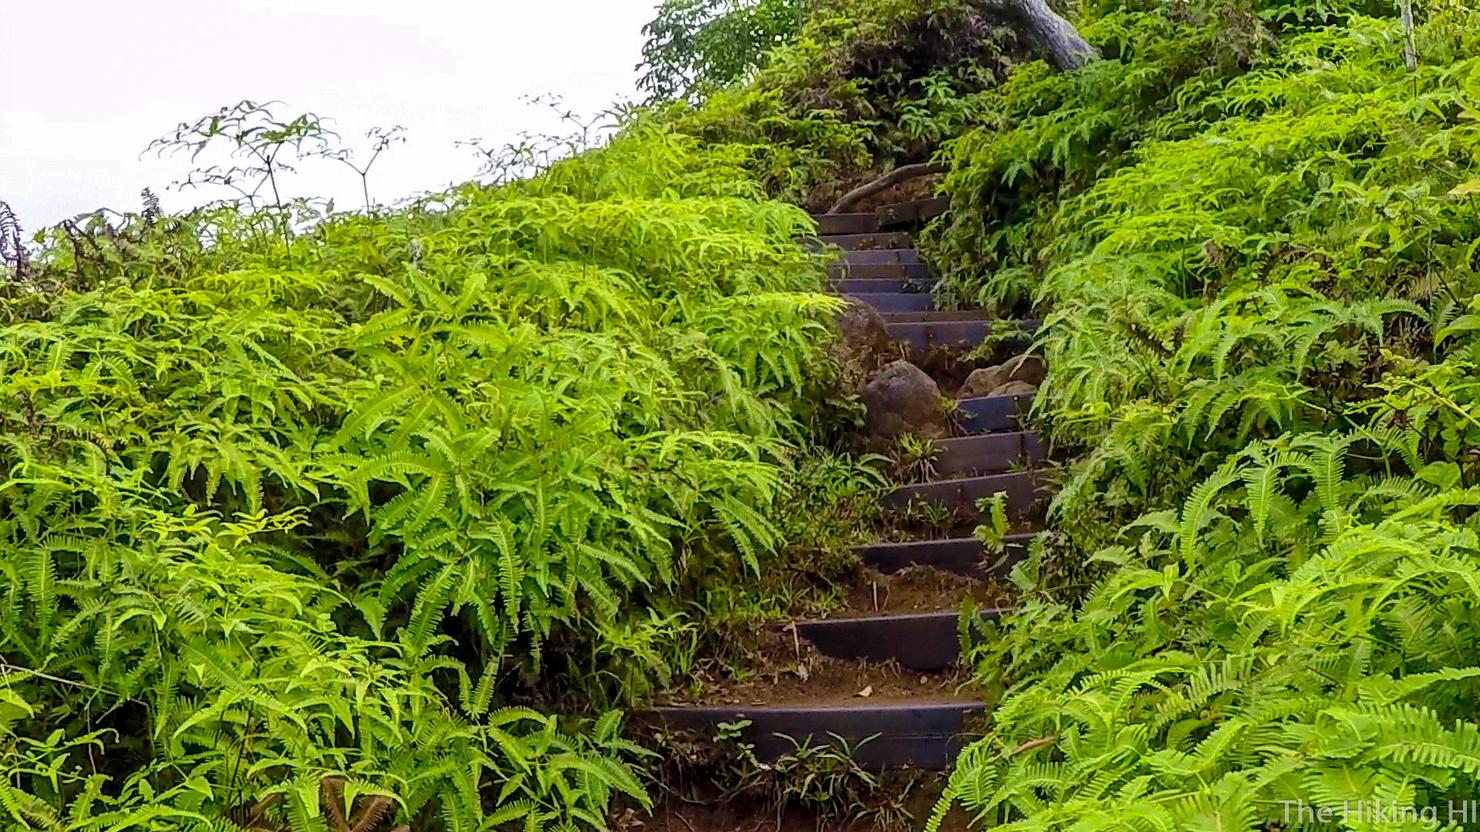
But we're not quite there yet, we gotta keep climbing!
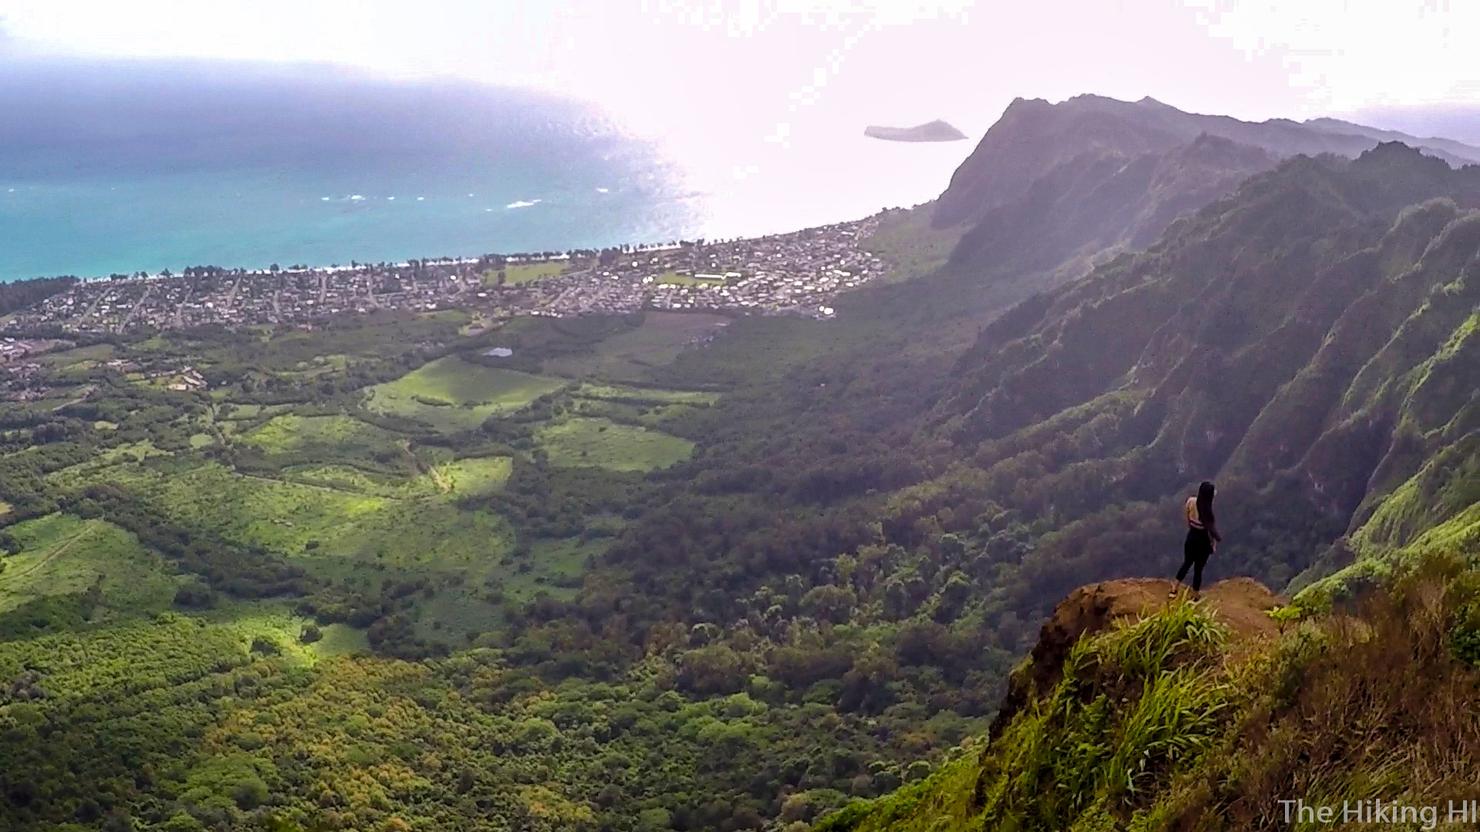
We made it! This is the summit of Kuli'ou'ou Ridge Trail. The view sometimes gets covered by the clouds, but today it is looking pretty clear. Here's a view looking south. That small island masked in the sunlight is Rabbit Island, just off the coast of the Makapu'u Lighthouse Trail.
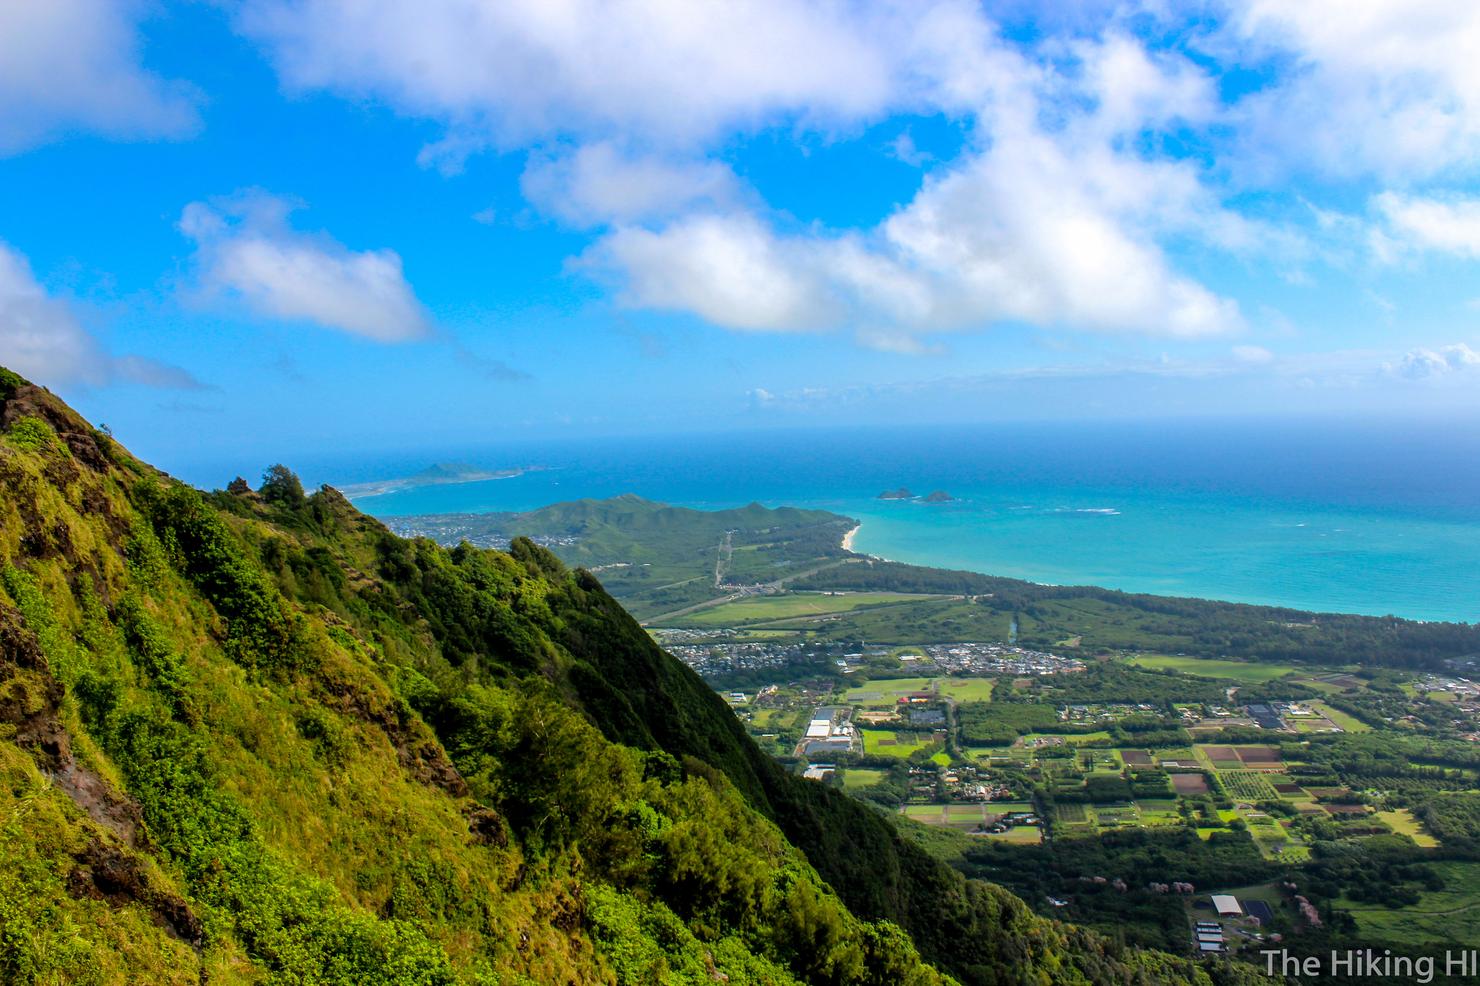
And here the windward side comes into view, with the good ole' Mokes off Lanikai beach.
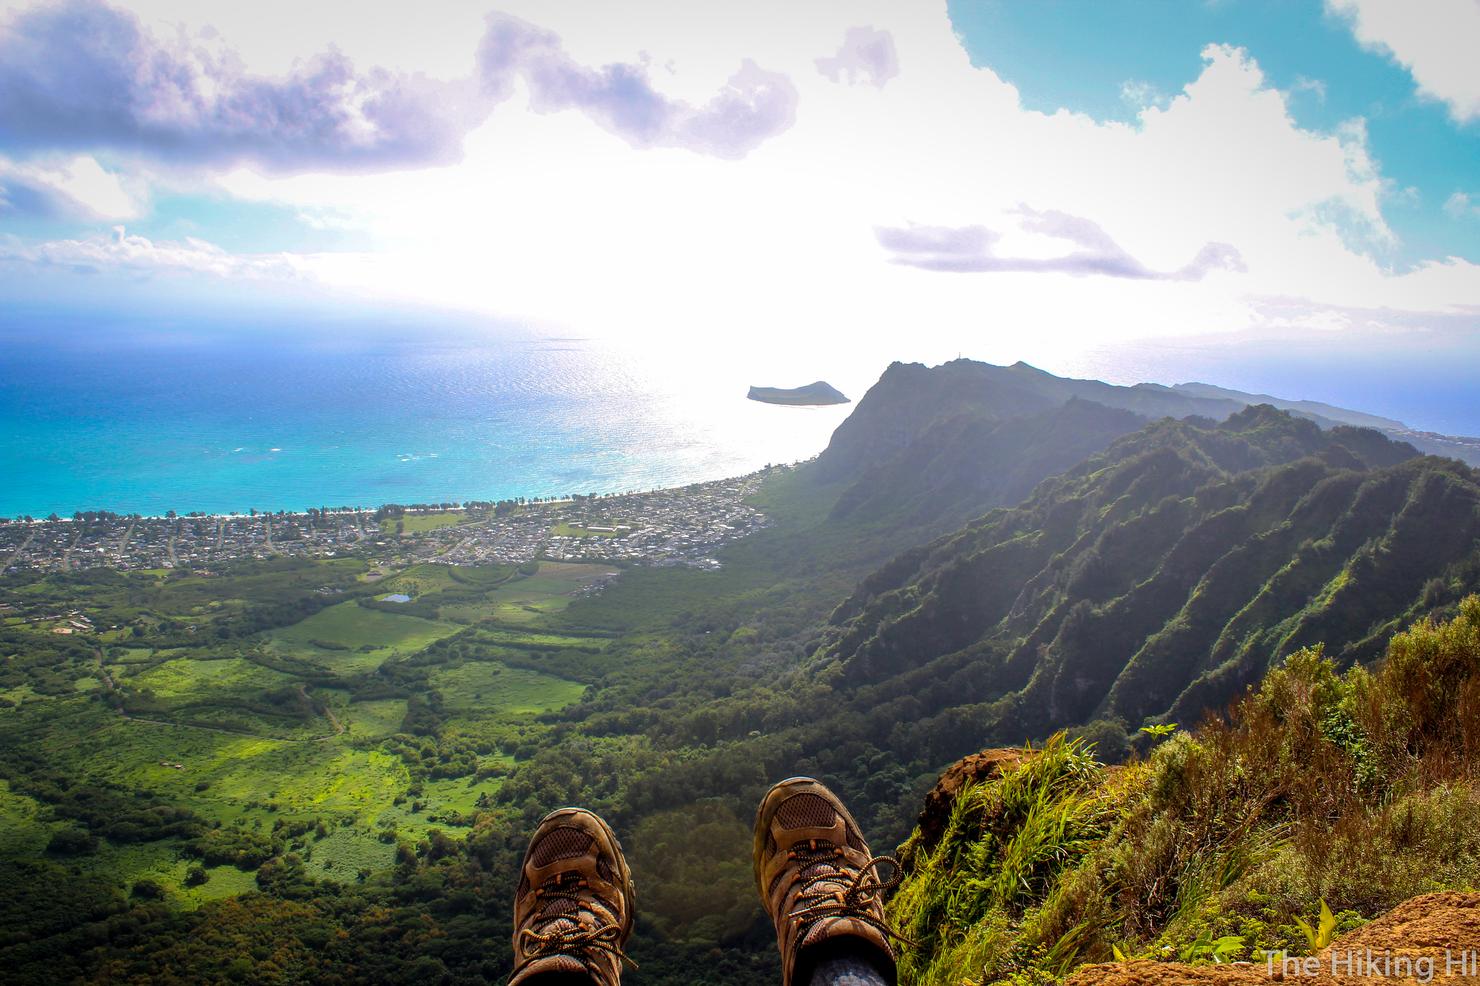
And now, it's snack time! For many, this is where the journey will end, which is fine! Simply go back down the way you came and go get your poke bowl a little bit sooner.
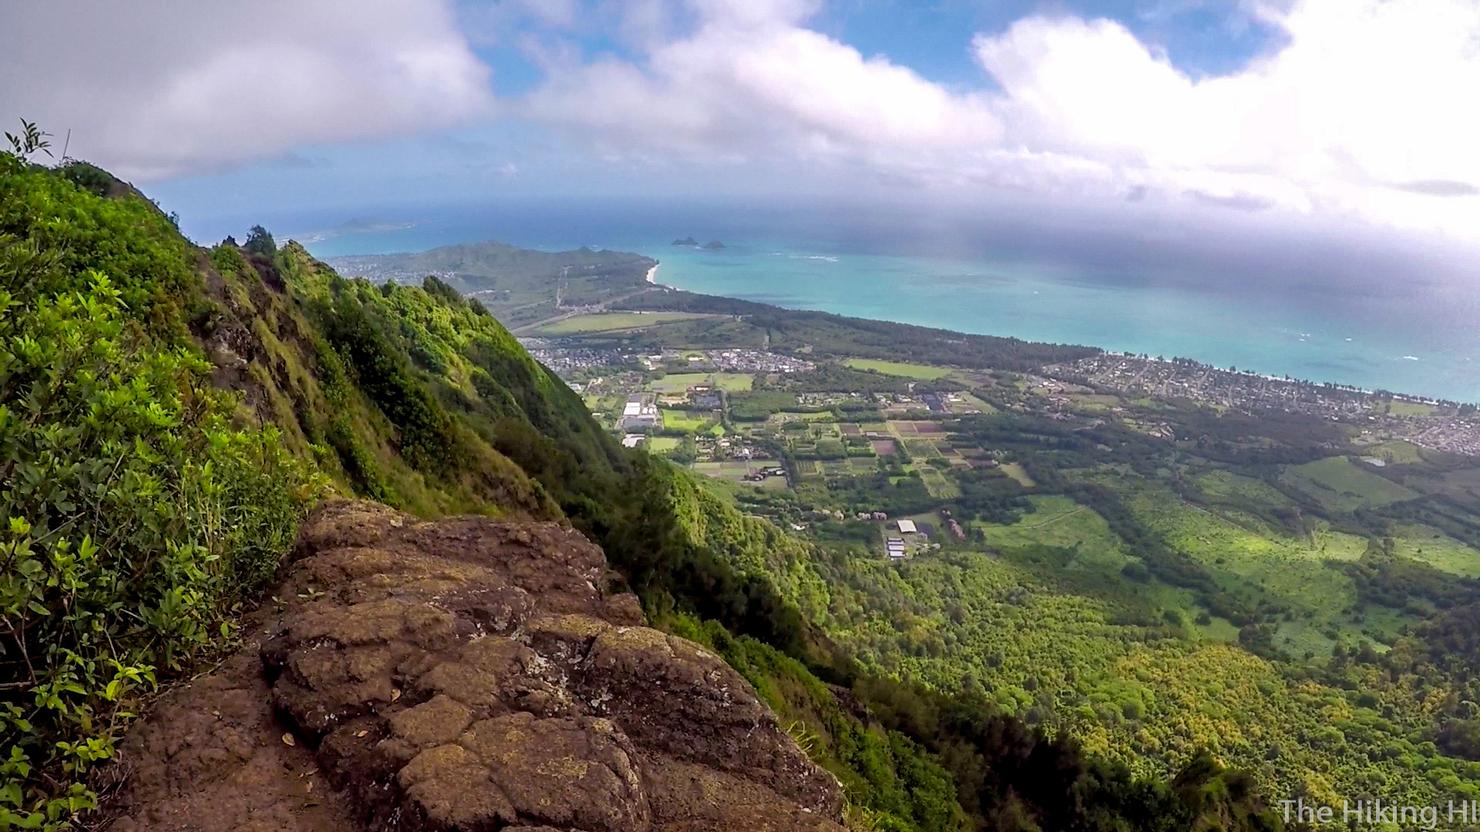
But for those looking for something a little extra, it's on to Pu'u O Kona! Simply continue along the ridge past the lookout point.
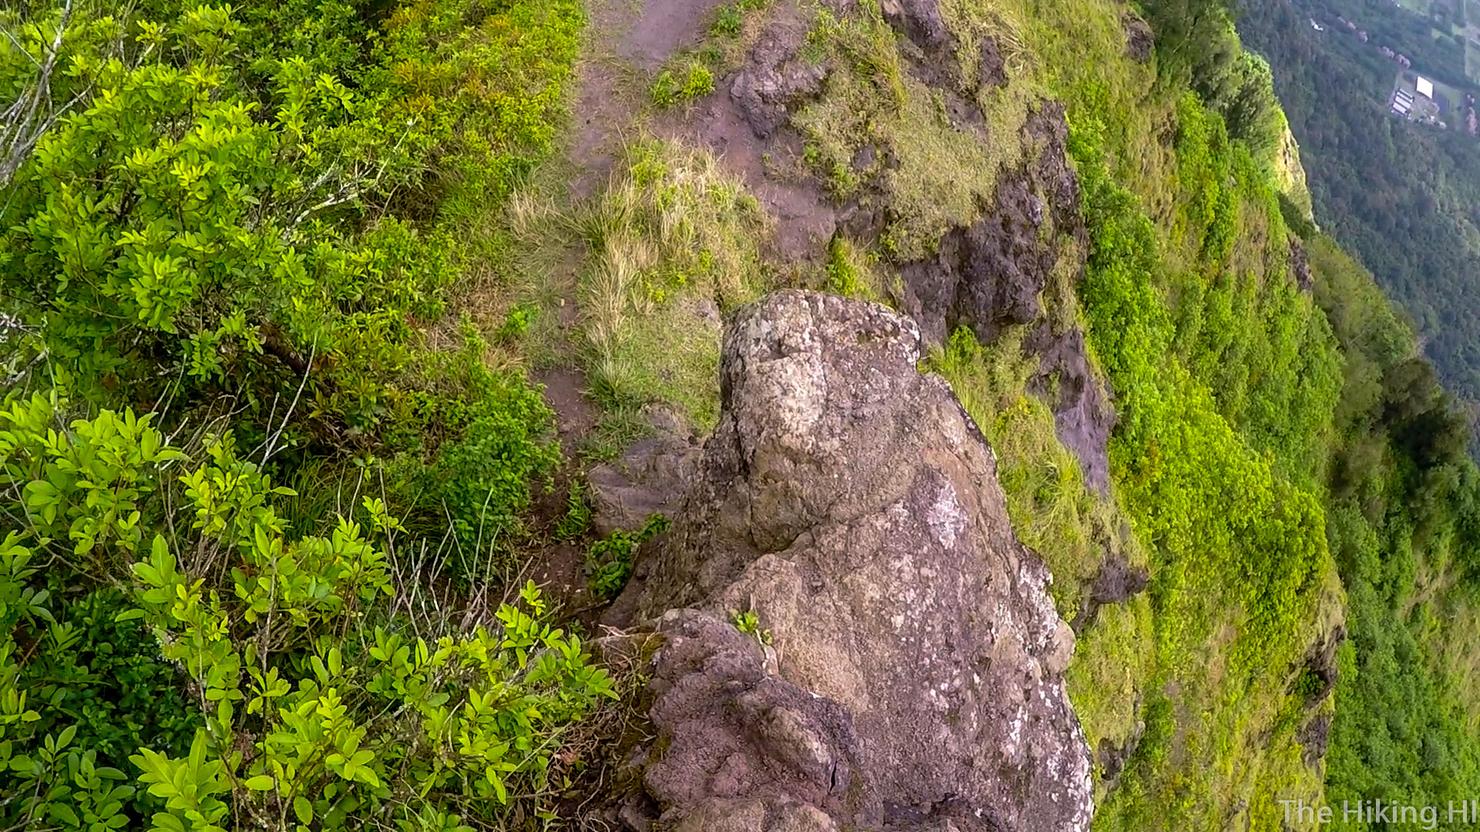
This portion wastes no time in becoming difficult as you very quickly have to deal with some obstacles. This is a descent down a little rock along this steep ridge. FYI I think there's a less sketchy path in the trees to the left... Oh well.
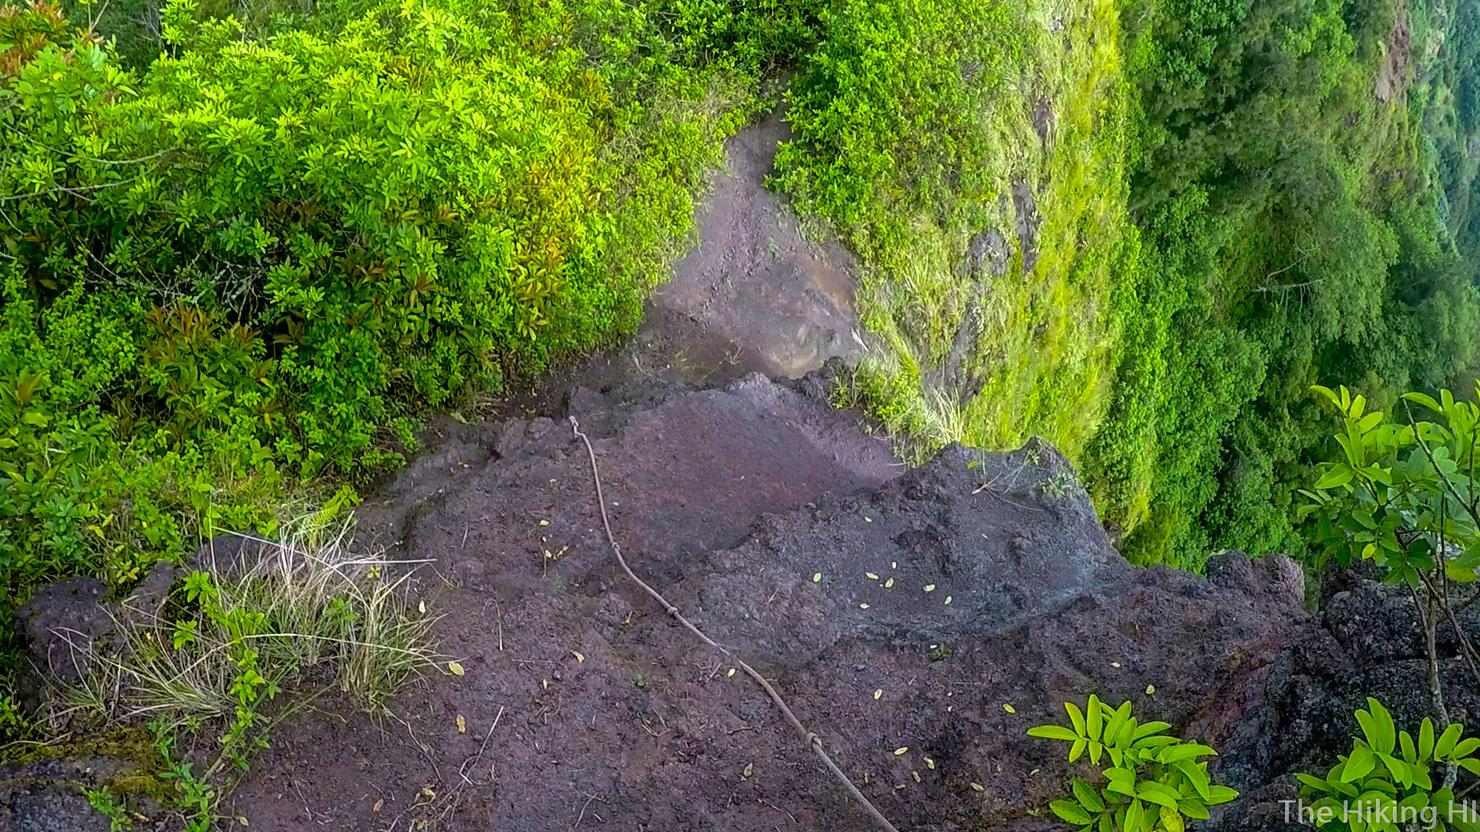
And not long after, you will be required to descend this steep rock to another narrow ridge below. The rope felt pretty secure when I was there, but never put your full weight on them.
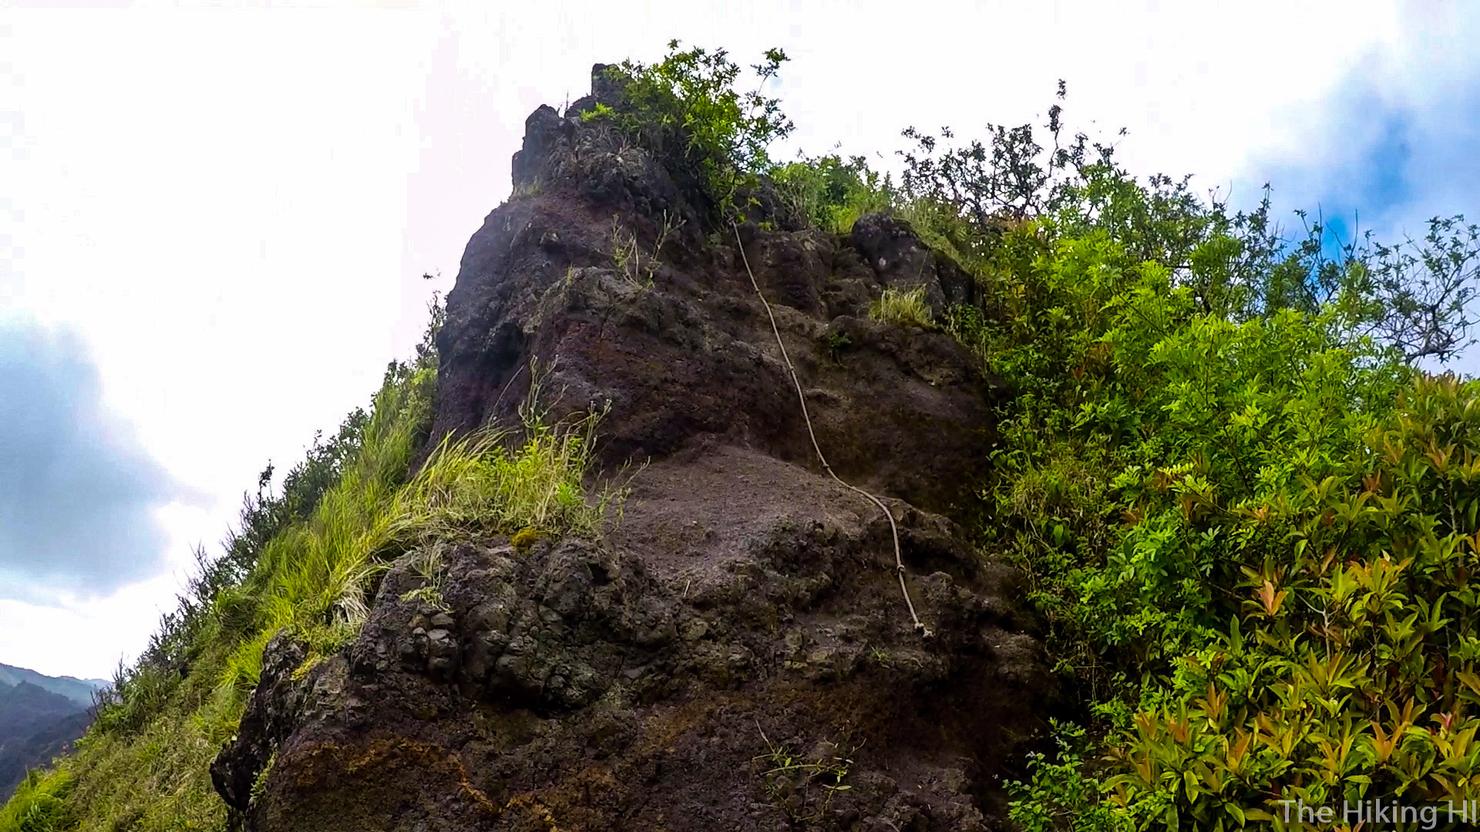
We're done with that obstacle! What's next?
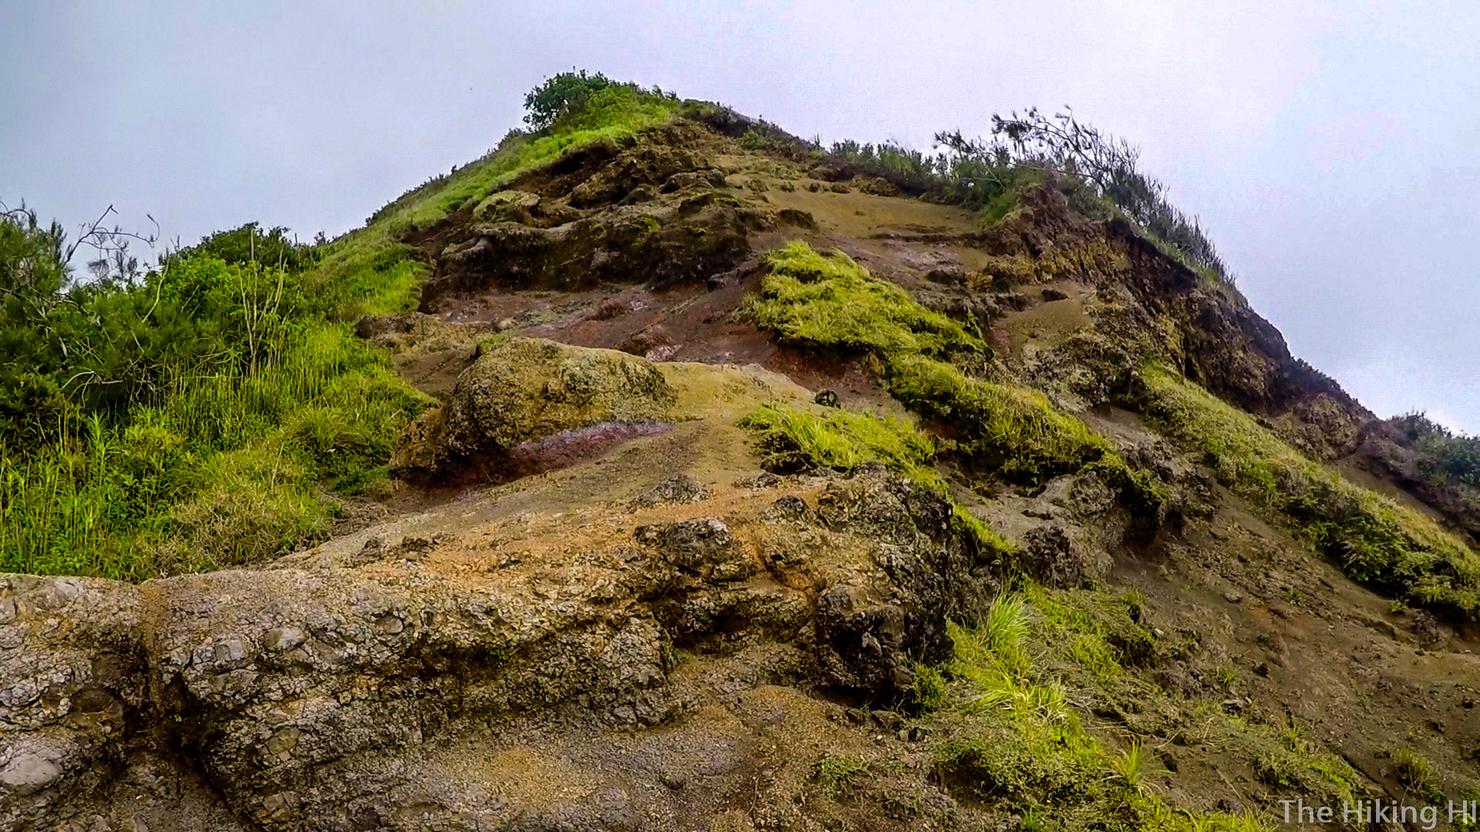
And that would be climbing up this section. It is tricky because it's a lot of loose dirt with no good footholds.
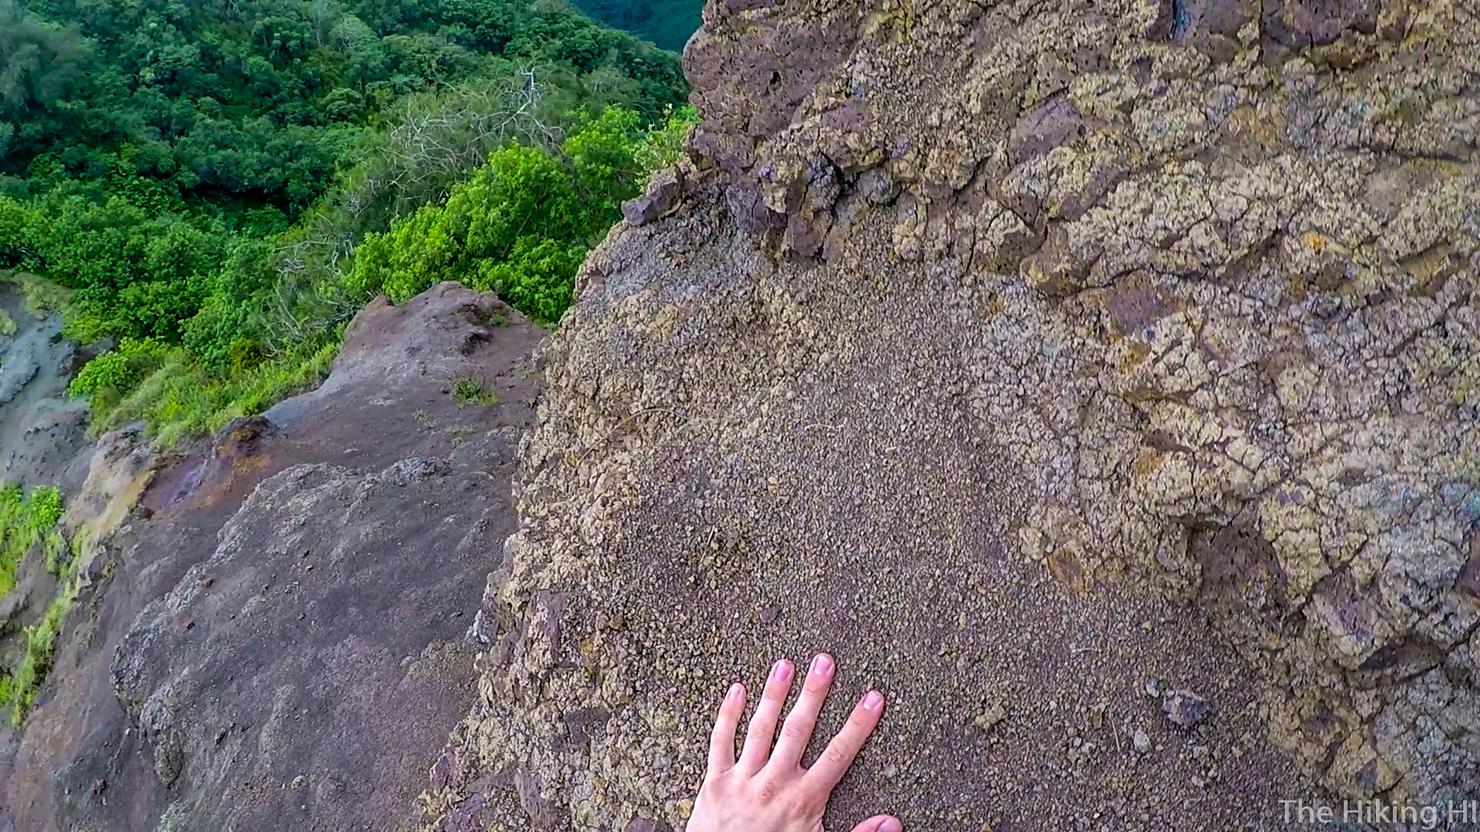
Oh and it's also fairly steep.
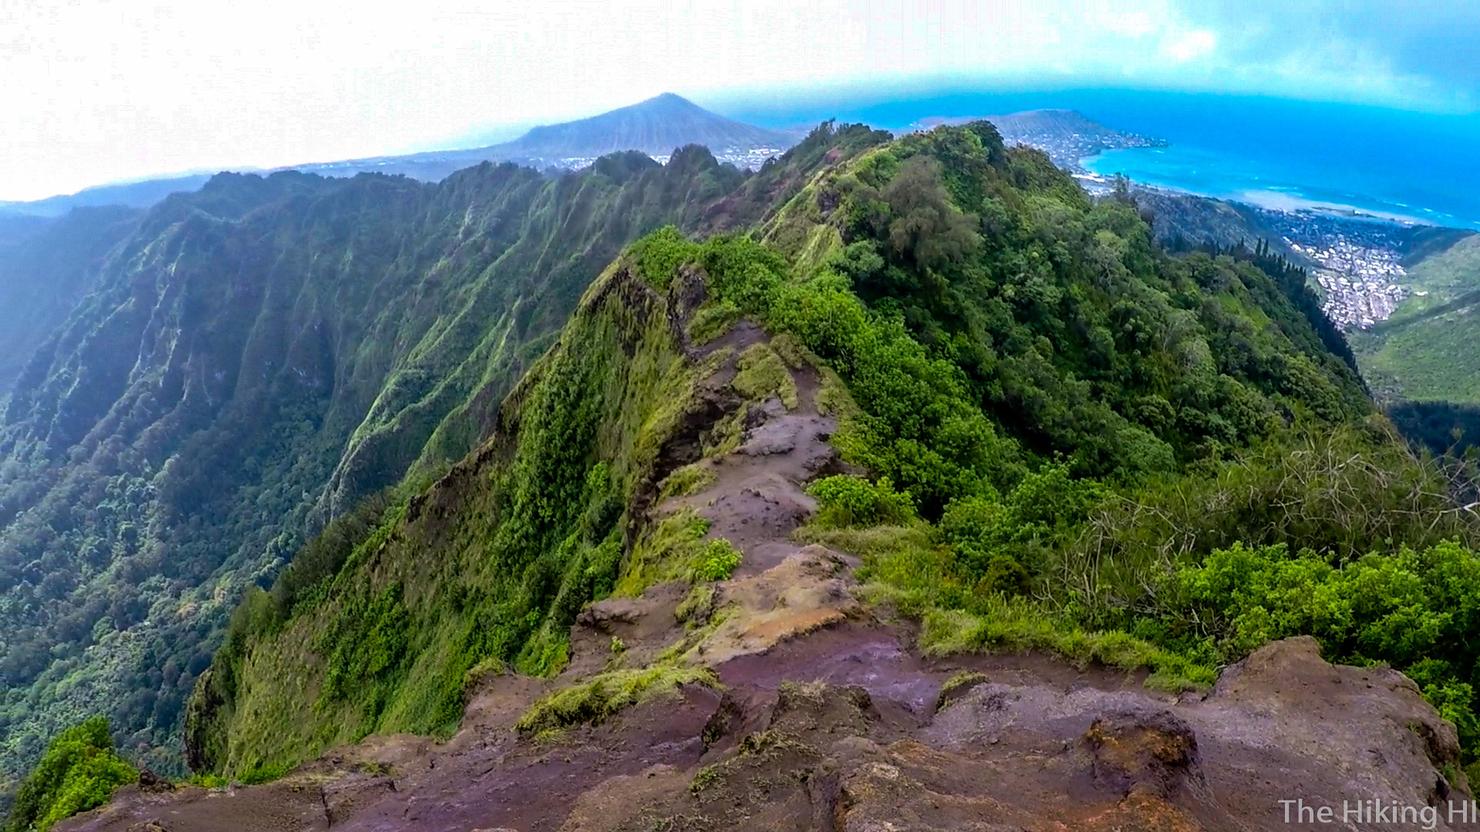
Well we already hit three obstacles, and we only left Kuli'ou'ou Ridge Trail about 10 minutes ago! I guess that might be why this part of the trail is unsanctioned.
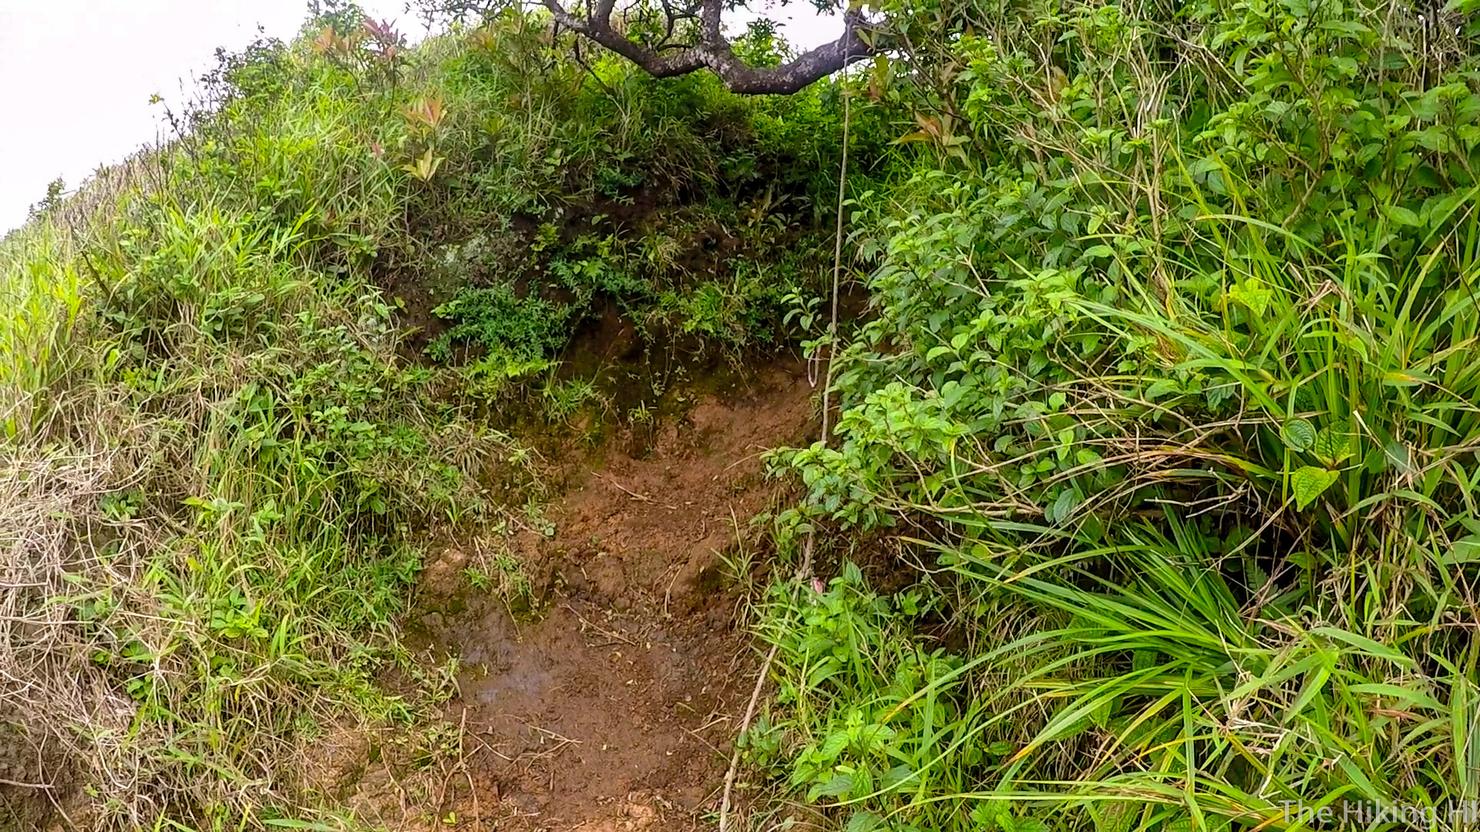
The climbing aspect calms down for a little bit. But now it's time to head back into the trees.
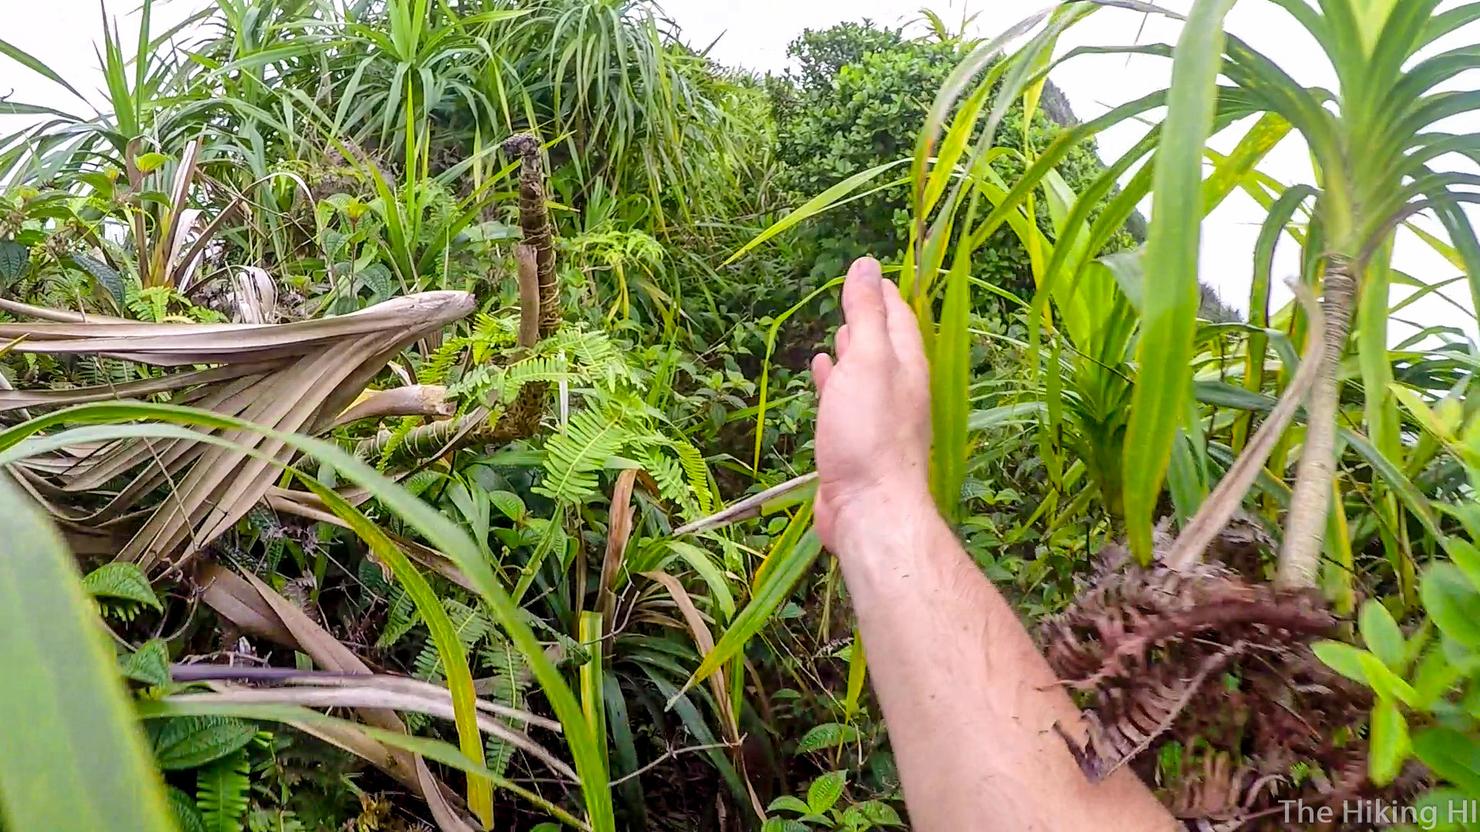
Which is when this hike begins to get a little annoying. It is very overgrown with a lot of scratchy plants brushing up against you. I highly recommend long pants and maybe a long sleeve shirt. You could also try my karate chop technique... but I'll let you know it isn't very effective.
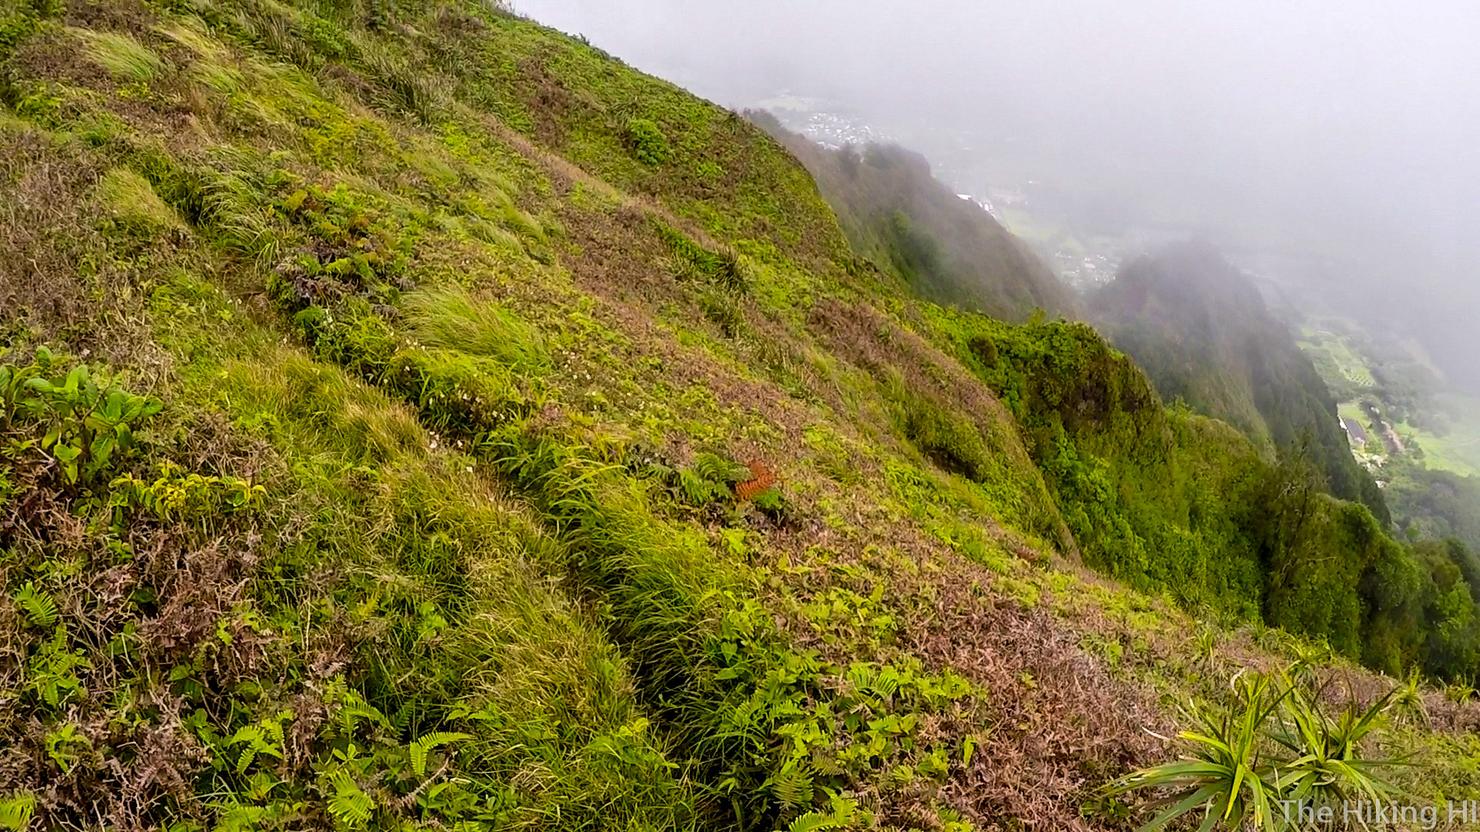
But the trail will open up periodically, giving you better views of the ridge. That is of course, if you aren't socked in by the clouds.

Eventually you will reach a flattish dirt portion. This is where you will turn left and take the ridge toward the center of the island to reach Pu'u O Kona. It is usually a great lookout point, but again... clouds...
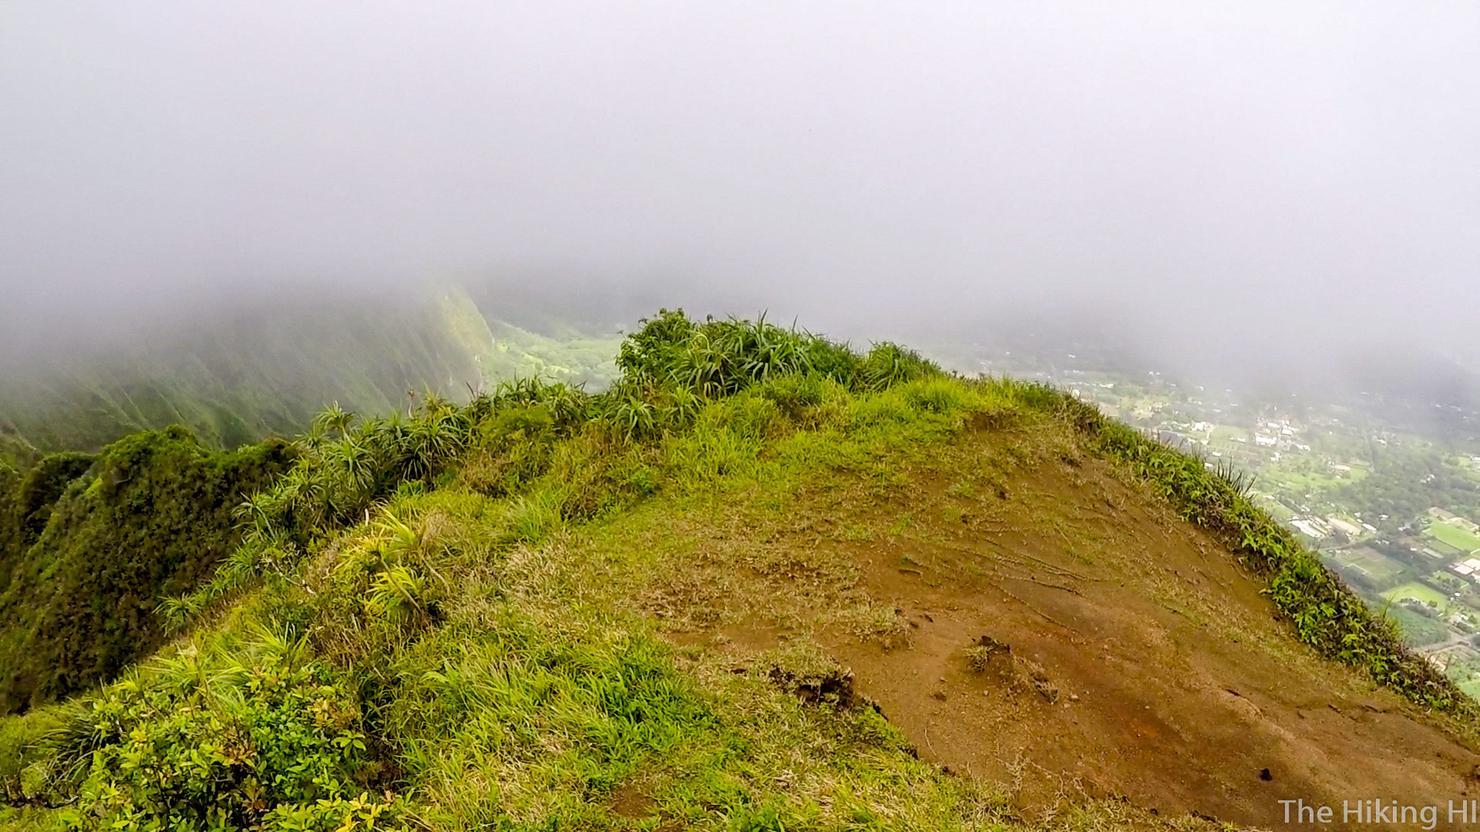
There's the ridge to the left we will be taking.
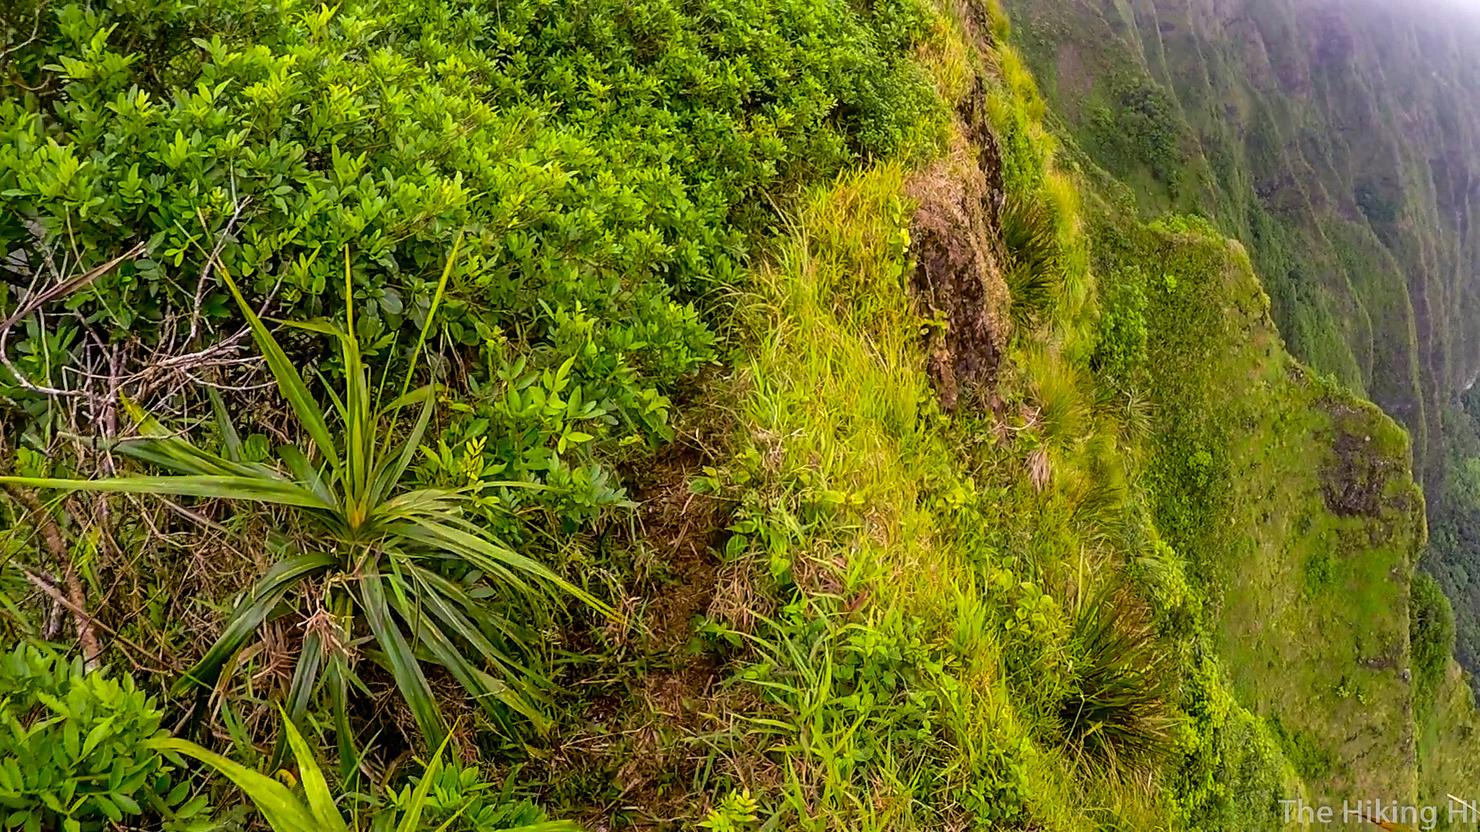
This ridge is more narrow and overgrown than the one we just completed. Definitely best to watch your footing...we don't want any nosedives into the grass abyss below.
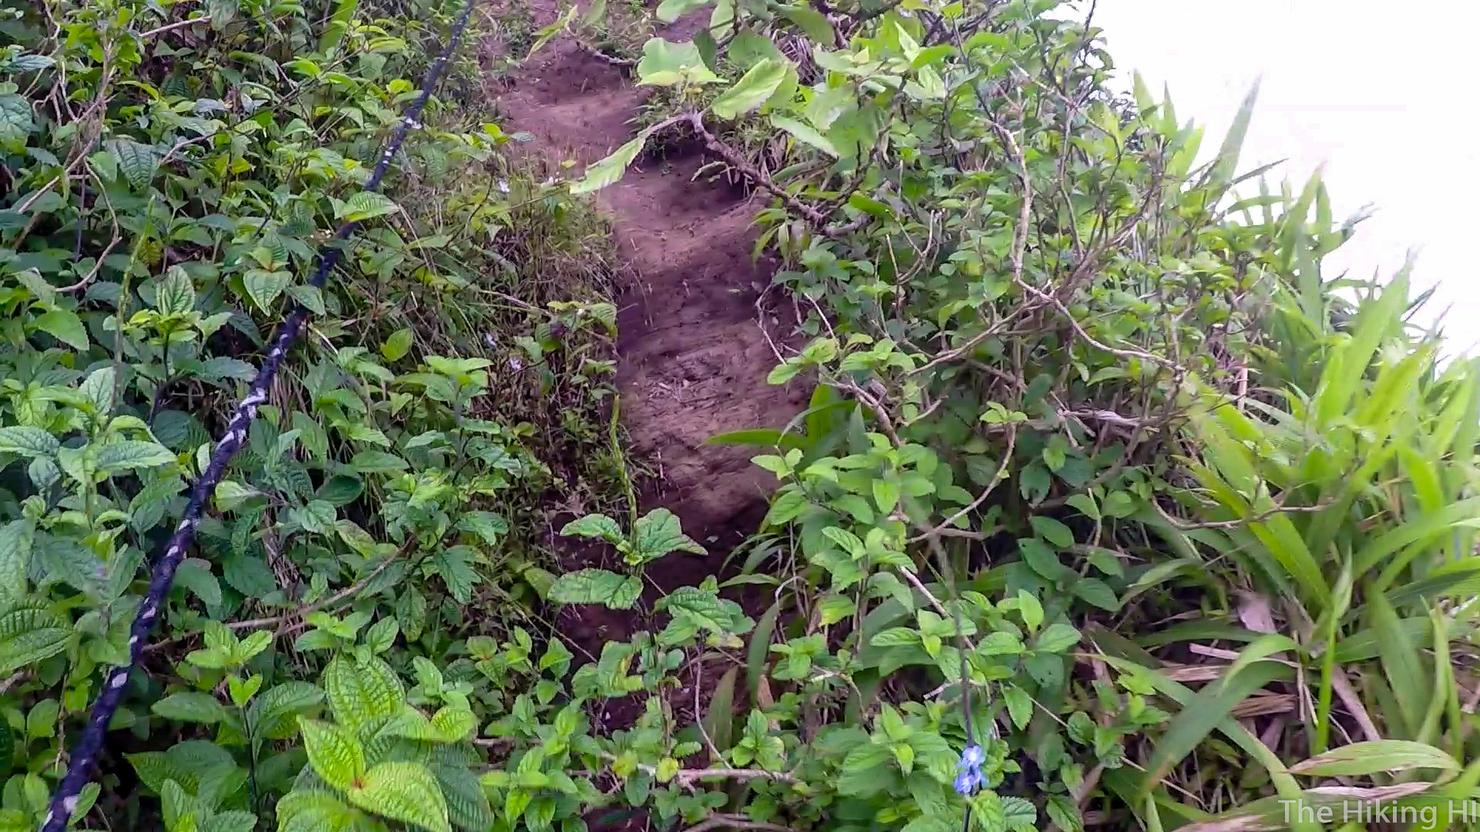
The ridge gets pretty steep as well, steep enough that this rope is pretty helpful.
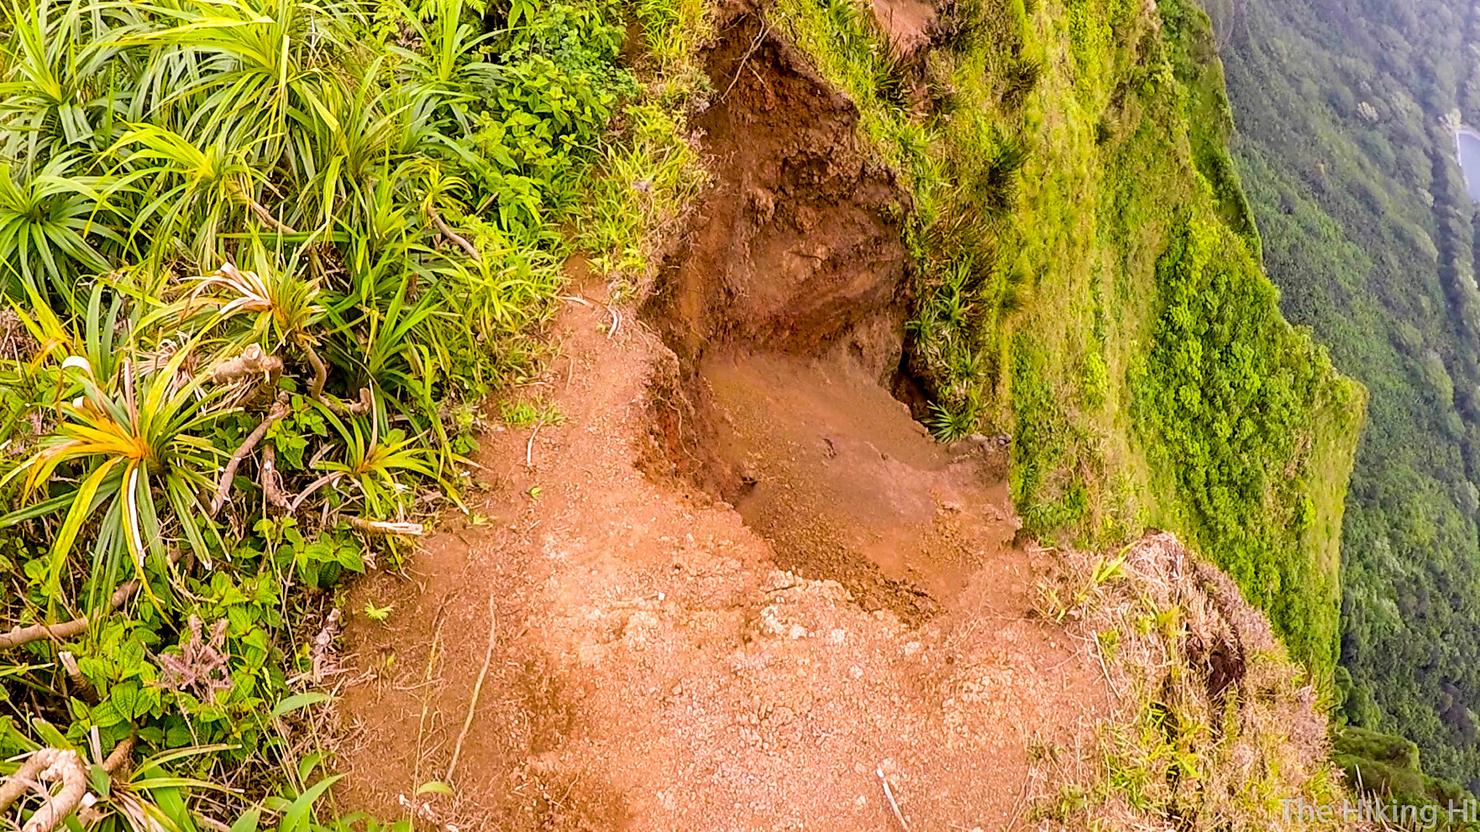
This shot is a reminder that we are dealing with the unpredictability of mother nature. I can only assume that hole in the dirt ridge was filled in at some point. I think we will just go around this.
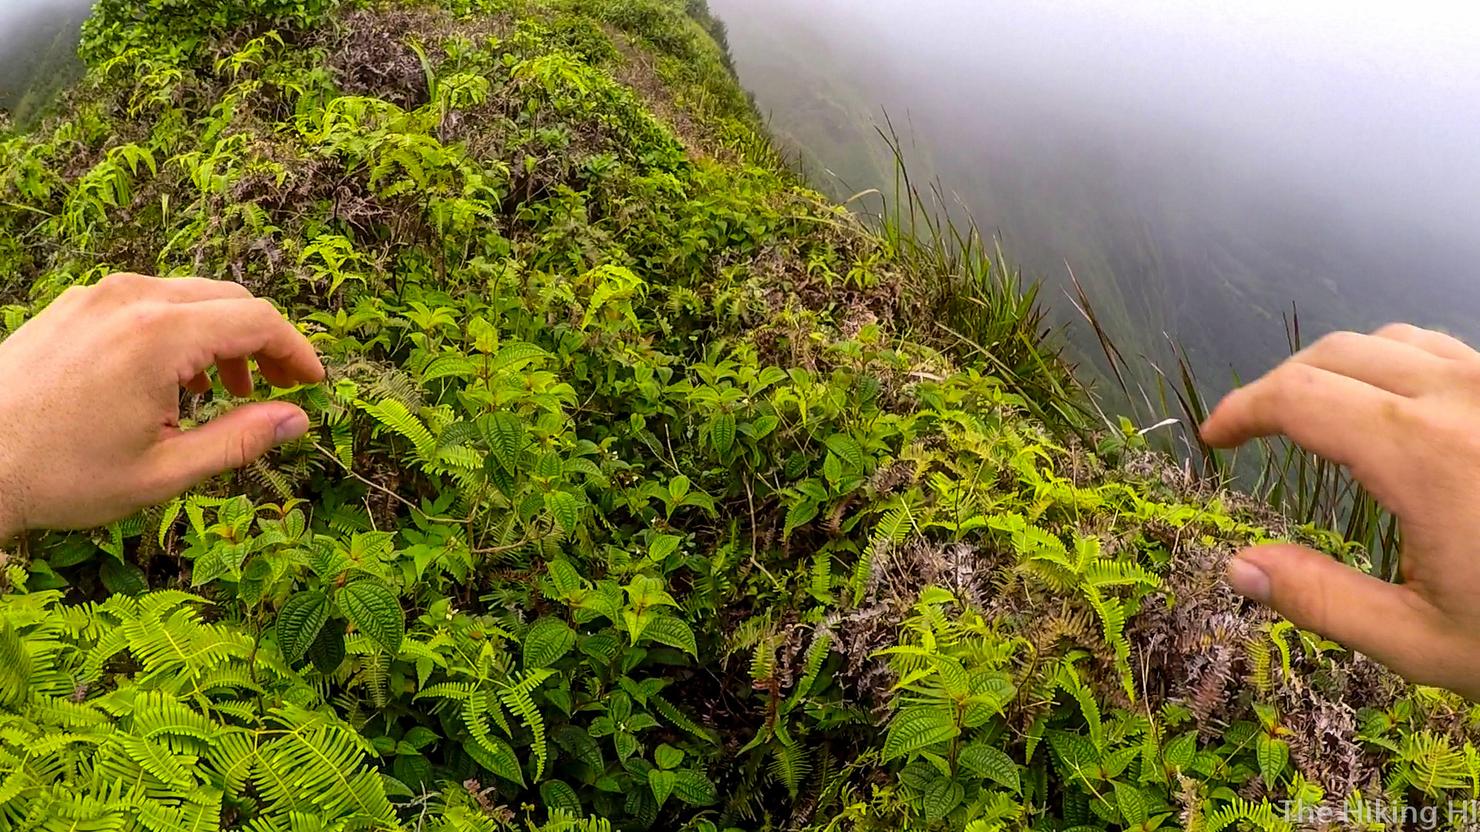
Put your hands up in the air! So the brush doesn't rub you bare!
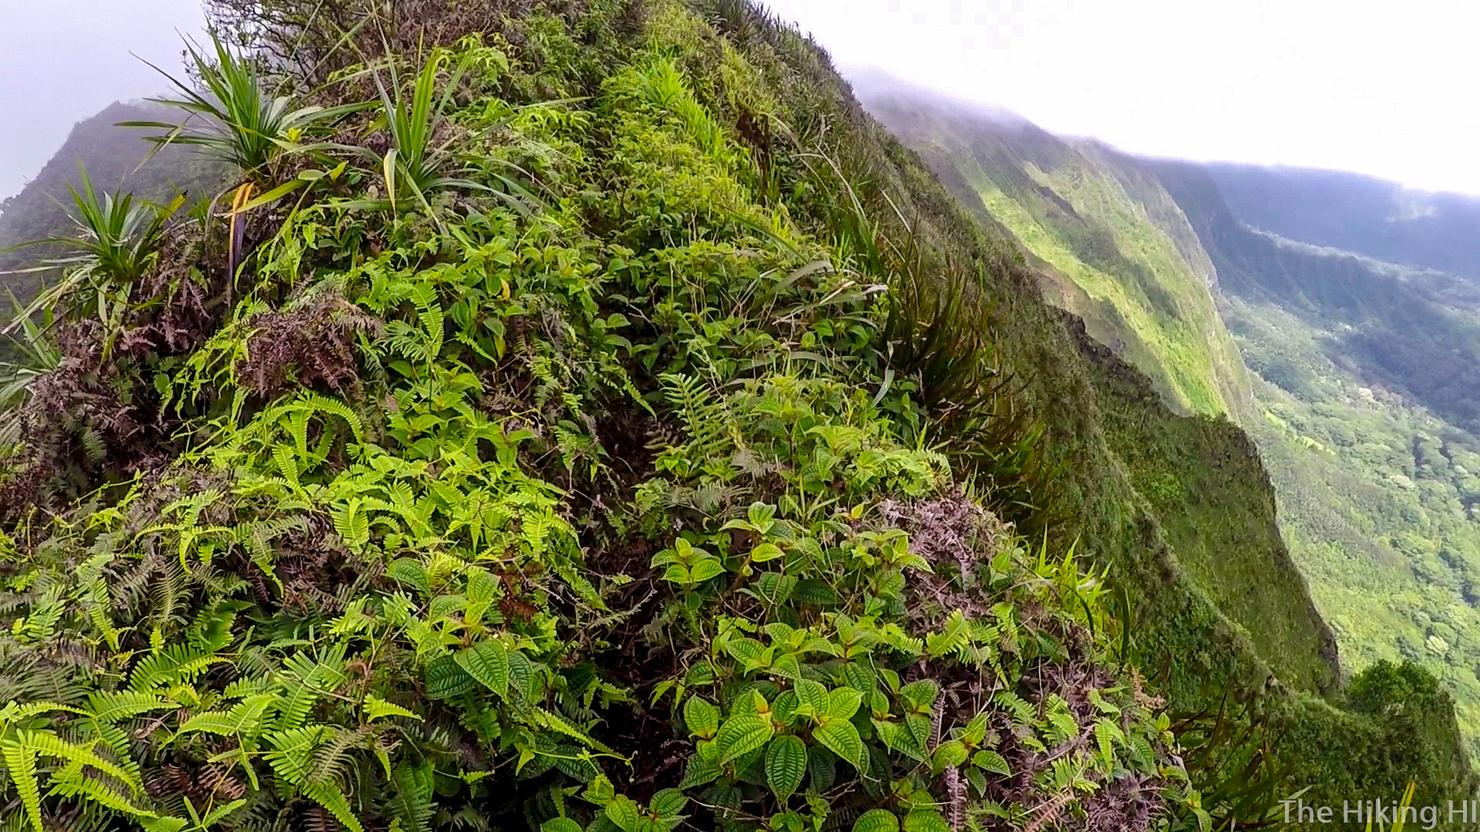
Despite how overgrown this trail is, I do appreciate it. It is this thick foliage that makes this range look so beautiful from the roads below.
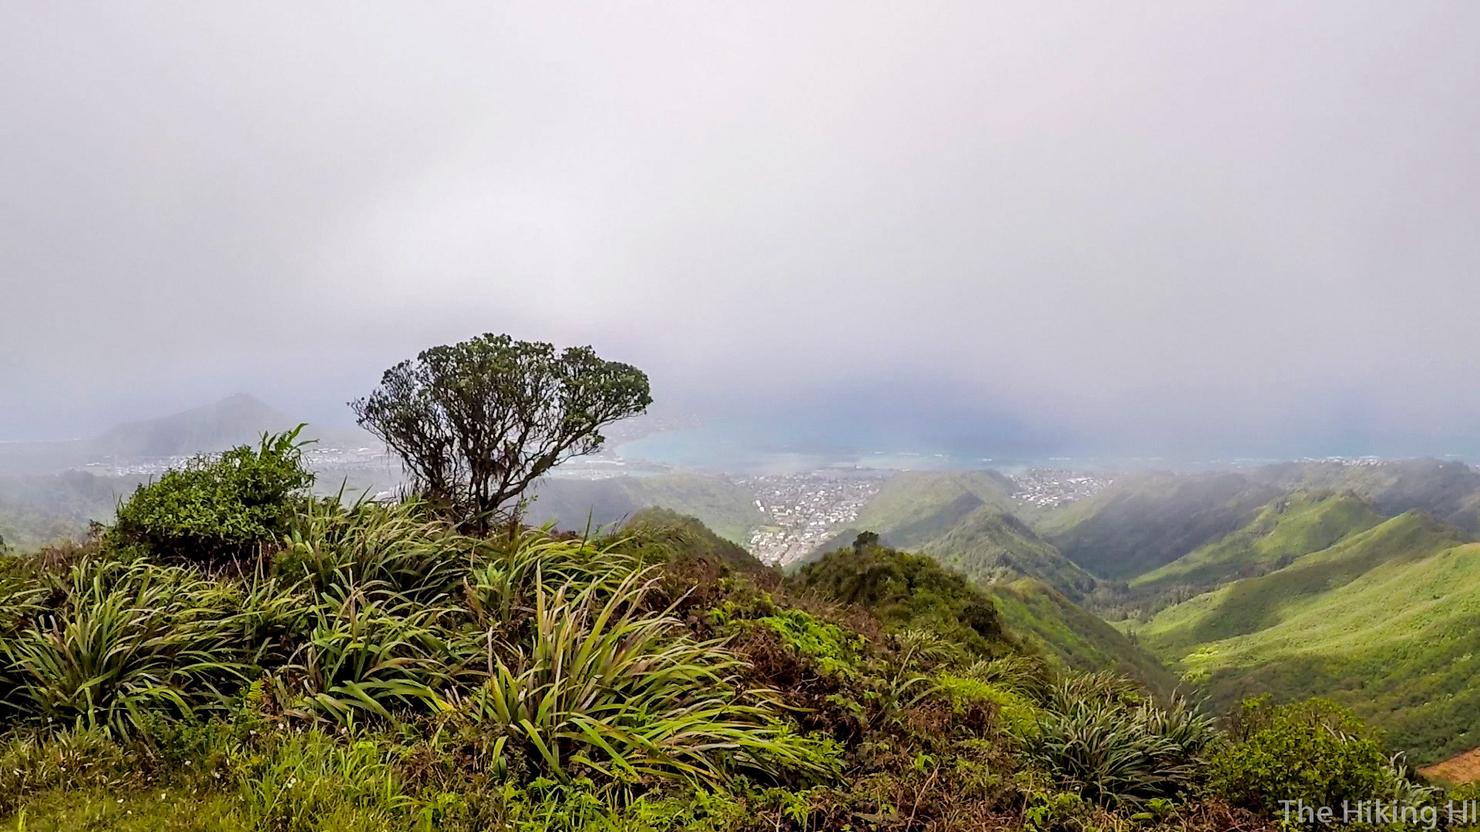
And we made it, Pu'u O Kona! It's basically a little flat patch of land. But the views are incredible... Well they would be if I wasn't surrounded by clouds. The second time I have reached this summit and again my view was blocked.
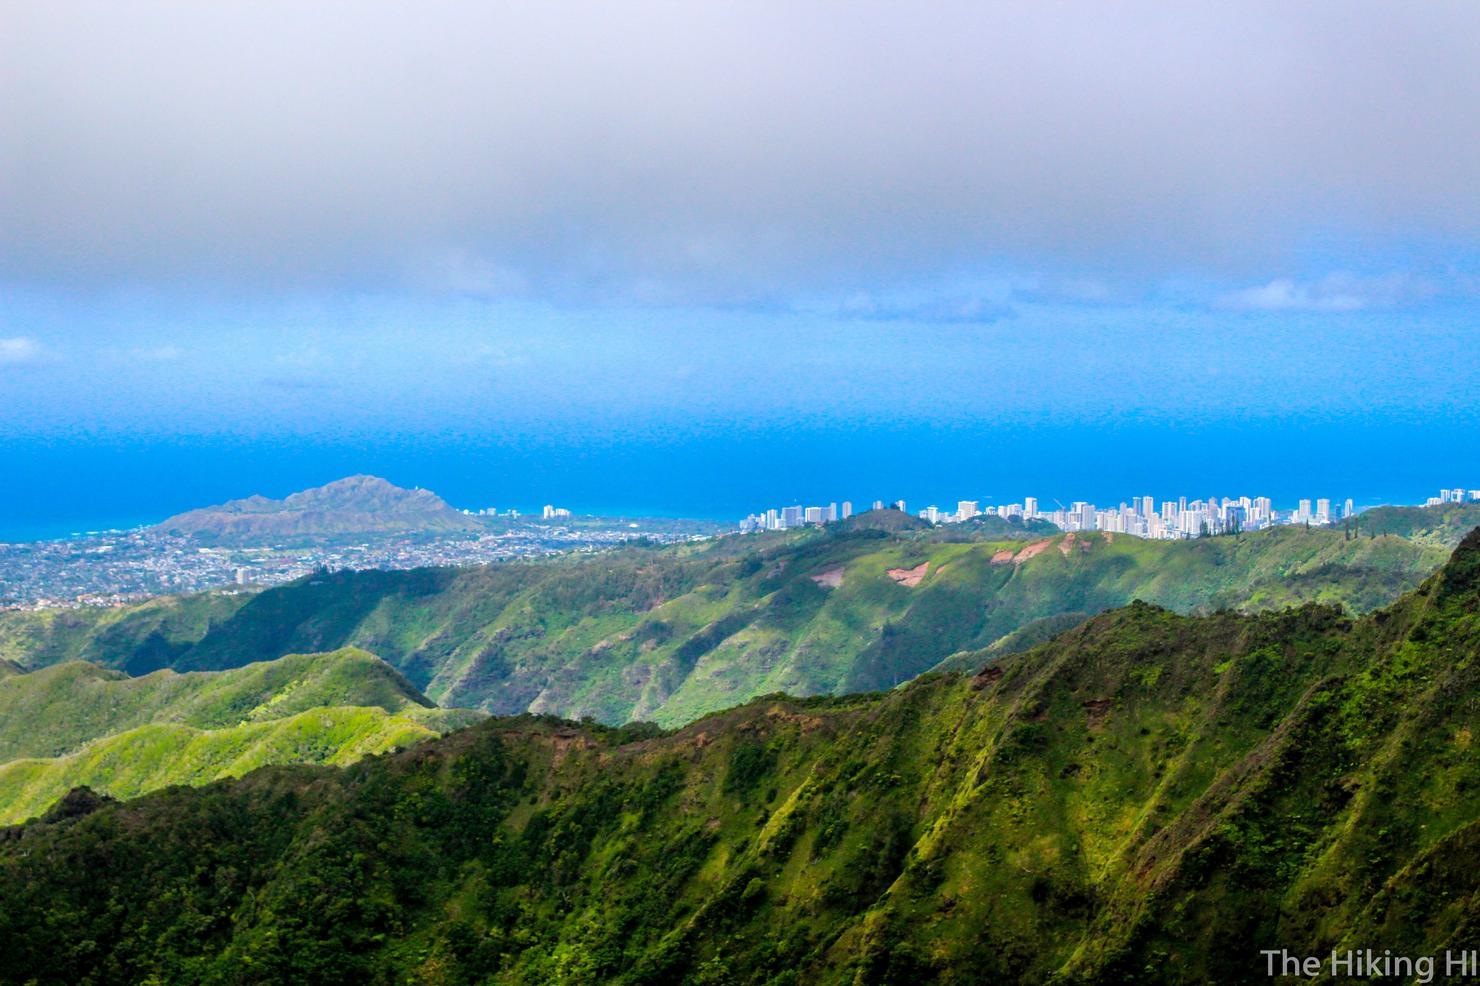
I think someone heard my thoughts, because shortly after, the clouds opened up, giving me an amazing view of Honolulu and Diamond Head.
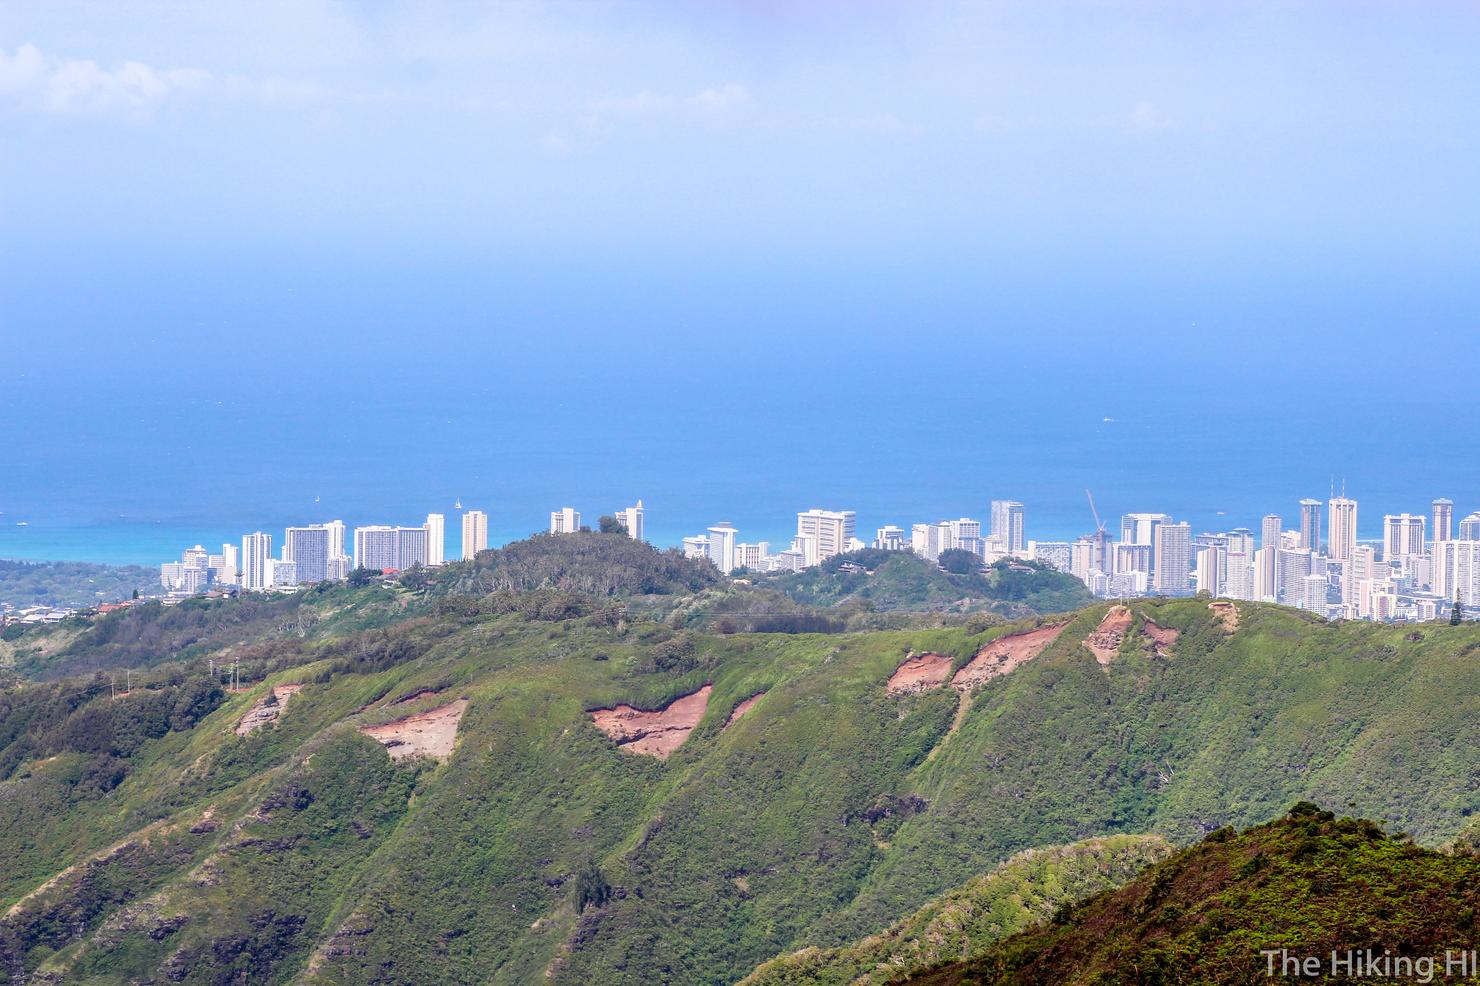
A little zoom shot of Honolulu. I think this about as close as I'm willing to get this weekend.
And another shot looking towards Koko Head and Hawaii Kai. That little mound on the right is the beautiful Koko Head/Hanauma Bay Rim Trail I wrote about last week.

Clouds permitting, you even get some windward views. That peak on the right is the back side of Three Peaks, one of my favorite Kailua hikes. Its 1600 feet in elevation doesn't quite compare to our current elevation of 2200 feet.
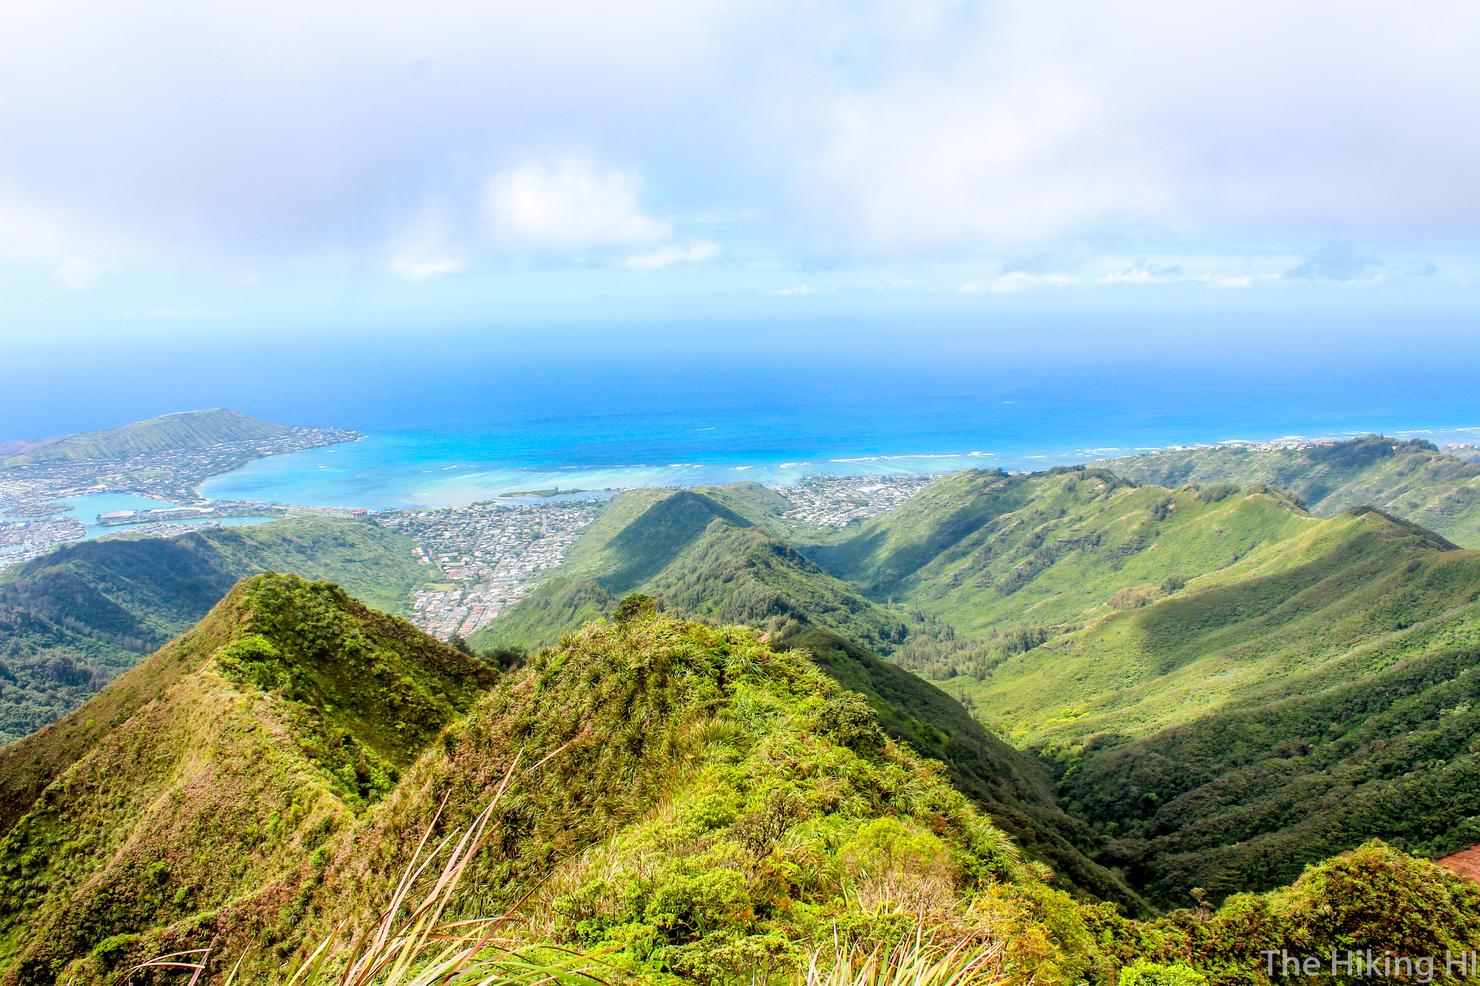
After a good amount of photos, it was time to descend. We will be going down the ridge directly in front of us, the western ridge of Kuli'ou'ou.
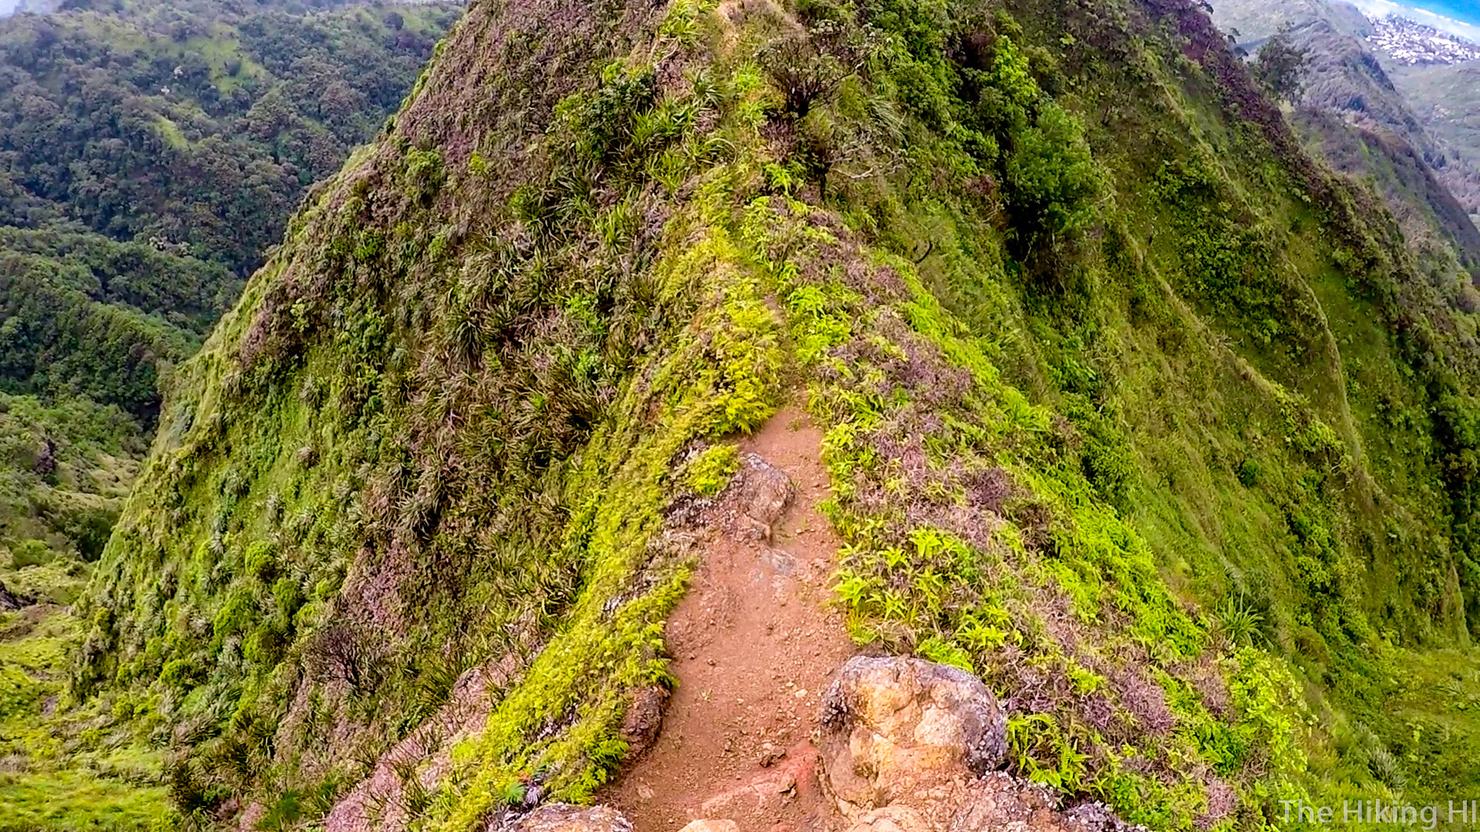
This ridge is no joke either. It is steep and quite narrow at points.
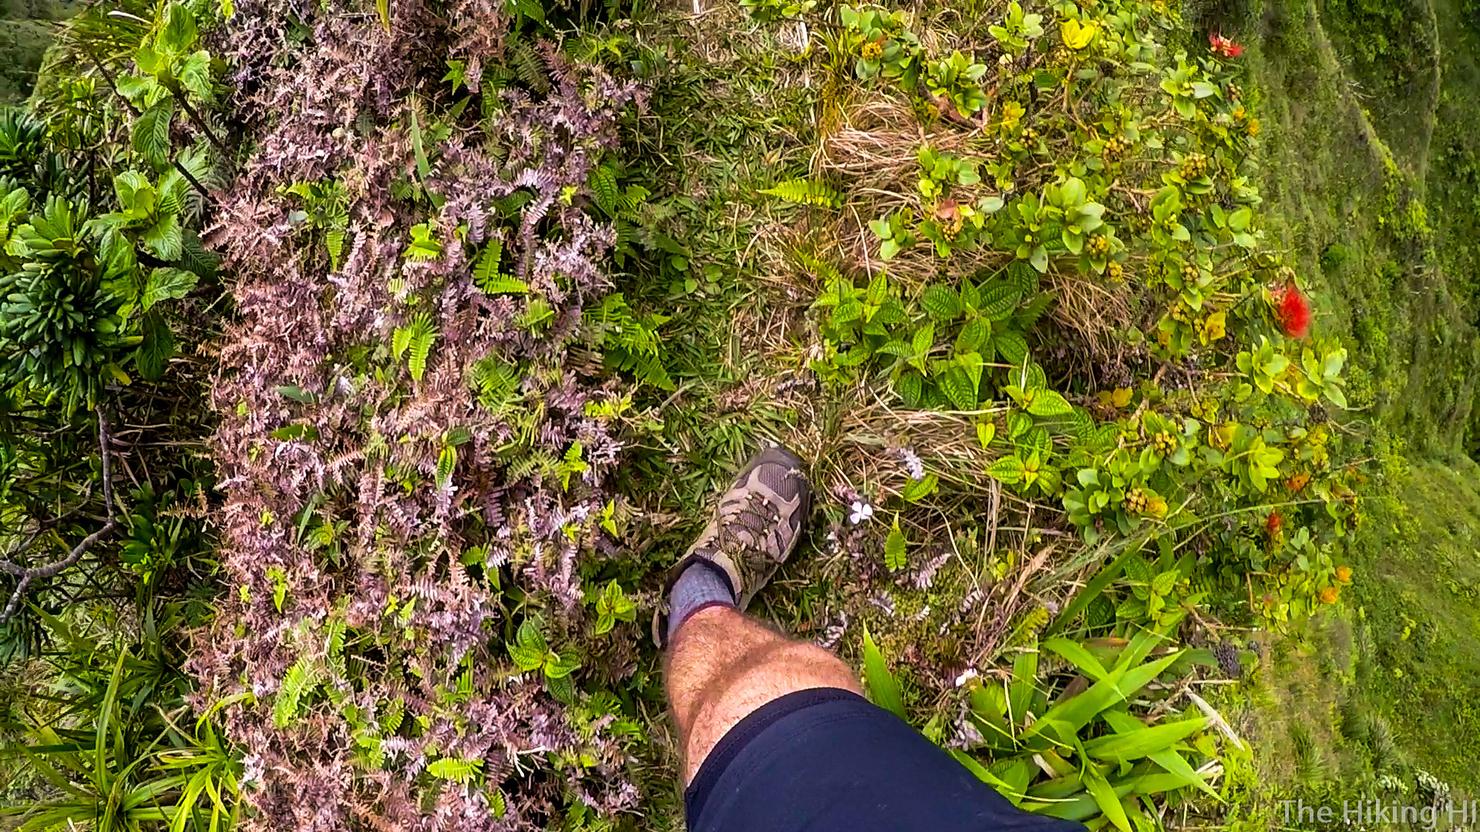
This path is only wide enough for one foot. This is what I call the ridge hiking rush!
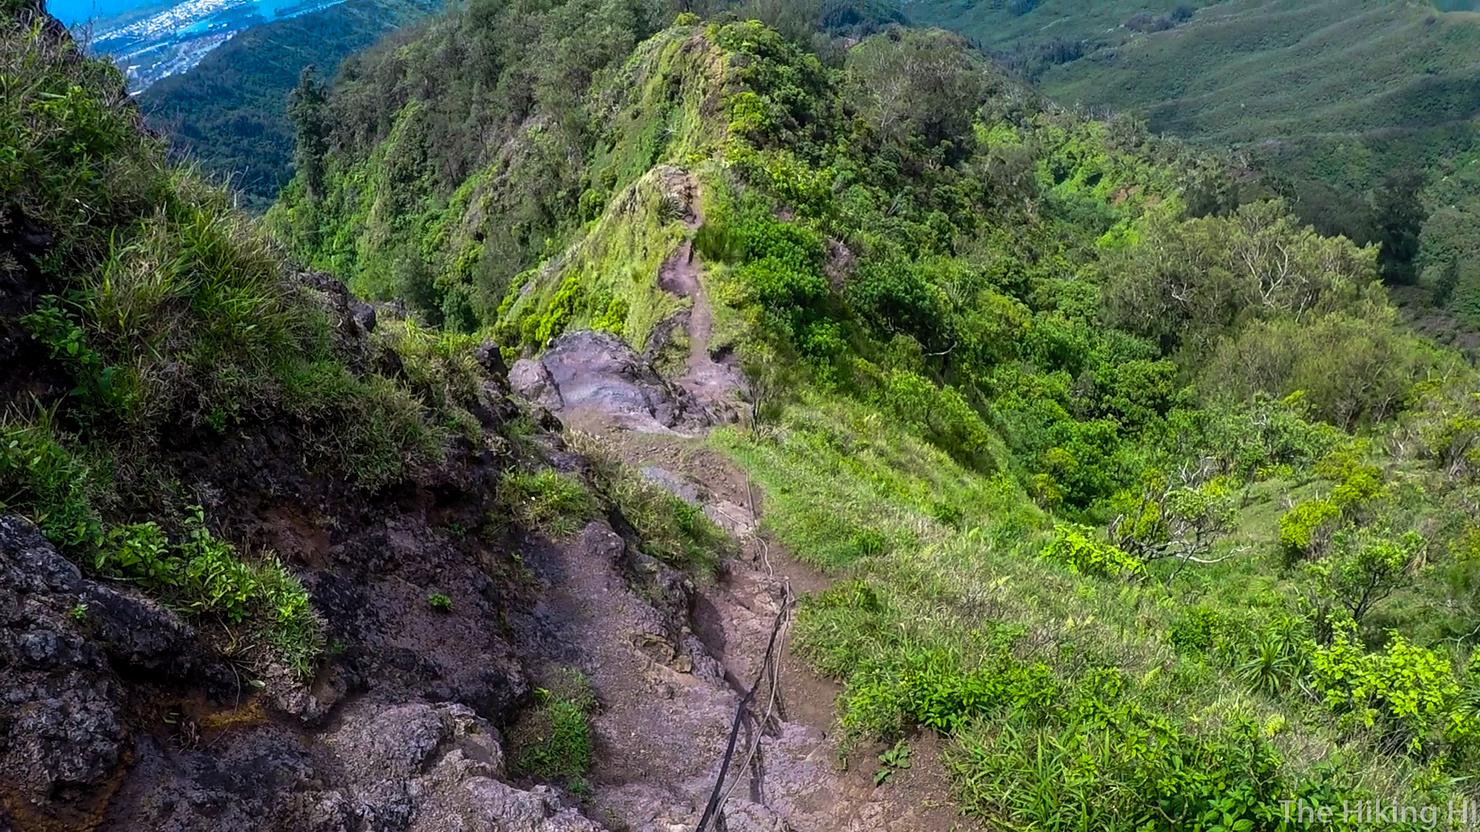
There's also some steep rock sections like this that you will have to descend as well. Luckily, there are ropes to assist you.
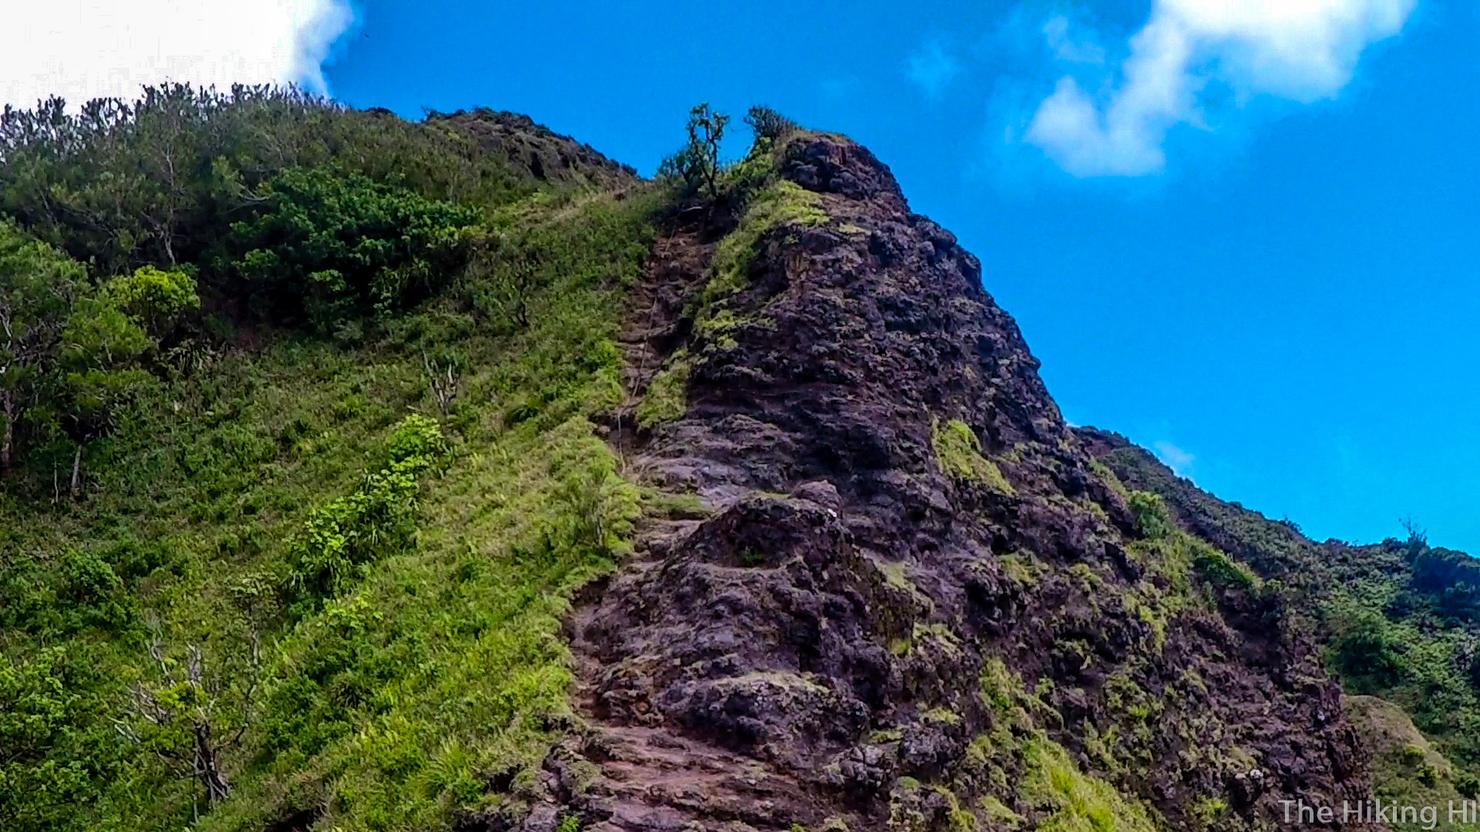
This descent feels like descending the second peak of Three Peaks.
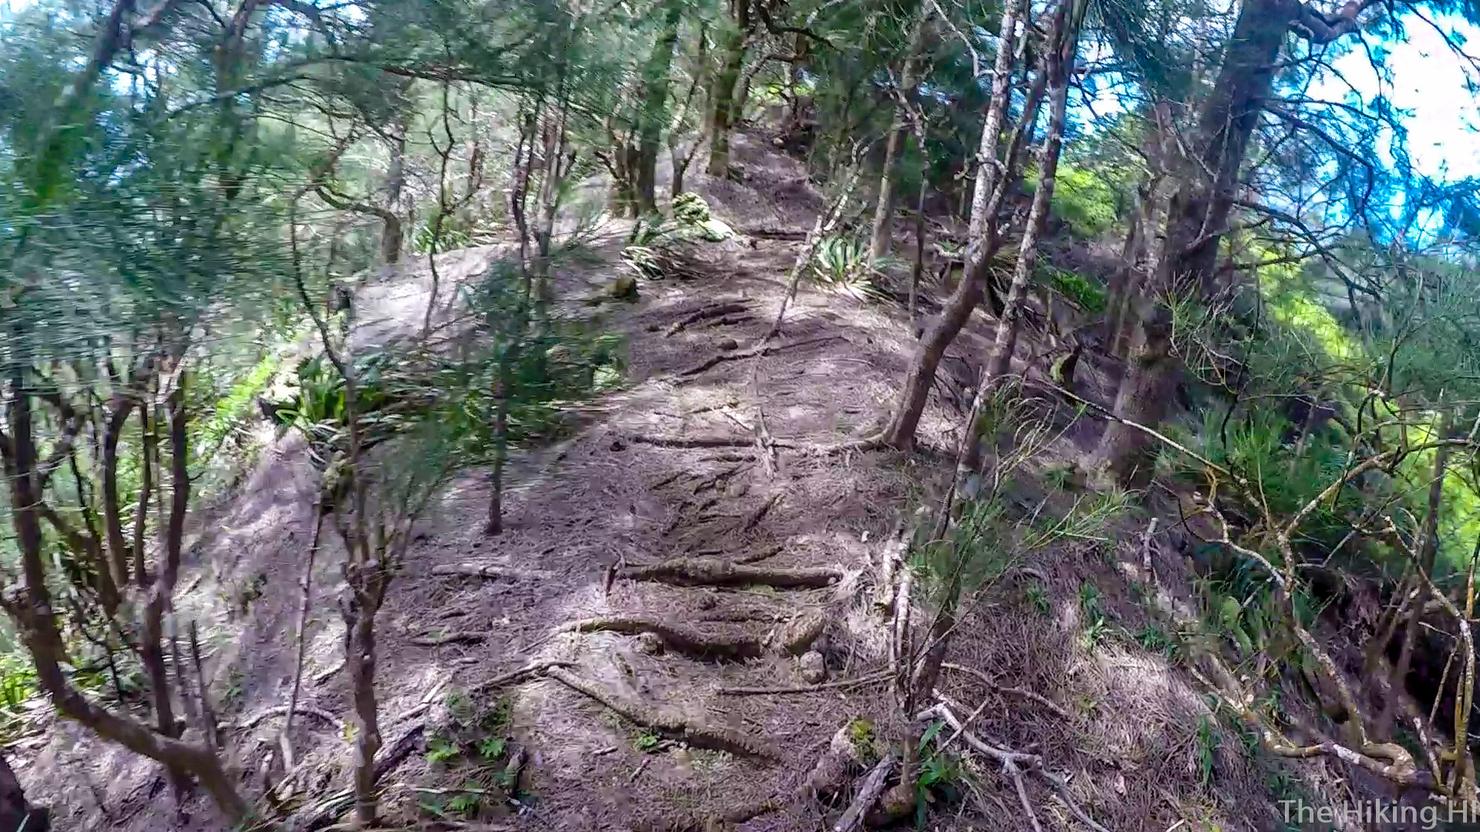
Eventually you will end up back in the woods with the pine needles. At some point you will need to start looking left for the path back down to the start, but not just yet...
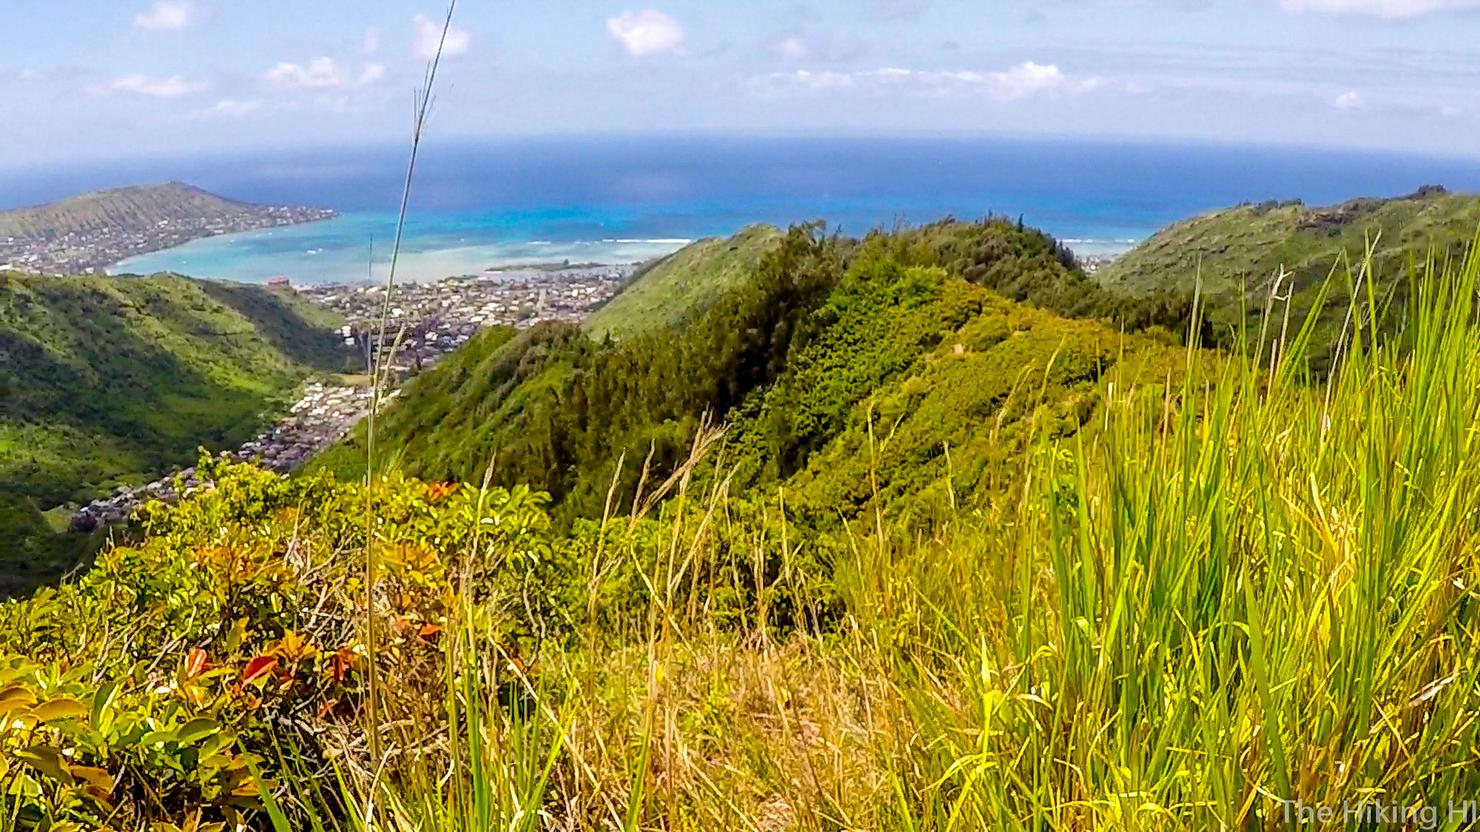
You will get another glimpse or two of beautiful Hawaii Kai.
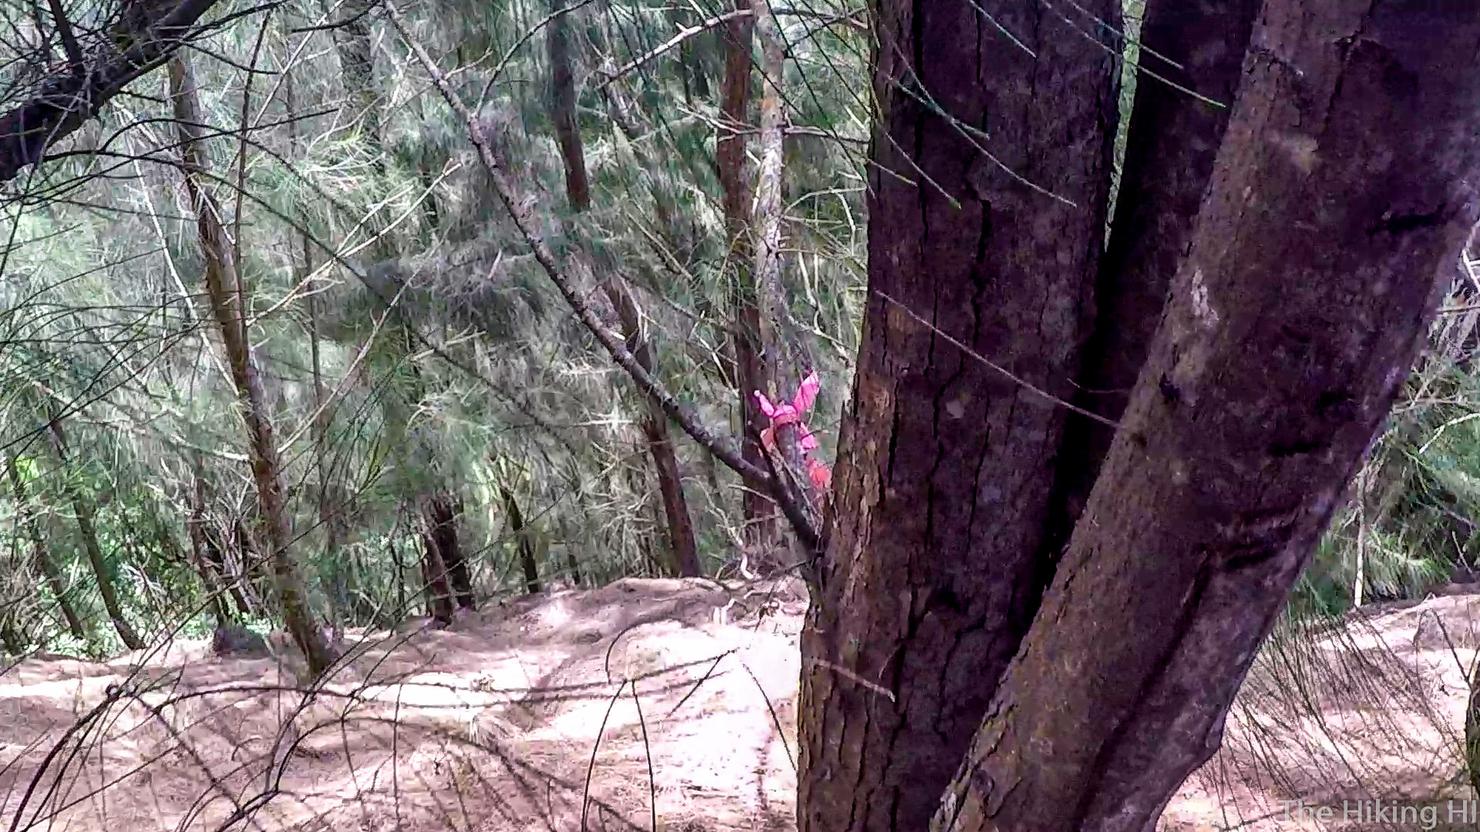
Then you will reenter the trees once again. When I did this a year ago, the only thing signifying the path down was a small yellow hairband someone had placed there. I was looking for something subtle, so I found this small pink ribbon on the outside of the trail. THIS WAS NOT THE PATH DOWN. I learned that the hard way.
I started descending a steep but reasonable grade. It slowly got steeper and steeper, until before I knew it, I couldn't maintain my footing on the slippery pine needles. I was sliding down the mountain uncontrollably. I managed to grab hold of a stump to stop myself from getting seriously injured. I then shimmied along the slope until I found a reasonable place where I could haul myself back up to the trail.
After some considerable effort, I managed to get back to the level trail. No injuries, not even any cuts or bruises. The only thing to show from that predicament were two dirty arms and a racing heart. With one deep breath, I continued onward, hoping I would find the correct path down.
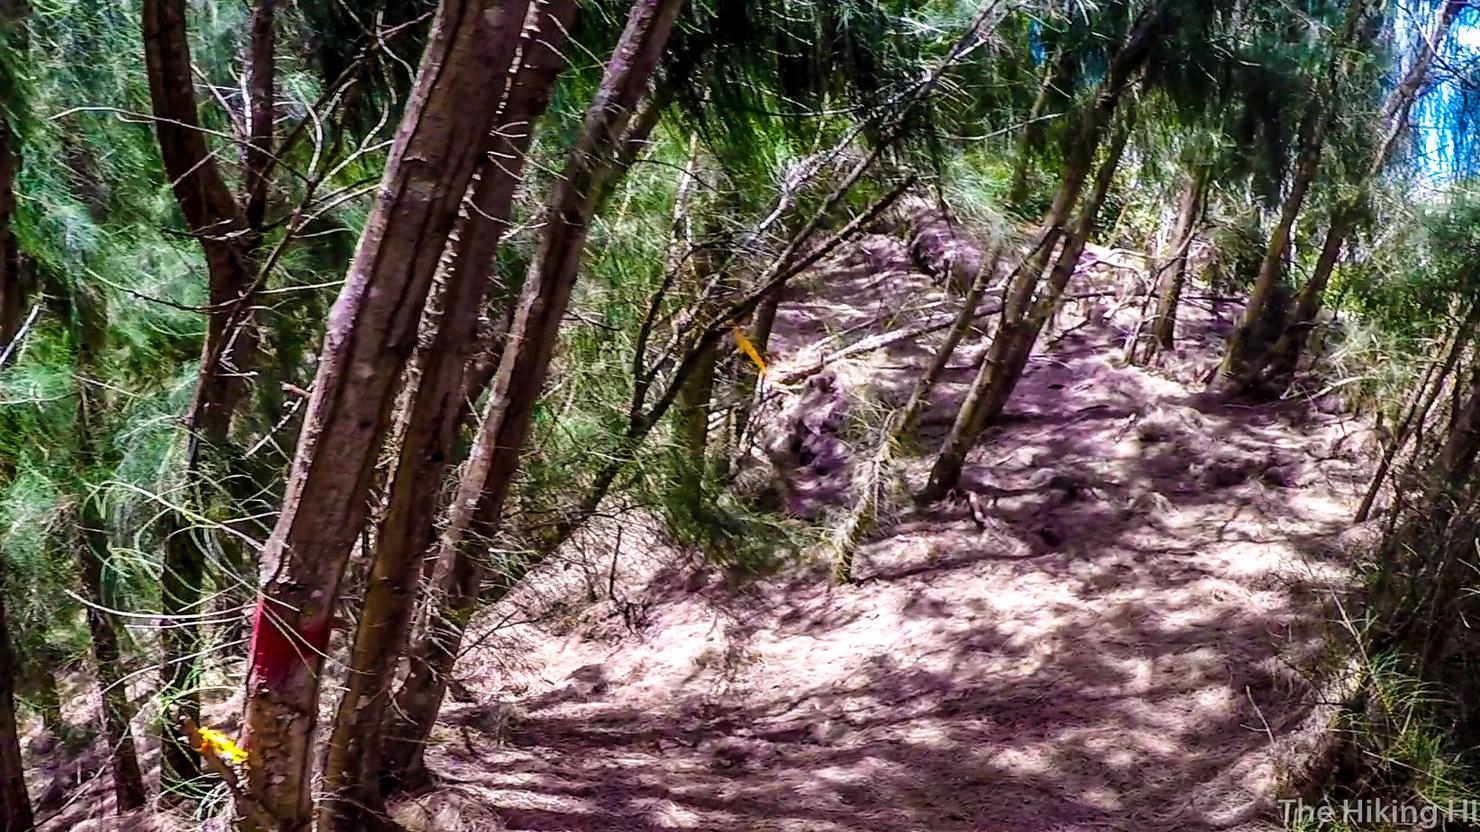
Merely a few minutes later I found the correct path. It was much more obvious now than the last time I hiked here. There were about 3 ribbons and a couple painted trees indicating this is where you turn LEFT to descend.
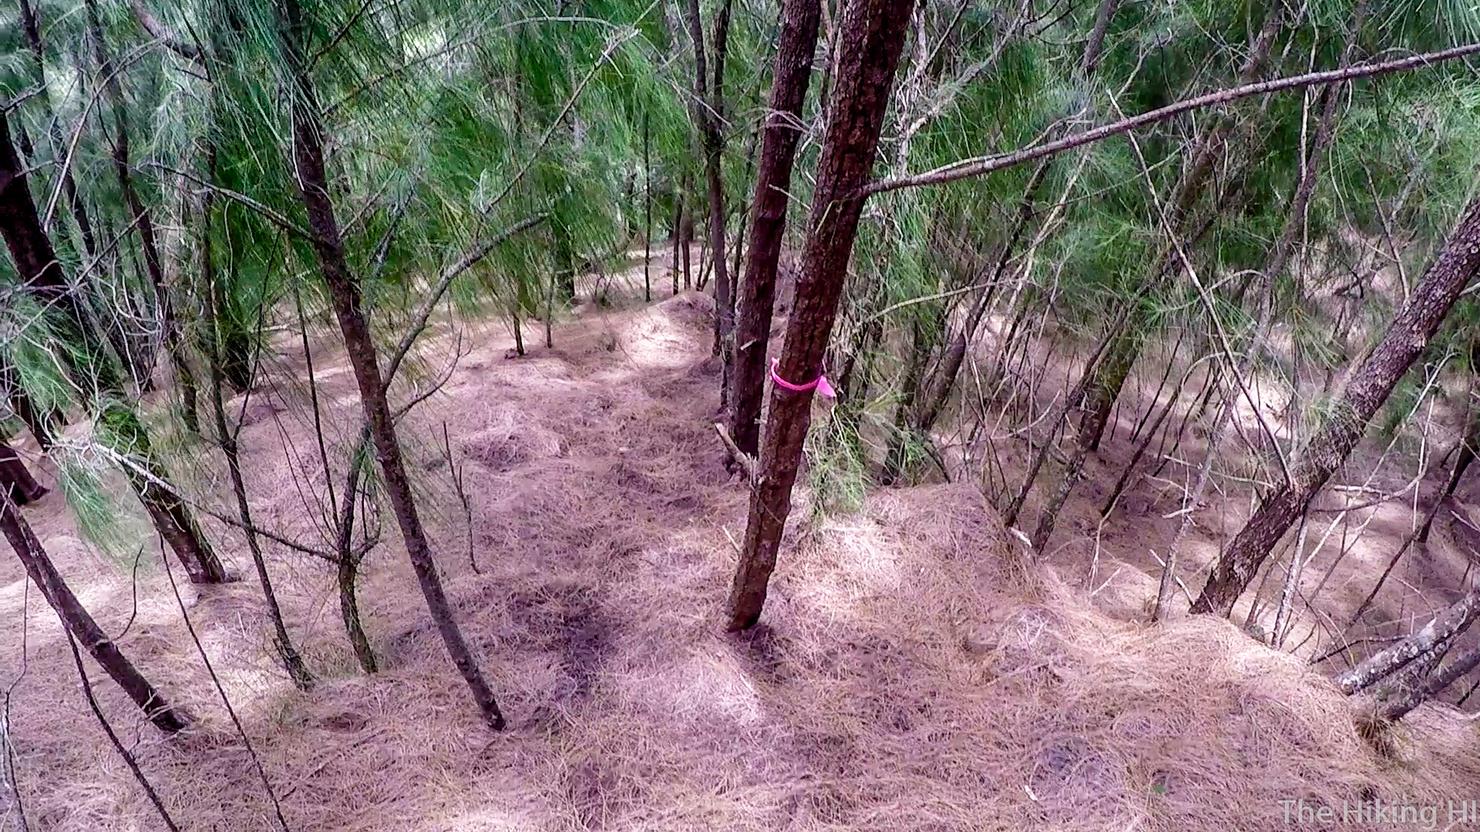
The start of the descent looks like this. It is marked with ribbons, but they are somewhat spaced out. As long as you follow the beaten down path you should be good.
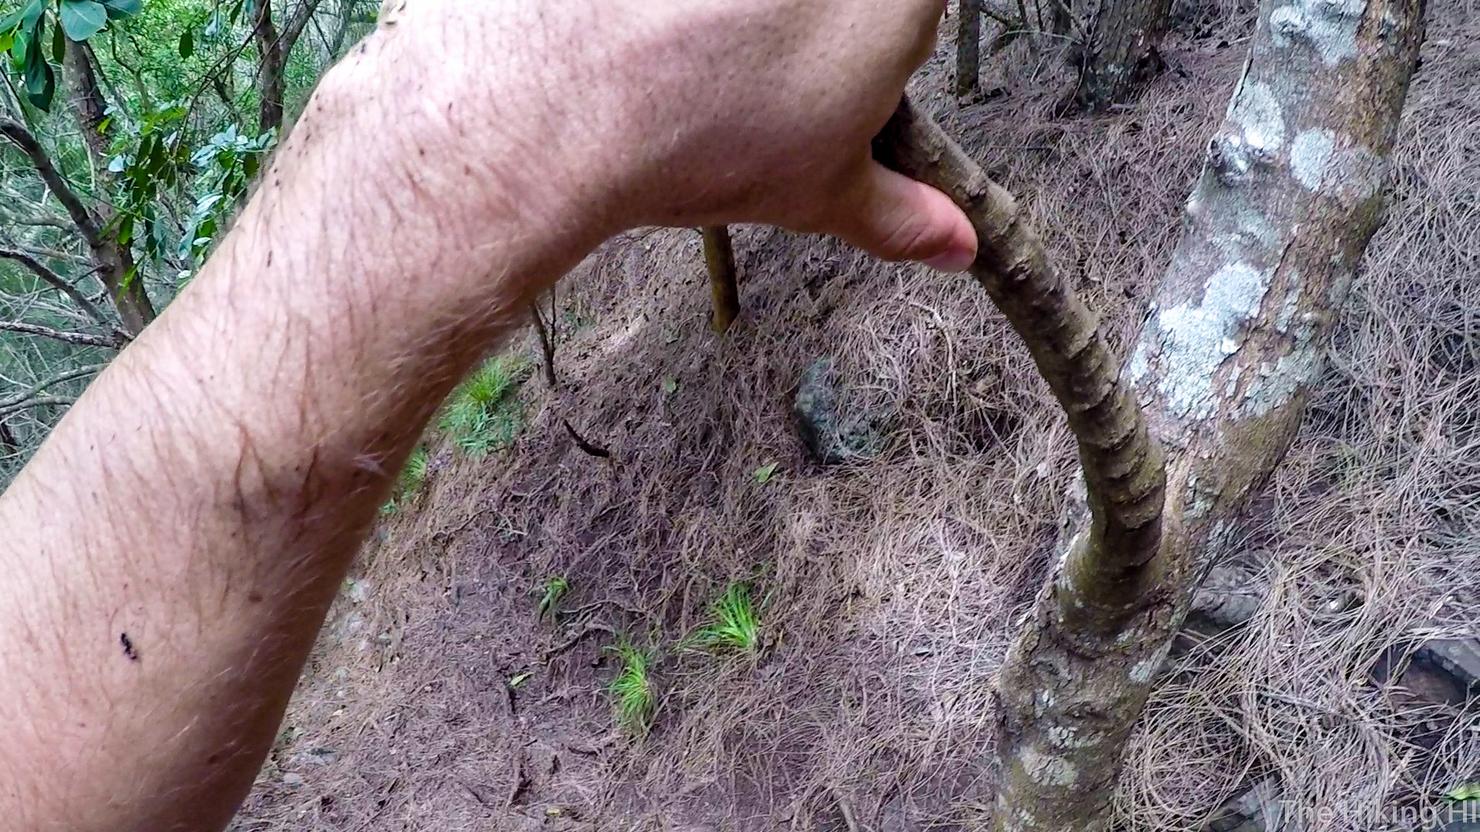
This descent was steep, but nothing like what I had just encountered. Using the branches along the path make this much easier.
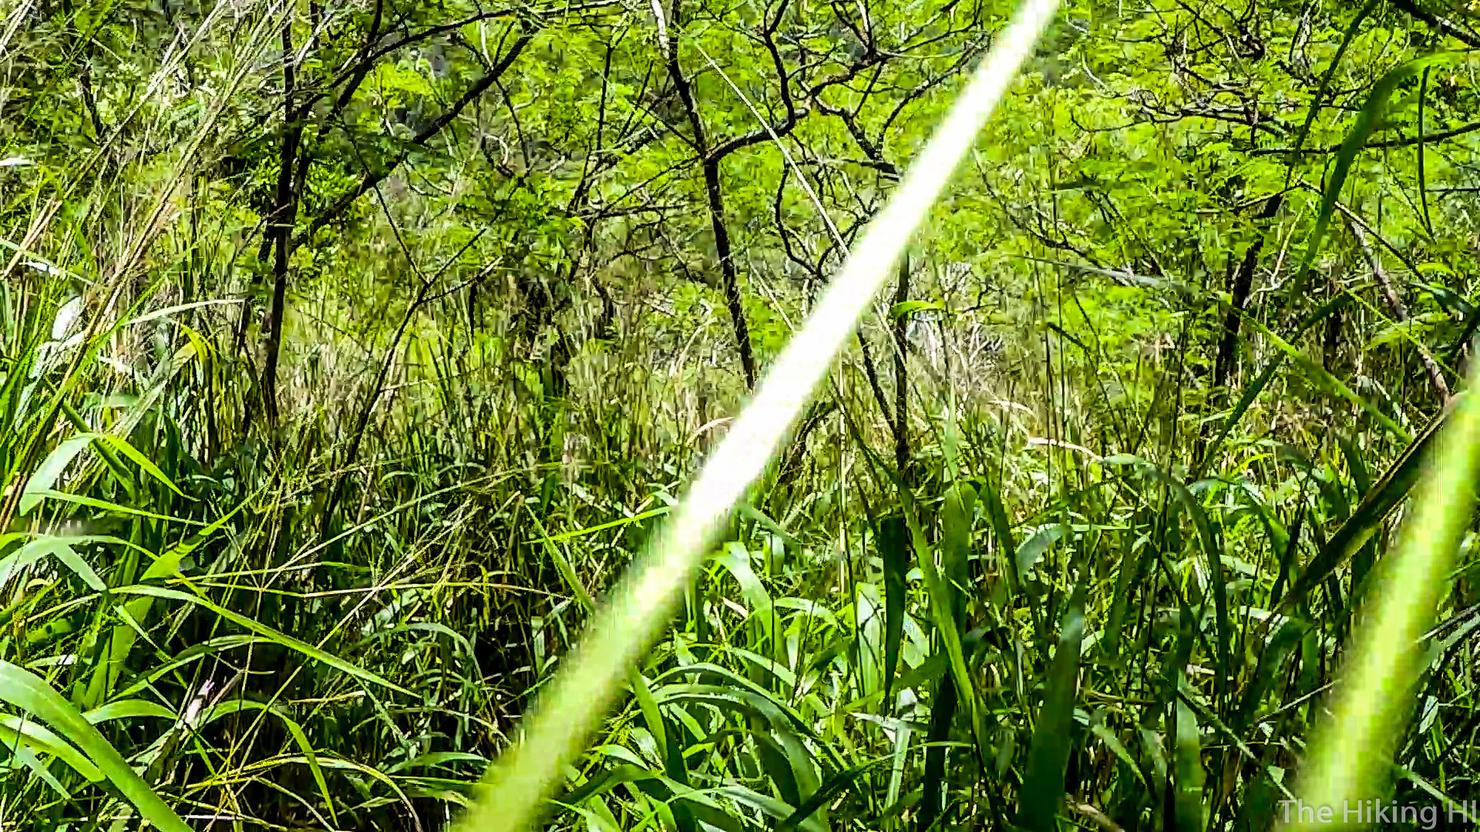
It also gets a little overgrown, which makes the ribbons a little bit harder to find. I lost sight of them near the bottom. However, simply following the natural path led me the right way.
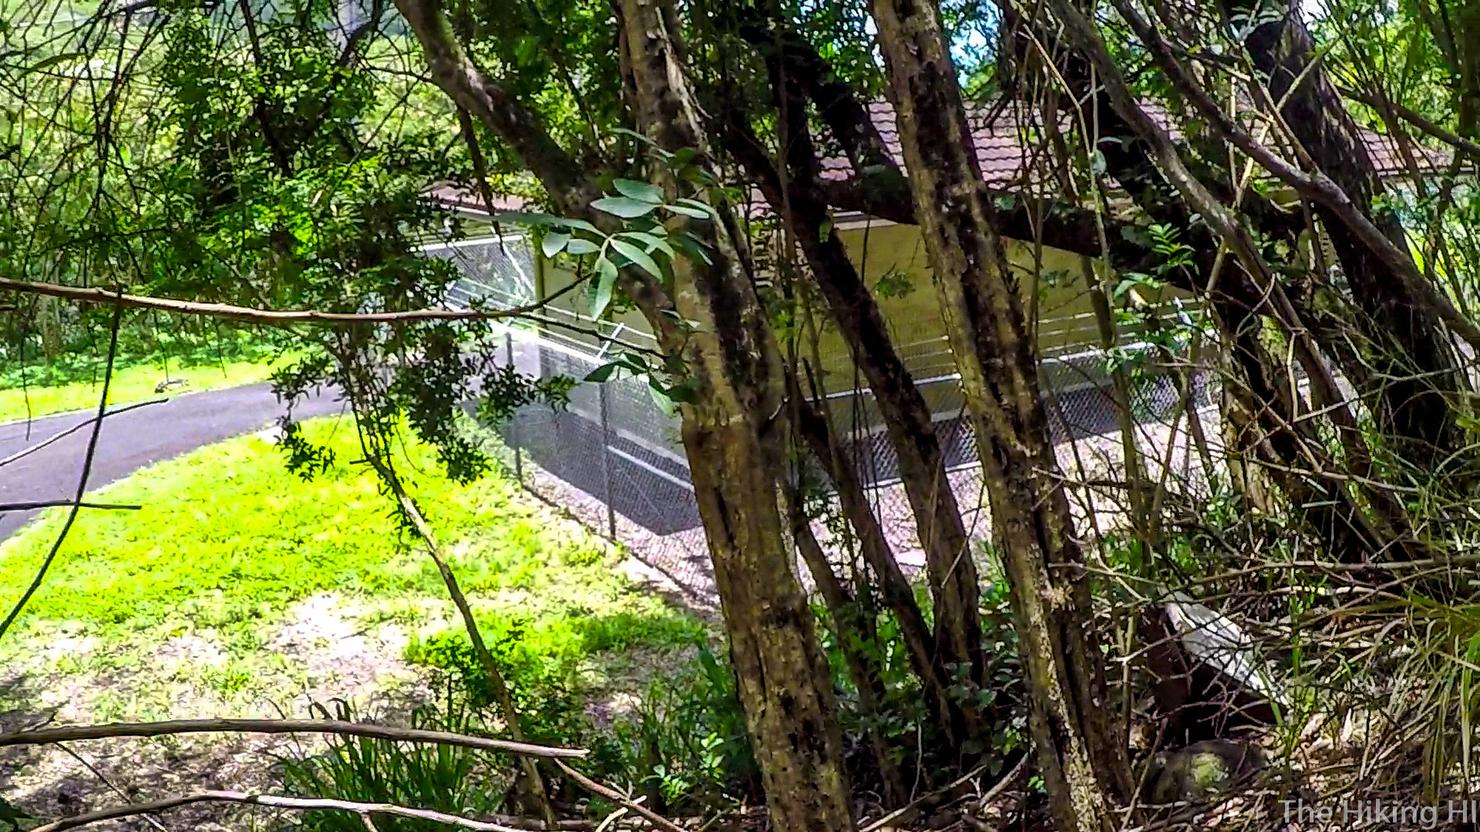
Once you see this building you are in the clear. We are going to make it back to civilization!
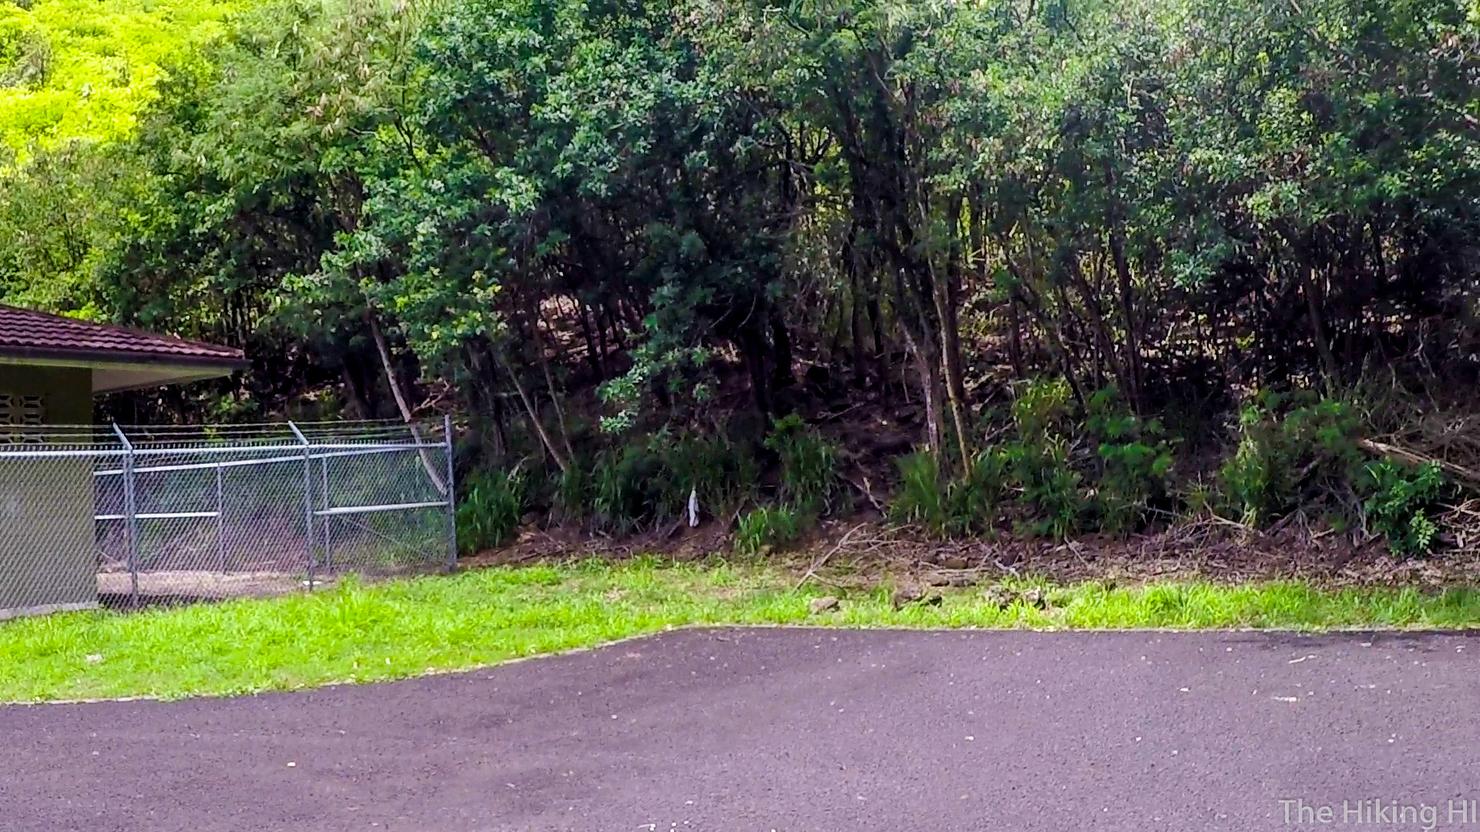
That small opening to the right of the fence is where I popped out. I passed a couple groups who were doing this loop in the reverse direction, for the obvious reason that you are less likely to get lost. From here you simply follow the road (a 180 from the perspective of this photo) and it will lead you back to where we began.
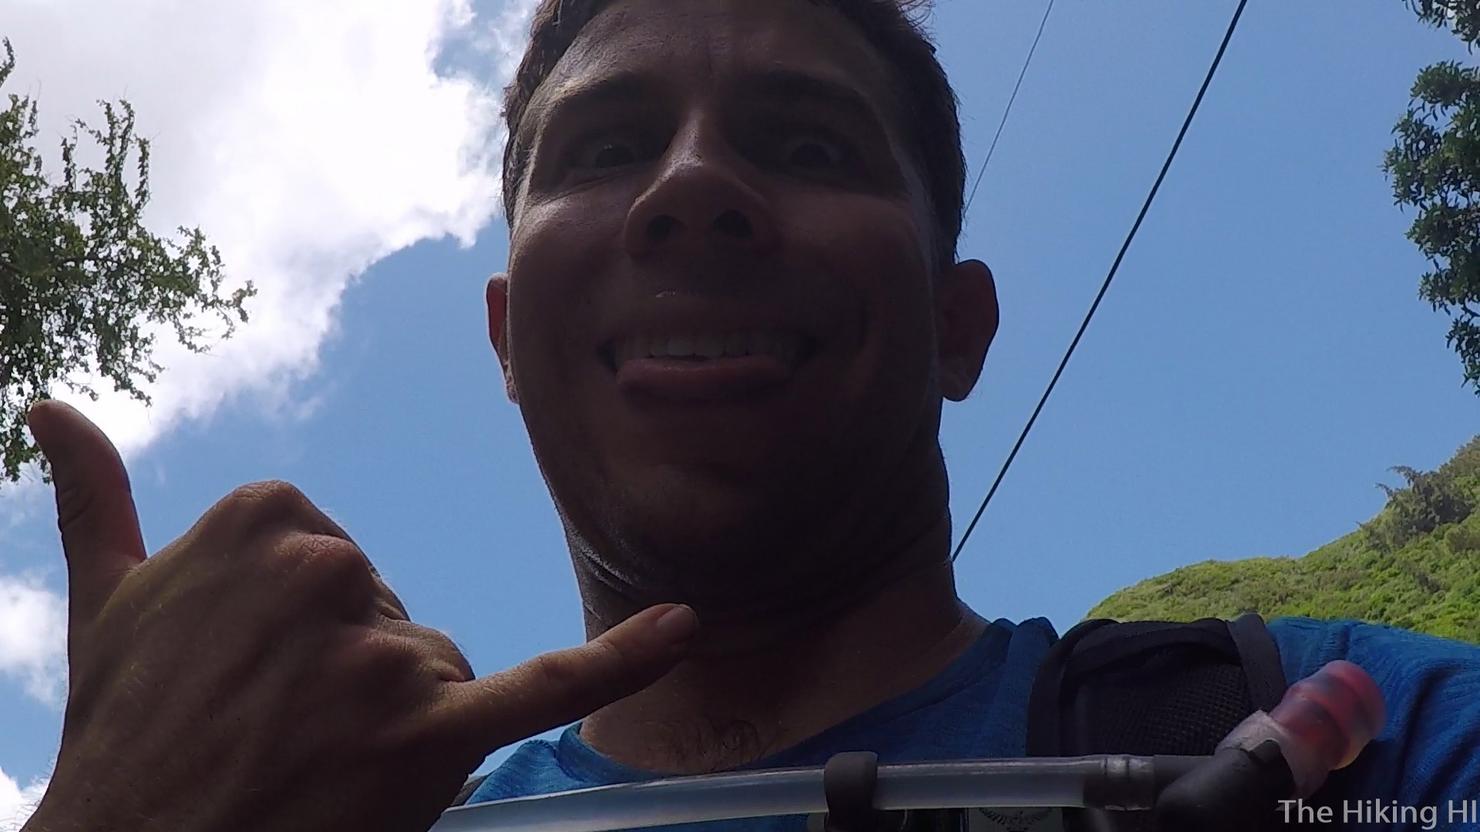
A rare shaka selfie. Don't expect many more of these. But having survived a pretty treacherous situation and reliving the trail that had gotten me into Hawaii hiking, I felt it was warranted. As I strolled back to my car, I reflected on just how incredible this place is and how excited I am for the adventures to come.
Check out my video of this awesome ridge hike!
